The Mrs

Author's posts

I Solemnly Swear That I Am Up To No Good

There’s just something about staying up past midnight baking when your husband is out of town that makes it sound like you are up to no good, right?

When talking about working in the kitchen I usually say “I cook.  I don’t bake.”  I guess that’s because I don’t really have a sweet tooth.  But this week I’ve broken my mantra.  This week…I baked!

To fully appreciate this post you should know that the Beer Guy and I are HUGE Harry Potter fans. Just so you know exactly how serious we are about this, the last book was 700+ pages long, we only got one copy, and we both finished it within 48 hrs…and we did not read it simultaneously! Now that’s dedication, don’t you think?  We always went to the midnight book releases and Thursday night (Friday morning) we went to the midnight release of the movie Harry Potter and the Deathly Hallows, Part I accompanied by our friends Matt, Jen, and Carrie.  Yeah, that’s right.  We’re hard core!  In celebration of this event, I simply could not pass up this recipe for Butterbeer Cupcakes!

(If you don’t know what butterbeer is, stop reading this right now and go start the Harry Potter series.  You’ll thank me later.)

There are three parts to this recipe – cupcakes, ganache, and buttercream icing.

The ingredients for the cupcake batter are pretty standard for baking, except for two key ingredients that are essential to the buttery goodness of this recipe – creme soda and butter flavoring.

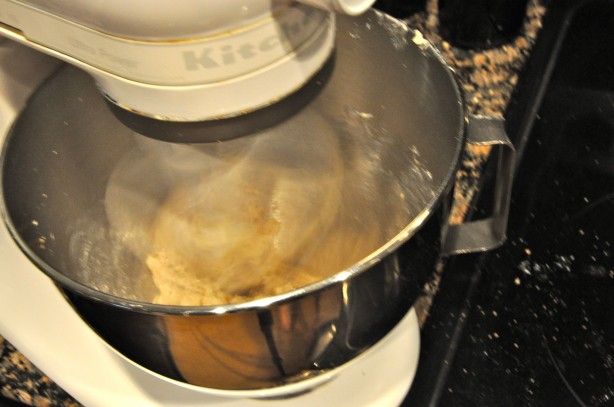
To get started on the batter you have to cream your butter then add in your sugars and eggs.  Just to illustrate how little baking I do, I had to borrow this mixer from a friend because I only have a handheld mixer myself.

(I used this task to finish part of my photography class homework assignment – shooting motion with a purpose.  Using a 1/5 sec shutter speed and a tripod allowed me to capture the motion of the mixer without making the rest of the shot blurry.)

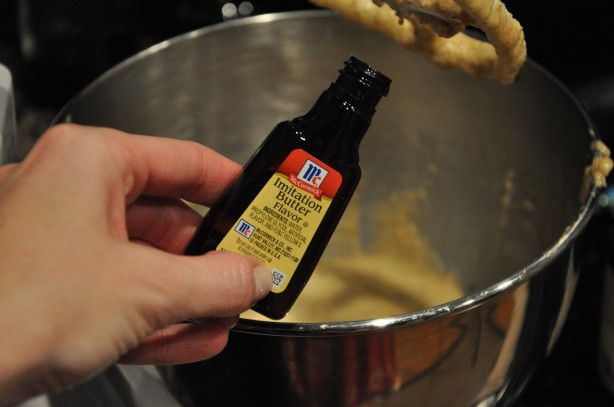
Next you add in the vanilla and all important butter flavoring.

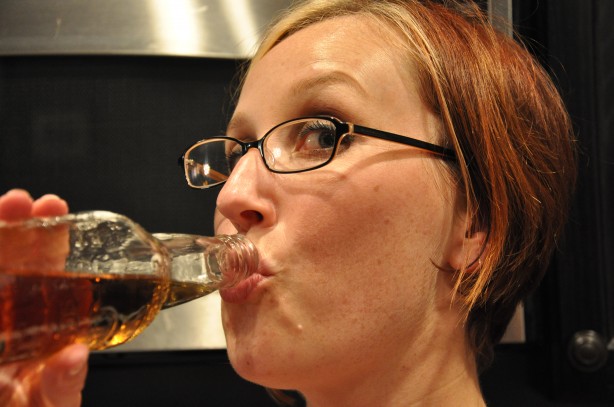
Until I decided to make this I did not know that stuff existed.  The recipe then calls for alternating into the butter mixture the dry ingredients, buttermilk, and 1/2 cup of creme soda.  You may wonder, though, what are you supposed to do with the rest of the creme soda since you’ve got a whole bottle and only need 1/2 cup?

Polish it off yourself, of course.

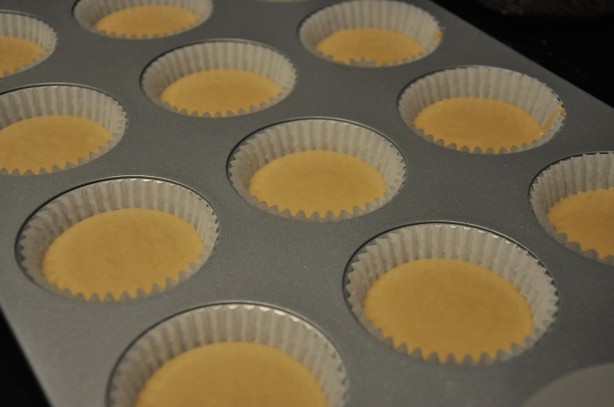
That pretty much completes the batter.  So from here you fill the cupcake tin, get them to baking….

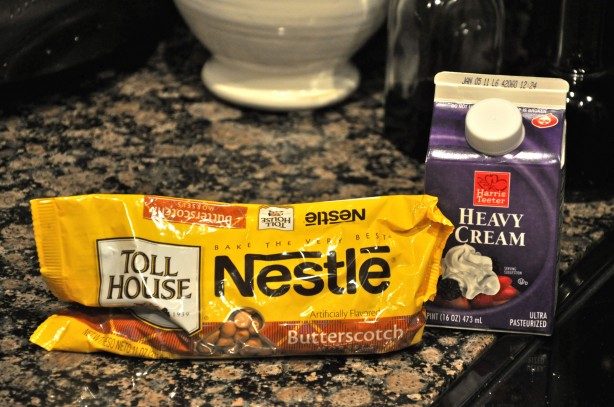
and get to working on the ganache!  That’s right.  I said ganache.  Butterscotch ganache to be exact.  The ingredients for this are simply heavy cream and butterscotch chips.

You basically put the ingredients in a double boiler and melt them down into creamy, butterscotchy goodness like so…

And, yes, I was so serious about this recipe that, even though I do not bake regularly, I went out and bought a double boiler just so I could make this ganache. Surely a double boiler has other uses besides ganache making…

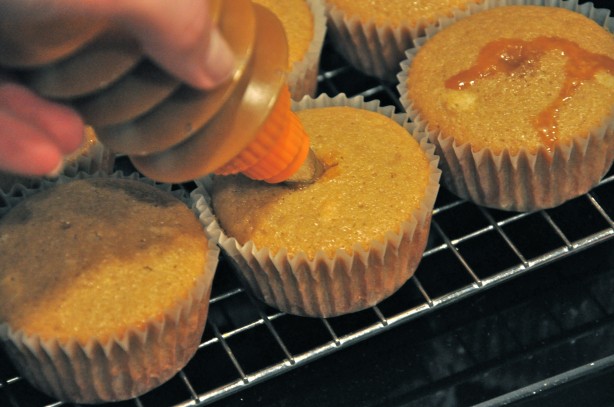
After the ganache has cooled you must poor it into some sort of squirting mechanism.  I used this one from Crate & Barrel.

Is it just me, or does this remind anyone else of puff paint from the 80’s? I’m sure there is some sort of technical baker’s name for it, but I have decided to call it my Ganache Squirter, since it is unlikely that I will use it for any other task.

With the cupcakes cooled and the Ganache Squirter filled, now comes the REALLY fun part.  You inject the ganache into the cupcakes by inserting the Ganache Squirter about half-way into the cupcake and squeezing until you notice a little ganache oozing out the top of the cupcake.

I also noticed that the cupcake would sort of swell in my hand when it was full.  This is the first of the three uses for the ganache in this recipe.  The second is for the Butterscotch/Buttercream Frosting to top off the cupcakes.

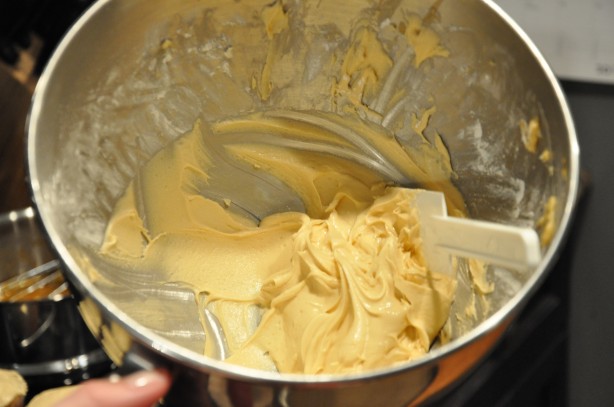
I was so engrossed with what I was doing at this point that I forgot to take pictures until I had finished the frosting and iced half my cupcakes with it.  But basically, you mix 1/3 cup of the butterscotch ganache with butter, powdered sugar, vanilla, butter flavoring, and salt together until it looks like this

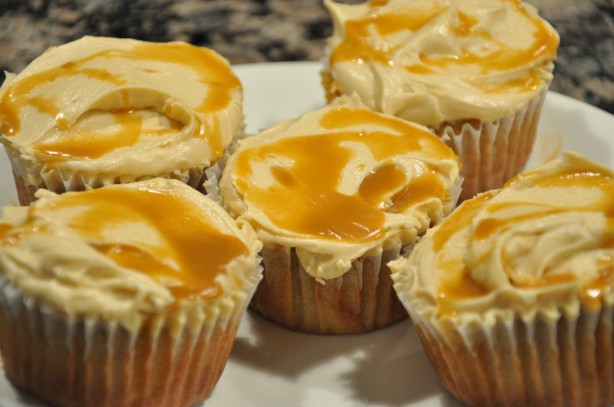
Next you slather that buttery goodness all over the tops of your cupcakes and enlist the services of your ganache for the third time by drizzling it across the tops of the now iced cupcakes.  Amy, the author of this recipe from Amy Bites, suggests that you pipe the frosting on the tops.  But, I assure you, if you don’t have a pipette/cake decorating bag and your squirter is otherwise occupied with ganache, slathering works and tastes just as well.

Voila!  Butterbeer Cupcakes!

Please feel free to drool over the finished product.

The process took me just under 3 hours to complete.  I’m sure it would have gone much faster had I not been stopping for photo ops along the way.  It was worth every minute!  (I took some to my colleague, Sam, for her birthday since she is also a big Harry Potter fan and I’m cool like that.  The rest I packed up and took to the theater so my wizarding friends and I could munch on them while waiting to be let into the movie just before midnight.  They were a huge hit all around.)

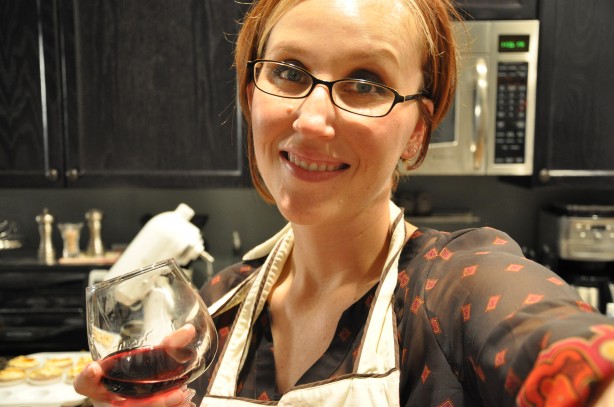
Whew!  That’s the hardest I’ve worked in a LONG time.  Momma needs a glass of wine…

For now, though…Mischief managed!

Cheers, y’all!

Wine Girl

Permanent link to this article: https://kitchendoesnttravel.com/archives/510

Would It Be So Wrong…

if I just stuck my face in this?

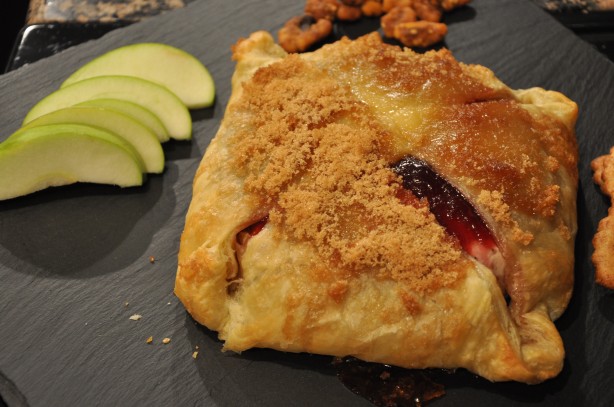
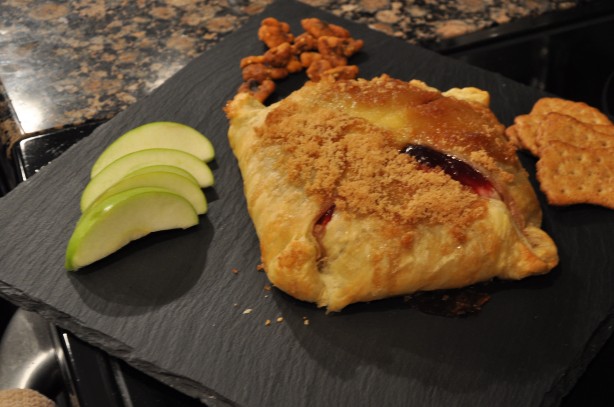
I don’t think so.  I mean, it’s a baked brie.  When you really think about it, who would blame me?

Well, my church small group might not appreciate it since I made it for them.  It was our night to bring snack and I completely forgot about it until the night before.  Once I remembered, I somehow got it in my head that I wanted to take a baked brie.  A friend gave me her recipe last year and I took it to a couple of events where it was a huge hit.  Well…I apparently lost the recipe.  So what’s  girl to do when she’s got her heart set on serving a baked brie and she’s lost her recipe?

Google to the rescue of course!  What did we ever do without it?

The first Google listing was this recipe from The Food Network.   It looked yummy but, frankly, I just didn’t have time to cut the brie in half, stuff it, trim the pastry to the circumference of the brie, and make decorations out of the pastry trimmings.  So that recipe was quickly discarded.

The second listing was from Simply Recipes.   I took one look at the recipe pic and knew this recipe wouldn’t disappoint.  It had a very simple ingredient list.

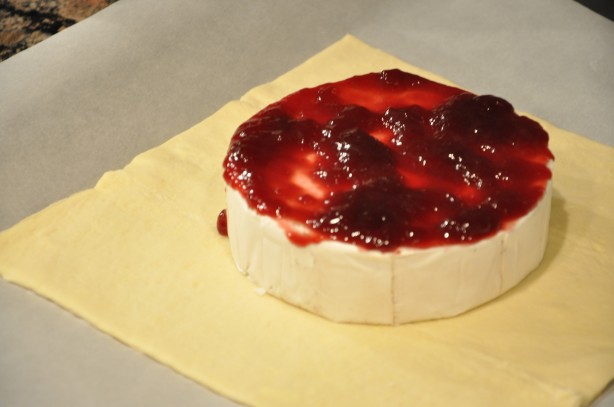
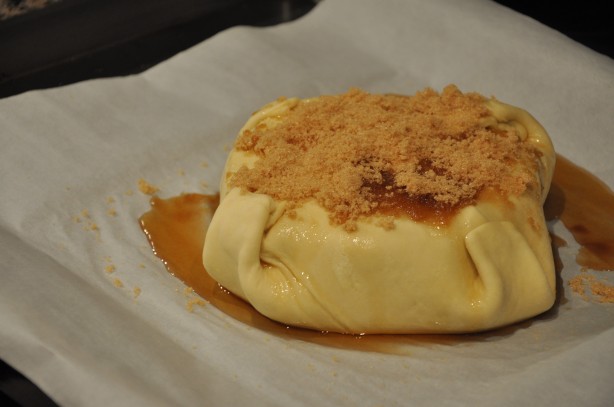
First you lay out the pastry dough and set your brie wheel right in the middle.  Then cover said brie wheel with raspberry jam.

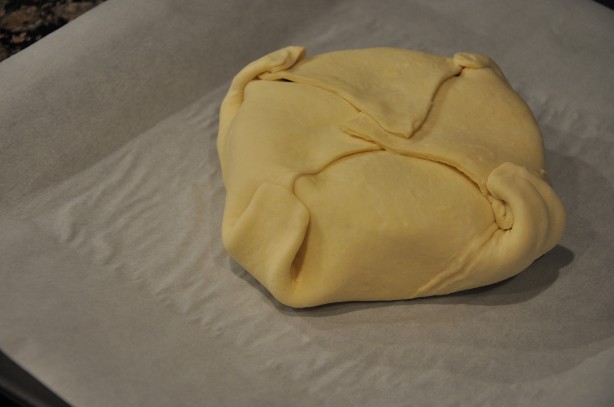
Next you fold the pastry around the cheese, like so…

Then top with maple syrup and brown sugar and bake it up.

I like to serve it with crackers or crostini and sliced apples with candied walnuts on the side.

If you are salivating like I am, pop on over to Simply Recipes and download this yummy, crowd pleasing recipe here.  People will think you slaved over it.  But, really, it only takes about 30 min.

Oh, I almost forgot the most crucial step in the process!  I can’t stress this enough –

DON’T STICK YOUR FACE IN IT BEFORE SERVING IT TO FRIENDS!

It’s tricky, but it can be done.  Trust me.

Cheers, y’all!

Wine Girl

Permanent link to this article: https://kitchendoesnttravel.com/archives/499

Shootin’ Sushi

So I mentioned that I was taking a photography class, right?  I may also have mentioned that I am totally a Penelope and nerdy with anything resembling school.

I had my first class last week. As with my actual schooling, I positioned myself front and center at the head of the class with my clean new notebook and brand new pen ready to jot down all the pearls of photography wisdom spun forth by my instructor.  Despite the fact that my brain really does work in outline form, my class notes looked like pages of indecipherable scribble…just like in high school, college, and grad school.  Therefore, just like in high school, college, and grad school, I spent time this week recopying my notes.  While it may seem redundant, it actually helps me learn to recopy them because I am a visual/tactile learner.  In fact, the more I see it written or do it with my hands, the more it sticks.  So, to help me retain more of what I’m learning, I going to share it with you.

My first class primarily focused on the 3 components of good exposure:

  1. aperture (the amount of light let into the camera)
  2. shutter speed (the length of time the shutter is open/the image is exposed to film or media)
  3. ISO (degree of film or digital sensor sensitivity)

This can all get a little long.  So since my homework this week was about aperture play, I’ll focus on that for this post.

Aperture is measured in f-stops and is one of the key components in establishing the depth of field for your shot.  What do I mean by depth of field?  It basically refers to how much of your shot in focus.  In a shallow depth of field the photographer is basically telling the audience what it should attend to in the shot.  Only the subject is in focus.  For example:

By contrast a greater depth of field means that pretty much everything in the picture is in focus. There’s a lot of detail to take in.  While Ansel Adams was a master at this, here’s my example:

So how do you achieve one type of shot versus the other?  One way is by adjusting the aperture. Here’s where things can get a little confusing.  Remember I said that aperture controls how much light the camera lets in and is measured in f-stops.  The SMALLER the f-stop number, the MORE light is let into the camera, and the more shallow the depth of field.  The LARGER the f-stop number, the LESS light is let into the camera, and the greater the depth of field.  Totally counterintuitive, right?

I know, I know.  The only way that is going to stick in my head is by rote memorization.  So say it with me:

smaller f-stop = more open = more light = shallow depth of field
smaller f-stop = more open = more light = shallow depth of field

Conversely, you could say:

larger f-stop = less open = less light = greater depth of field
larger f-stop = less open = less light = greater depth of field

If you are interested in some additional reading about all this, check out what the Pioneer Woman has to say about all this here.

Here was my homework for week 1:

“With your camera in Aperture Priority and using a long lens, gather several objects together or one object against a busy background and shoot it using EACH different aperture/f-stop your camera allows.”

Now HERE’s where things get really delicious!  I decided that the ideal subject for this project would be sushi.  It’s delicious, colorful, and has multiple textures.  So the Beer Guy and I packed up the D90 and headed out to our new favorite Charlotte sushi spot – Cyros Sushi.
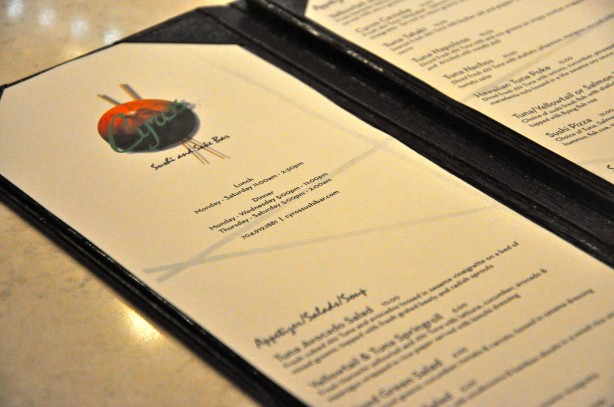
Cyros is a tiny little sushi place inside an unassuming strip mall.  This place is getting more popular and it IS tiny.  So if you go on a Friday night, you may end up eating in the atrium of the strip mall. Not cool or fun.  So we suggest going in the middle of the week or at least not at prime dinner time on the weekend so you don’t run that risk.

Ok, so it loses a couple cool points for location, but it’s really what’s inside that counts.  The decor is elegant and modern, but not so mod that it’s cold and uncozy.  The sushi is FAN-TAB-U-LOUS.  We generally have the same friendly server every time we go.  She knows us, we know her and that makes us regulars!  We love being regulars.

We ordered the Pork Shumai appetizer.  But before we could dig in, I had to whip out the D90. Remember we came here strictly for homework purposes (wink, wink).  I had to take a shot of this at each f-stop my camera would allow.  Since the D90 rocks that means I took about 20 shots of everything we ordered…but I’ll just give you the highlights:

Here it is at f5.3 with a shallow depth of field (i.e. yummy appy in crisp focus, BG’s beer fuzzy in the background)…

now at f14 with a slightly greater depth of field (i.e. appy still crisp, BG’s beer getting more focused)…
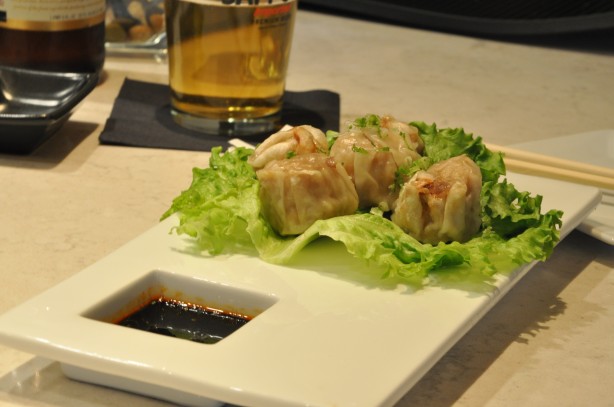
and again at f25, even greater depth of field (i.e. all the objects in the pics are basically equally in focus)

Yes, I know that everything in that last shot is slightly fuzzy.  That’s what’s called camera shake.  The longer your shutter is open, the more still your camera has to be.  This is apparently where tripods come in handy. But I was shooting in hand…and getting really hungry.  Growing faint and weary may be a better description.  I blame the camera shake on low blood sugar.  I took pics at 3 larger f-stops but I was basically foaming at the mouth at that point and the shots are complete blur! You get my point with the pics, right?

Good.  Let’s move on to the main course.  Ladies and gentlemen, meet Cyros Sushi’s Avant Garde Roll…
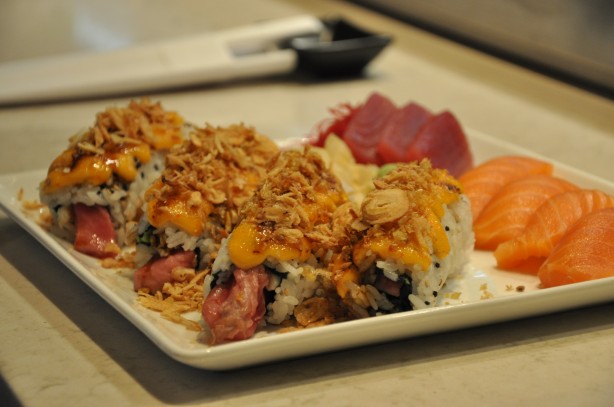
Did you just have to stop yourself from licking the computer screen?  Or was that just me…

Let me spell this out for you, people.  Tuna.  Avocado.  Cream cheese.  Covered in spicy aioli sauce and  – wait for it… fried garlic and shallot slivers.  OH – MY – GAH!!  Whew, I’m gonna need a minute…

Where were we?  Oh yeah…photography.  Just because the more you hear/see it, the more likely you are to remember it the above pic was take with an aperture of f5.3, giving a shallow depth of field (i.e. freaking awesome Avant Garde roll in focus in the front, fuzzy sashimi tuna and untensils in the background).  Here’s the same shot at f14, with a still somewhat shallow but greater depth of field than the last shot.

Notice that the sashimi tuna and utensils are still somewhat fuzzy in the background, but getting to be a little less so. And just for good measure here’s the same shot at f36…
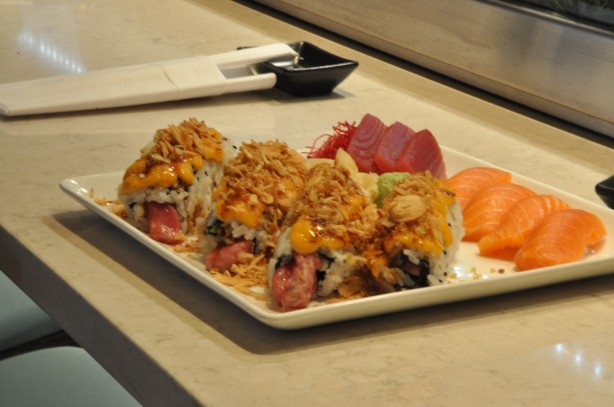
Aaaannd, I’m spent.  I’m not lying to you, people.  I dream about that roll at night.  I lose focus at work thinking about it.  Did I mention the fried garlic and shallot slivers…

Huh?  What happened?  Oh yeah, and the last pic…generally equal focus throughout…unfortunately also with a little bit of camera shake.  Again, I blame low blood sugar.

And THAT, folks, is your first lesson in aperture.  And if you are a sushi lover, live in Charlotte, or are passing through town do yourself a favor.  Go to Cyros Sushi.  Order the Avant Garde roll.  I promise you –

IT. WILL. CHANGE. YOUR. LIFE.

Cheers, y’all!

Wine Girl

Permanent link to this article: https://kitchendoesnttravel.com/archives/484

Remember when…

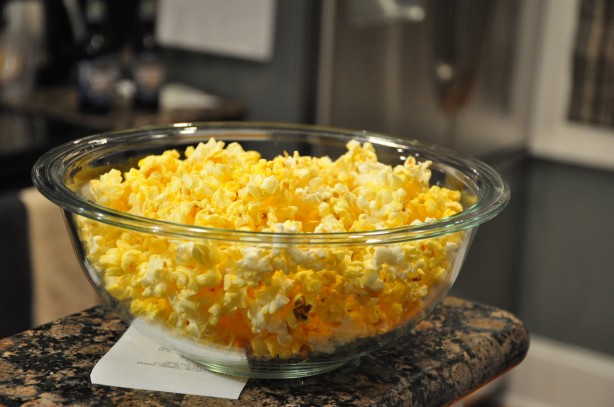
it was a treat to get popcorn at home?  Or are those of you who read this so young as to not remember a world where microwave popcorn always existed?

So I know that BG and I are like the last two people on the planet to get on this train, but we started watching Season 1 of Mad Men last night.  It’s in our Netflix queue, but I just HAD to start watching it this weekend.  So, for the first time in 2 yrs, we went to Blockbuster.

It’s been forever since I made popcorn for movie night at home, but something about actually going IN a video store made me want popcorn while we watched our DVDs.  I’d like to think it was the nostalgia of the situation that made me want the popcorn.  The act of going to the video store and standing in line there gave me flashbacks of doing the same thing on a lazy Saturday night with my family growing up… and we always had a big bowl of popcorn amongst us as we watched our chosen flick.  In reality, I’m quite sure that the plethora of popcorn, candy, and ice cream treats that surrounded us while in line at Blockbuster had considerable influence on my sudden craving.  But, the idea of wistful reminiscence just sounds so much better though…

While I munched on my popcorn and got drawn into the retro world of Mad Men I got to thinking – “Remember when popcorn was a treat?”  I don’t know about you, but I have vague memories of my mother heating the oil in the bottom of the popper and pouring the kernels into the 1970’s orange globe, then waiting for what seemed like an eternity for all the kernels to burst into the fluffy snack.  I also remember being at friends house and watching her mom cook the Jiffy Pop on the stovetop.  Because it took more than 2 minutes and required a couple ingredients and some equipment it was a treat reserved for semi-special occasions.

As I wandered back from memory lane, I became keenly aware of the film that the fake powdered butter on my popcorn was leaving on the roof of my mouth.  I don’t ever remember having that problem with popcorn from a popper.  So with popcorn, as with all foods, freshly made is always better and making it the way our mothers and grandmothers did is too. That’s just a little food for thought that “popped” in my brain.

Cheers, y’all!
Wine Girl

Permanent link to this article: https://kitchendoesnttravel.com/archives/481

Shutterbug!

The pics around here are about to get a lot better!

That’s because I started a photography class at The Light Factory tonight.  The Light Factory is a contemporary museum of photography and film here in the Queen City.  It host exhibits, shows indie films, and has a strong educational push – both adult education and within the local school system.  According to their website:

“The Light Factory’s mission is to promote the power of image, in Charlotte and beyond, by informing, challenging, and stimulating audiences through photography, film, and other light-based media to see their world through a different lens.”

I’m SUPER DUPER excited about my class.  Taking this class means I am really about start getting my money’s worth out of the D90…rather than using it as a glorified “point and shoot” like I have since we got it in April. There will be weekly homework assignments. (Yeah!  I love homework!  I’m such a school nerd!)   I can think of no better subjects than food and beverage…can you? At least I know they’ll stay still while I’m learning.  🙂

Never fear!  I’ll be sharing what I learn with you.  Stay tuned!

Cheers, yall!
Wine Girl

Permanent link to this article: https://kitchendoesnttravel.com/archives/477

We’re Still Here!

Well, it’s been 2 weeks since our last post.  No we didn’t fall off the face of the Earth.  I just had to get through a very big event and the Beer Guy, sweetheart that he is, was there helping me every step of the way.  Well…maybe not EVERY step of the way, but in his defense, I did walk 60 miles last weekend!

“Why?” you may ask.  I participated in my first Susan G. Komen 3-Day for the Cure Walk in Atlanta.  It was an exhausting, but exhilarating event that I will most certainly do again.  During the walk these were my accommodations

I mean, if a girl’s gotta camp, it really SHOULD be in a pink tent, right?

I survived my first EVER camping experience and I have to admit, it wasn’t as bad as I thought it would be.  However, I did have a place to take a hot shower and brush my teeth, didn’t have meals that came out of a can or had been previously freeze-dried, and my pink tent was not pitched in the woods.  So…I maintain than I will not be going on any camping trips anytime soon as I understand that these amenities are not typical of camping trips.

You see, I’m what the BG likes to call a “Fancy Nancy.”  (We have nieces who love those books.)  “Who is Fancy Nancy,” you ask?  Well, according to Wikipedia

Fancy Nancy is a wild, young girl with a larger than life personality, who adores all things fancy. She always dresses extravagantly, wearing boas, tutus, ruby slippers, fairy wings, and fuzzy slippers. Nancy loves using big fancy words such as “iridescent”, “ecstatic”, and “extraordinary” and anything in French”

Ok…there may be some similarities.  Knowing that with the 3-Day Walk I would spend 3 straight days walking, two nights camping, using port-a-potties, and showering in a mobile shower unit, long before the walk ever started I made arrangements for our post-walk evening in Atlanta.  I decided that after all that hard work I deserved something fancy!  And I did…I REALLY DID!

Enter The W Hotel in Midtown Atlanta.

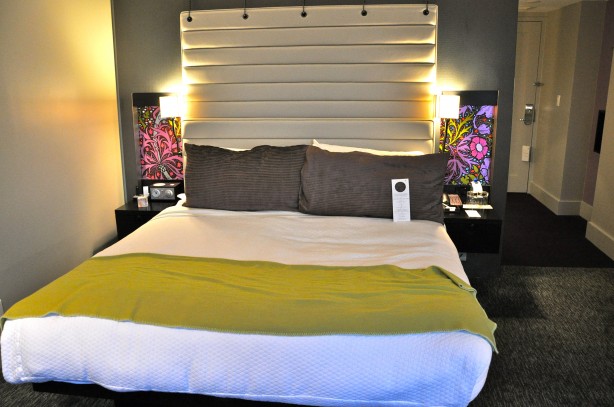
It is an ultra-modern boutique hotel owned by the Starwood Hotel group which also owns Westin.  I don’t know what the W stands for.  Maybe the hotel is just too cool for a whole word for a name. Whatever it stands for I LOVED it!  This was our room

Superb, no? Oh, and THIS was the view from the fourth wall of our room which was a floor to ceiling window!

We were on the 15th floor.  Downstairs there was a VERY sleek and modern indoor/outdoor bar. Sadly, I was tired enough that shots of this fabulous bar escaped my camera.  The BG did manage to get a couple shots of me while we were there.

It is a testament to just how tired I was that I didn’t care at all how out of place I looked dressed like that amongst all the hip and trendy bar patrons.  While there we split an appetizer of sliders

and I had a Black Raspberry Martini.

I needed a pink drink to commemorate the weekend’s festivities.  We later had dinner at a cool restaurant around the corner called  Tap.  BG’s going to be telling you all about that one soon.  Our dinner there was delicious, but I was so tired I could barely hold my eyes open long enough to finish it. Needless so say, I slept HARD in that sleek and modern bed I showed you.

The next morning, I had a 75 min massage and a mani/pedi lined up at The W’s Bliss Spa located on its bottom level.  Once again I was too tired and zombie like to bother getting any pics.  But I tell you what, those spa treatments were just what the doctor ordered!

The bottom line is, that The W Hotel was a gorgeous luxury hotel with great service situated in what appeared to be a funky and eclectic neighborhood in Atlanta. My only regret is being too tired to really explore either.  The BG and I have agreed, we will most certainly be returning to The W Hotel in Midtown Atlanta at our first opportunity!

Cheers, y’all!
Wine Girl

Permanent link to this article: https://kitchendoesnttravel.com/archives/451

It’s Chili Weather

It’s in the air.  You’ve no doubt felt it, as have I.  I’ve been waiting for it since it left last spring.  You know what I mean, right?  The CHILL in the air.  It was 37 degrees in the Queen City yesterday morning.  The leaves are turning.  Football is in full swing.  The jeans and light sweaters have been resurrected from the back of the closet.  It’s officially CHILLY outside.  That means…

It’s time for CHILI inside!

Here’s how to make My Momma’s Chili…which just happens to be the best EVER!

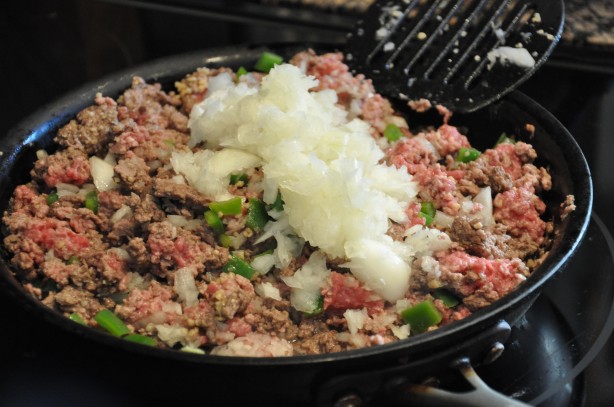
First you start browning the beef

If that looks like a lot it’s because I double the recipe.  (It’s always better the next day because the flavors really mesh.  So I like to make sure we’ve got a few days worth prepared.) Meanwhile chop the bell pepper and the onion

(I hate chopping onions and I don’t like big chunks of onion in anything so I cheat and use the Cuisinart Food Processor)

When about half the beef is browned add peppers, onion, and minced garlic and continue to cook until all the beef is browned, then drain.

My mom always cooked this recipe in a soup pot on the stovetop.  In recent years I have found that a slow cooker works just as well…if not better.  So, next transfer the drained beef and veggie mixture to a slow cooker or soup pot, whichever you have or prefer.

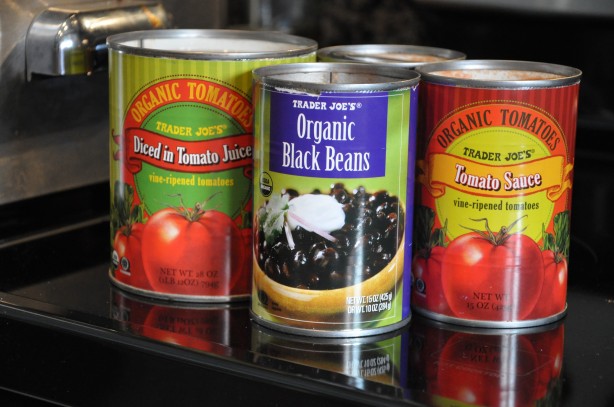
Next up are the canned ingredients

(I have dreams of going all Martha, starting a community garden and eventually using my own canned tomatoes for this, but for now TJ’s will do.) First the diced tomatoes

Then the tomato sauce

Then the beans

My mom’s recipe calls for kidney beans, but I am just not a fan of those.  I much prefer black beans so I substitute those.   (I also think that the contrast of the black against the red of the chili base looks prettier.  So it’s really a win-win.)

Next up are the spices

the water (remember, I’m doubling the recipe.)

and the tomato paste.

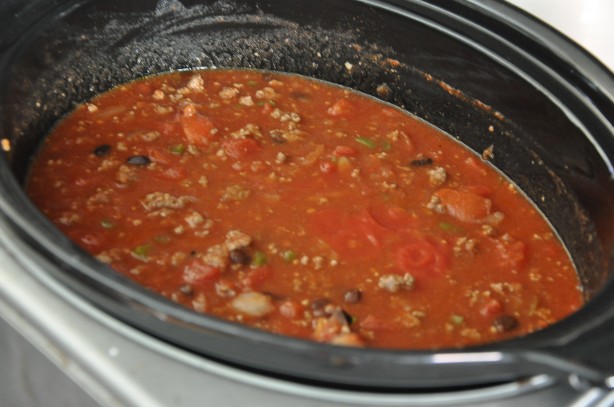
Then give it a good stir, cover it, and let it cook.  If you are using a slow cooker, put it on the low heat setting.  If you are cooking it on the stovetop, then simmer.  Either way it needs to cook for a couple hours, stirring occasionally, so that all the flavors meld together.  You’ll know it’s ready when it smells fantastic and all the ingredients look homogenized rather than separated in the pot…like this

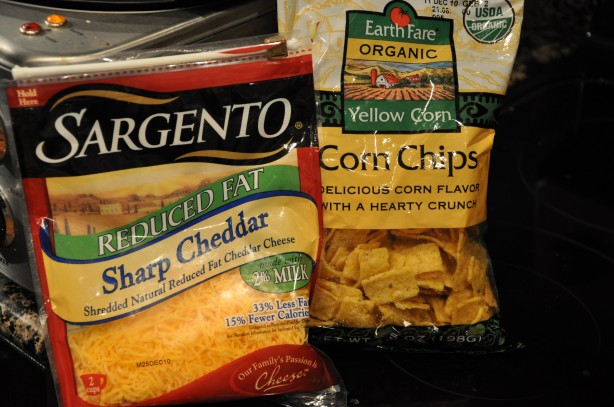
To serve it you’ll need corn chips and cheese.  I realize that the addition of corn chips is a little “low brow,” but, trust me, it’s worth it.

Cover the bottom of your bowl with the chips, top with a couple ladles of chili, then sprinkle with the shredded cheese.  Personally, I like a few corn chips on the side for added crunch.

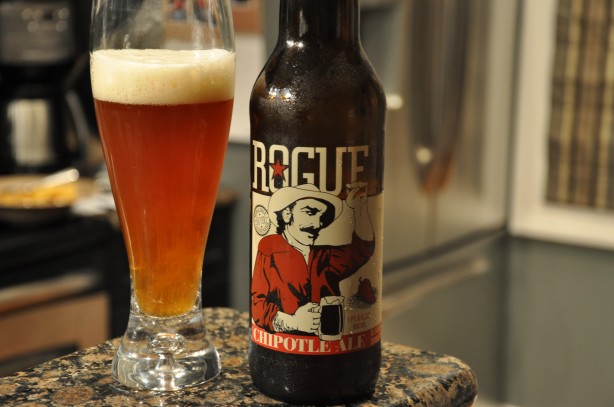
Of course you’ll also need a good brew to rinse it down.  I sent the Beer Guy on a beer run and he came back with this deliciousness – Rogue Chipotle Ale.

Many of our favorite beers are from the Rogue Brewing Company and this one has just been added to the list.  I must say, it’s smoky flavor, crisp mouth feel, and slightly heated finish were the perfect accompaniment to the Chili Dinner and the Chilly Weather.

Go ahead make this dinner for yourself and look for this great beer in your area.  Here’s the full recipe

My Momma’s Chili

  • 1lb ground beef
  • 1 can crushed or diced tomatoes
  • 1 can tomato sauce
  • 2 tsp chili powder
  • 1 tsp salt
  • 1/8 tsp cayenne red pepper (or more for spicier chili)
  • 1/8 tsp paprika
  • 1 medium onion (chopped)
  • 1 green bell pepper (chopped)
  • 1 clove garlic (minced)
  • 1 1/2 c water
  • 1 small can tomato paste

Brown meat, onion, pepper, and garlic in a skillet.  Drain.  Add all ingredients into a soup pot or slow cooker one at a time.  Mix well.  Bring to a medium boil. Stir often.  Turn down to low heat.  Simmer.  Cook until all tastes have blended together.  This can simmer all day, just make sure that it is not too fast or too high or it will scorch.  Add salt and pepper to taste.

Enjoy the warm chili in your tummy while the weather is chilly outside!

Cheers, y’all!
Wine Girl

Permanent link to this article: https://kitchendoesnttravel.com/archives/401

Um, ok…

What you don’t want to see while walking down the stairs in a semi-comatose fog after a nearly 3 hour nap because you woke up at 6am on a Saturday to do your last 18 mile training walk…

I don’t even wanna know.

Cheers, y’all!
Wine Girl

Permanent link to this article: https://kitchendoesnttravel.com/archives/431

Connecticut Road Trip

Ok, I have a confession to make.  We suck.  We were not able to get our posts done nightly while on our Connecticut trip so we thought we would just post them daily once we returned and make sure the “publish” dates corresponded to the dates of our trip.  You know, published retroactively.  Sounds like a good idea right? Well we’ve been home for two weeks and that plan has pretty much fallen apart.  I’ve been waiting on BG for a couple posts and he has been crazy busy with work since we returned.  Long story short…I’m not waiting anymore.  I’m just gonna move forward and get caught up.  He can then post his musing on our recent New England travels as he sees fit.  Today, I’ll give you a little pictorial run down of our Connecticut Road Trip.

By now you’ve read about our fun lunch in Westport,

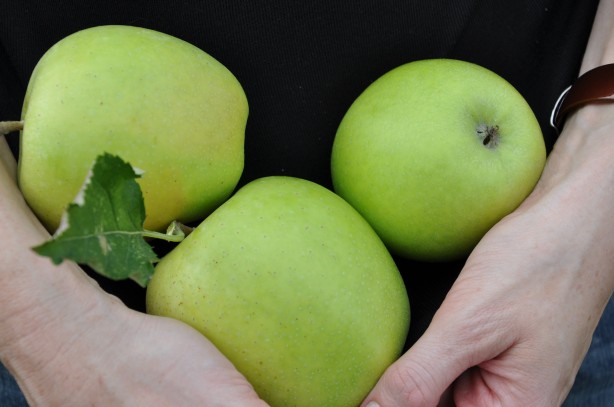
our apple orchard and fall fun,

and where we landed in Philly, but you don’t know where we went between Point A and Point B. Here’s the gist…in pics.

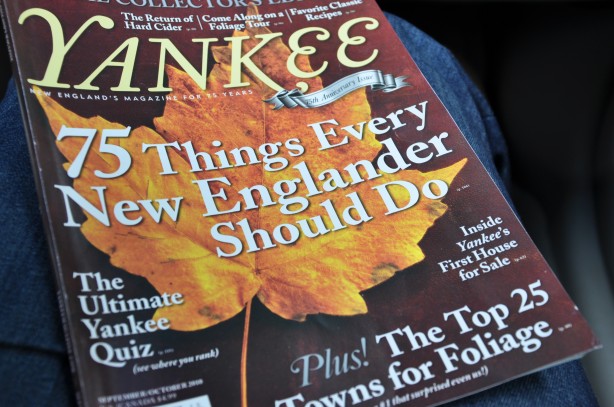
We used this as our guide

(P.S.  There is so much more info in this magazine than we had time to utilize this trip.  I’m totally saving this and we will take a New England fall trip than includes Massachusetts, Vermont, Connecticut, and Maine in the future.)

We headed to Devil’s Hopyard State Park

then to East Haddam, CT

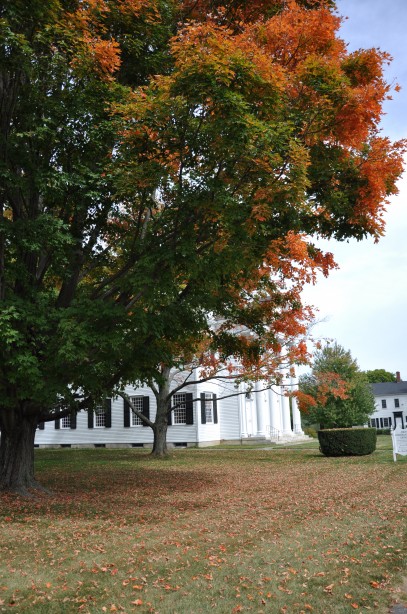
where we got great views of leaves and the Connecticut River from Gillette Castle.

We then drove through Bristol, pretty much just because BG’s family lived there before he was born.  We saw this

From there we made our way to Litchfield, CT – a perfectly quaint New England town, by the way.

We were a little thirsty while in Litchfield so we popped in here

and had a couple of these.

We then made our way through Mohawk State Park

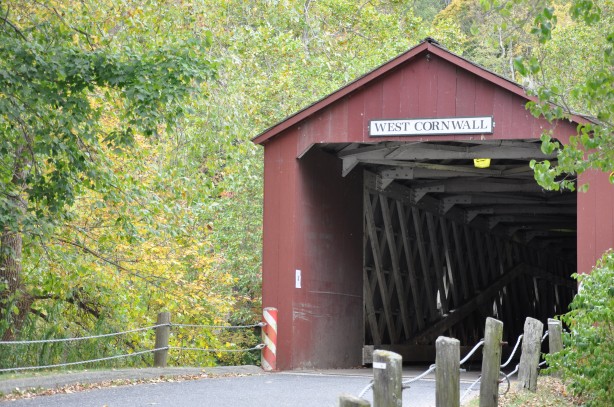
en route to West Cornwall.

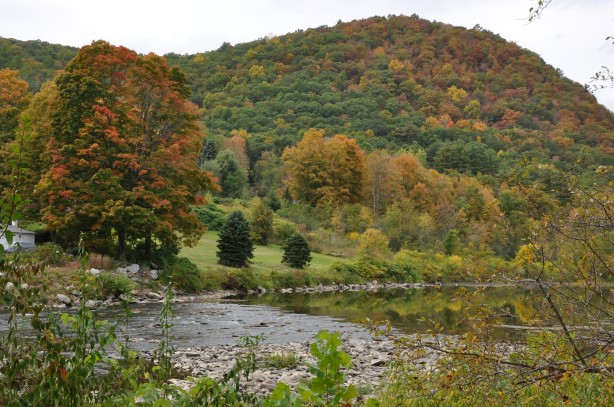
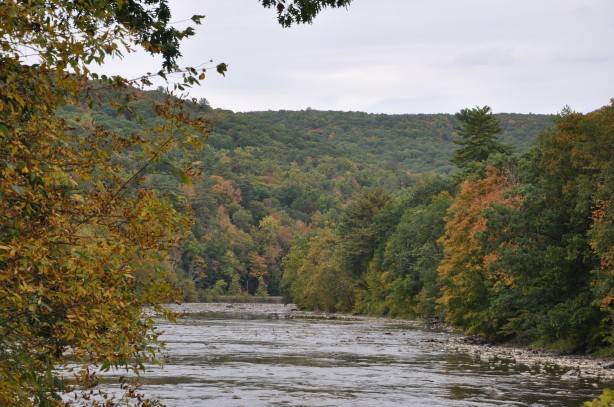
We continued down the side of the Houstatonic River

(Did you notice that my hair matches the foliage?)

towards Kent which, according to Yankee magazine, is the #1 place for New England Fall Leaf Peeping.

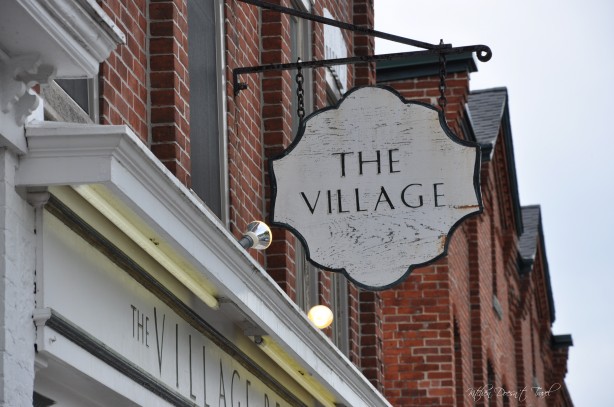
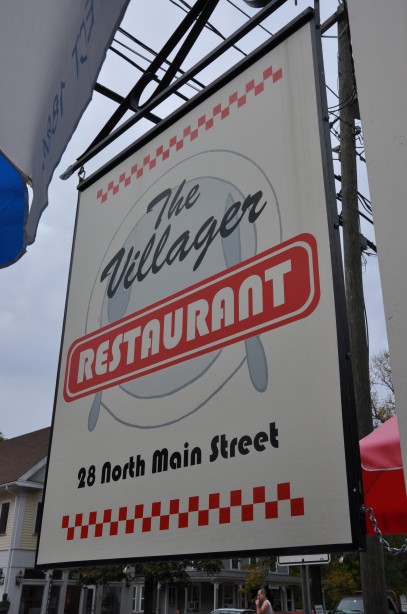
We were hungry when we got there.  Apparently EVERYBODY else read the same Yankee magazine article that I did because the tiny town of Kent, CT was P-A-C-K-E-D!!  The only place we could get in to eat was The Villager.

All I can say about that is – meh.  It was not quaint or delicious, nor was the food or service bad…just nothing special.

In my attempt to “go with the flow” for this trip and not plan it down to the minute, I failed to realize that taking in the best of Kent’s foliage would require a 5-7 mile hike.  I ask you – Do I look like I’m wearing appropriate hiking attire?

Those are 4″ heels.  No, I’m not hiking.

It was also nearing 4pm and we needed to get to Philly that night…5 hrs away.  So we barely skimmed the surface of Kent’s New England Fall goodness

and vowed to come back when we can stay in a B & B and really take it all in.

We hope this wet your appetite.  It certain did ours.  We will be headed back for another New England Fall Trip when we can go in October, stay longer, and cover more ground.  It probably won’t be for two years, though, as we are planning a trip back to San Francisco and the Wine Country next fall.  Don’t worry, though.  I’m saving my Yankee magazine.  So if you need any suggestions in the meantime, I’ve got the scoop!

Cheers y’all!
Wine Girl

Permanent link to this article: https://kitchendoesnttravel.com/archives/400

Beer Heaven

It has been a fun, but LONG day! We left our friends in Colchester around 8am this morning. Since then we have driven ALL OVER CONNECTICUT…literally!  We’ll recap that in a later post.

After many hours of driving, peeping, eating, taking LOTS o’pics and having a generally good time we eventually landed in the City of Brotherly Love – Philadelphia, PA. Tired, but hungry we took the conceirge’s advice and walked a few blocks down Chestnut Street to grab some sustenance at Triumph, a local microbrewery.

It had a cool vibe and I liked the decor. The brew list was artfully displayed on the wall…

but failed to impress in the glass. We split a sampler

then each decided to have a full pull of the Double Witbier.

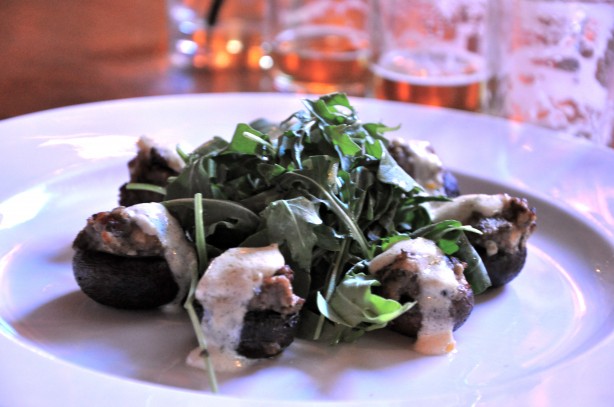
Apparently we visited Triumph on some sort of local musician open mic night. Being a singer myself, I typically would have found this to be cool but tonight it was just annoying…especially since the musicians were the only other people patronizing the brewery besides us. Triumph’s saving grace for us were these yummy stuffed mushrooms and mushroom ravioli.

One was an appy, the other an entree. We split them both.

Finished with our munchies and unimpressive brews we decided to head back to the hotel because as BG declared “Life’s too short to drink foamy beer.”

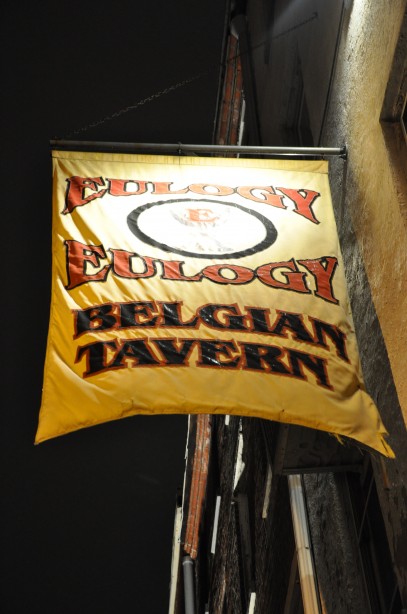
Across the street was a watering hole by the name of Eulogy.

It caught BG’s attention while en route to Triumph because of it’s name. Not wanting to end the day on a bad beer, he requested that we just cross the street “see what they have on draft.” Little did we know…we were about to hit the MOTHER LOAD.

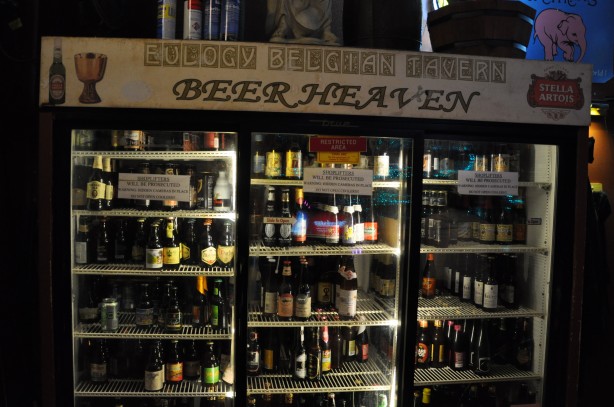
You see that?  THAT is Eulogy‘s BEER MENU.  This is a place that specializes in Belgian Abbey Ales – which just happen to be BG’s favorite beers!  Eulogy had 300 Belgian Abbey Brews available.  He quite literally thought he had died an gone to BEER HEAVEN!

He wasn’t that far off


We were greeted with this sign right inside the door

Now THAT’S a motto we can get behind!  We instantly knew we were in the right place.  Looking around, his eyes gleaming like a kid in a candy store, BG proclaimed -“I want to live here!”

Look at him.  He’s GIDDY!

And no, he’s not double fisting. That’s him bringing each of us a draft back from the bar.  Eulogy also had a unique draft list display playing off the whole monks/abbey motif.

I don’t remember which ones BG sampled, but I had the LaChouffe and the Abbey of Christ Monks Ale. While both were delicious, my favorite was the LaChouffe.

There were so many GREAT beers and we had so little time.  We only got to sample four but as BG said, that was 4 down and 296 to go!  So I think it goes without saying that the next time we are in Philly, we are DEFINITELY heading back to Eulogy!

Cheers, y’all!
Wine Girl

Permanent link to this article: https://kitchendoesnttravel.com/archives/321