Tag: Veggies

What the Heck Is Pone?

Every family has their holiday food traditions, right? How much to you want to bet you’ve never heard of anything like mine?

Any thoughts…

No? Ok, then. I’ll clue you in. But first, I must ask – Has anybody out there (outside of my immediate family) ever heard of anything called Sweet Potato Pone?

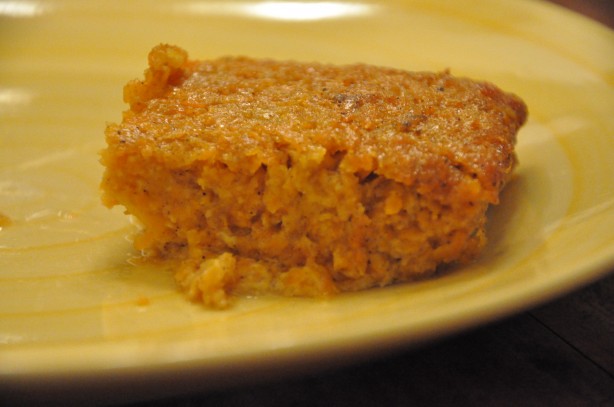
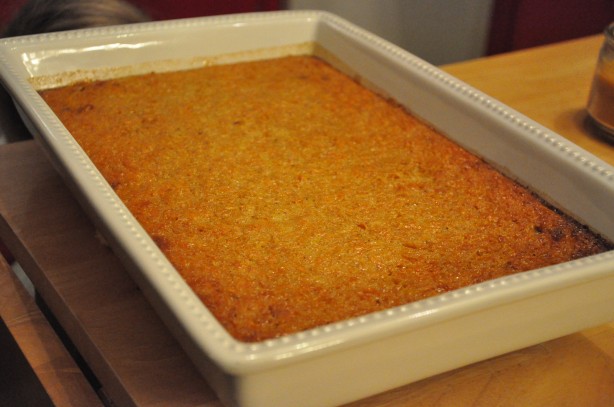
I didn’t think so. I’ve never said those words to any non-immediate family member who didn’t utter “Huh? A sweet potato what?” in response. But that’s it. That’s our It’s-Just-Not-Thanksgiving-or-Christmas-Dinner-If-We-Don’t-Have-This-Dish dish. Sweet Potato Pone. What is it exactly? You mean, aside from the most awesome way to eat sweet potatoes? Well, it’s sort of a cross between a sweet potato casserole and a sweet potato bread.

The idea of trying to explain this dish to the internet at large prompted me to do a quick Google search for “pone.” Pone is apparently some sort of bread my by Native Americans with cornmeal, basically the ancestor of what we now call cornbread.

Ok. So that makes sense to me as, again, this Sweet Potato Pone is a hybrid of a casserole and a bread. Generally, it’s pretty easy to make…that is once you get past the very first step. I’m not going to lie to you, folks, the first step is a pain in the A**!!

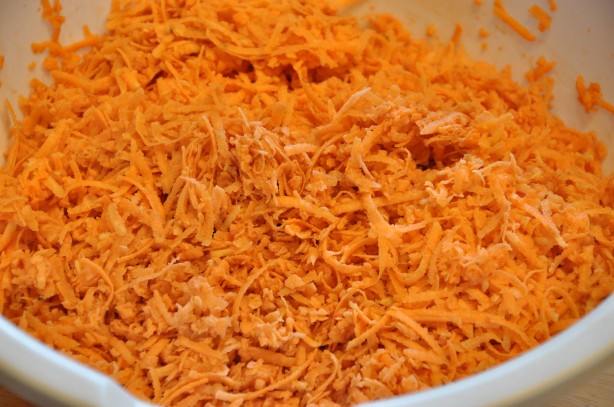
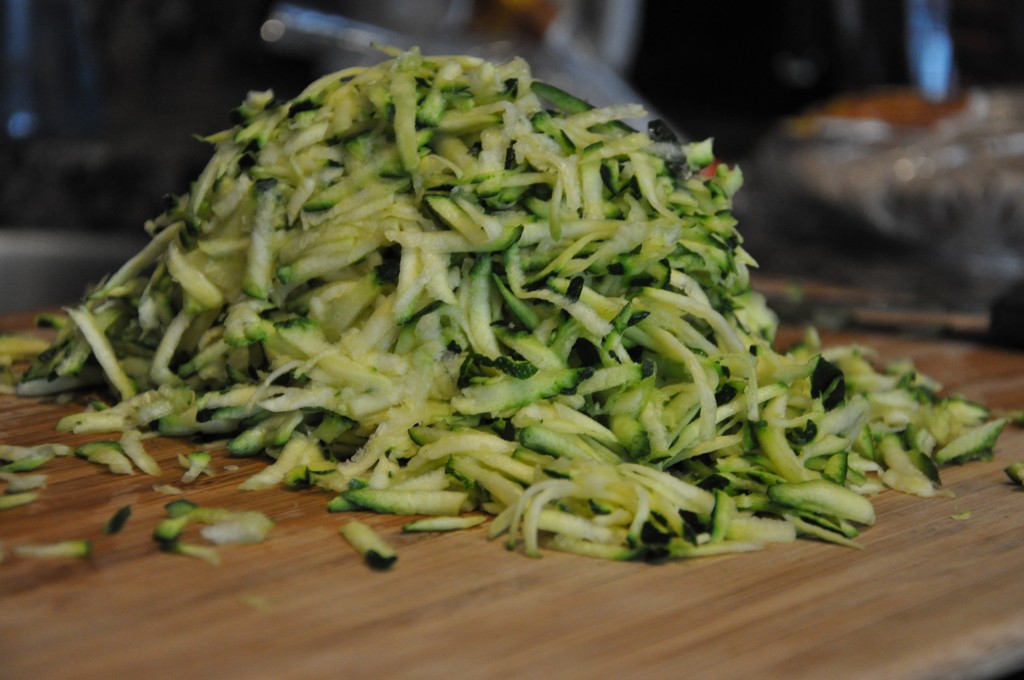
What is this wretched step, you ask? It’s grating 3 cups of sweet potatoes. You’ve basically got to turn this

into this

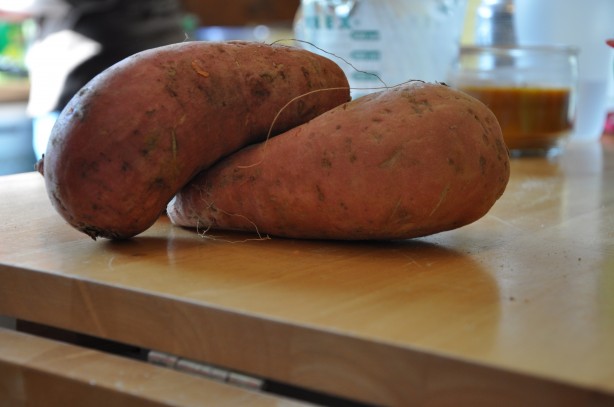
Since my family scarfs this stuff, we usually double the recipe…meaning we need 6 cups of grated sweet potatoes, which amounts to grating up about 6 sweet potatoes.  My baby sister and I had to take it in shifts, so that we didn’t wind up with shriveled claws for hands!

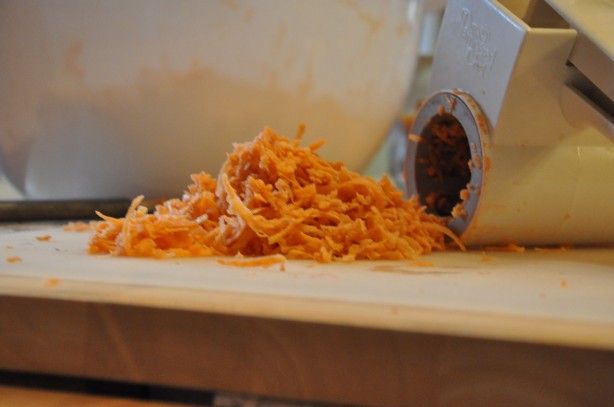
In the past I’ve always used your standard issue cheese grater. This year I decided to try my Pampered Chef Rotary Grater. I don’t know that I would say that this device made the grating easier, but it certainly did reduce the likelihood that I would shave off slivers of my finger or knuckles into the sweet potatoes as I grated…and grated…and grated…

After that, it’s a piece o’ cake…just mixing your standard baking ingredients and popping it in the oven.

I can not stress enough the importance of the inclusion of flour in the recipe…particularly self-rising flour.  This is a minor detail my grandmother failed to include when I attempted to make this for BG’s family the first Thanksgiving we were married.  As a result, I basically served them sweet potato soup.  I kept trying to explain to them that this was wrong…so very, very wrong.  They ate it anyway with weird grimacing smiles, but I haven’t been asked to bring it back to any of the subsequent holidays we’ve shared over the last 11 yrs.

Trust me, though, when you include all the appropriate ingredients – BAM! So very, very yummy!

Here’s the official recipe:

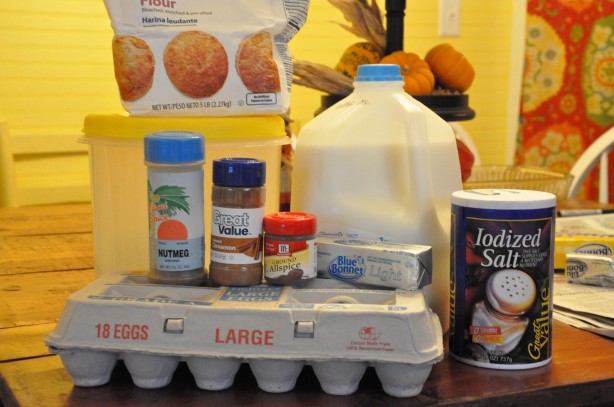
  • 3 cups grated raw sweet potatoes
  • 1 1/2 c sugar
  • 1/2 c melted butter
  • 4 eggs
  • 3 tbsp self-rising flour
  • 1/4 tsp nutmeg
  • 1/4 tsp allspice
  • 1/4 tsp salt

Mix in the order listed above. Bake at 350-375 degrees for ~45-60 min until a toothpick inserted into the center comes out clean.


Enjoy!  What about you?  In this holiday season, what are your family food traditions…or mishaps?  I’d love to hear them!

Cheers, y’all!

Wine Girl

Permanent link to this article: https://kitchendoesnttravel.com/archives/531

Comfort Food

It’s official.  I’m becoming one of my patients who says “I never had sinus or allergy problems until I moved to Charlotte.”  Well, it’s taken about 5 yrs but I officially one of them.  I say “it’s official” now because these exact same issues have hit me at the exact same time for the past three years.  For the past 5 day’s I have had progressively worsening sinus problems.  It started with a dull sinus headache that lasted for about three days, then became sniffles and a scratchy throat for about a day, then culminated in me spending 80% of yesterday in the bed with a sore, scratchy throat, stuffy nose, more mucous than I care to think about, and a head that felt like it weighed about twice as much as the rest of my body.  (Some of that was TMI, I know.)  As of yesterday morning, I officially don’t feel good.

For a couple days I was sticking to the soup regimen, but today I felt like I needed something a little more substantial.  And what did I want?  Cornbread and a plate full of Southern vegetables.

(Sorry for the blah pic.  I was hungry and didn’t feel good so I didn’t bother with aesthetics.  I’m also aware this was not a balanced meal as most of the things on that plate are yellow and – I’m not gonna lie – covered in butter.) My grandfather had a big garden, so my family always had fresh veggies around – either right out of the garden, or garden veggies that my mother and grandmother had frozen or canned during the summer.   I know there are many other Southern veggies out there, but these are what feel like home to me.  Just looking at that plate takes me right back to my grandparents house where, when sick, my mother and grandmother would pamper me to no end.  So when I’m not feeling well but am sick of eating chicken soup, eating warm cornbread, sauteed squash, butter beans topped with corn, and green bean casserole hits the spot.

My throat is still scratchy and my sinuses are still throbbing, but my tummy sure is happy!  What about you?  What’s your comfort food?

Cheers, y’all!
Wine Girl

Permanent link to this article: https://kitchendoesnttravel.com/archives/295

Dig This Zucchini Pizza

My new blog crush is Eat, Live, Run.  It’s author is Jenna, a food writer that’s been to culinary school, and is a relatively recent Southern transplant into Foodie-Wino Paradise (a.k.a. the San Francisco Bay area and adjacent Wine Country).  So since she writes about food and wine (two of my favorite things) and she lives in one of my favorite regions on the planet, I absolutely ADORE her blog.

A couple weeks ago she posted a recipe for “Cheesy Zucchini Pizza That Will Rock Your Face.”  It looked beautiful and super easy so I knew I had to give it a try.

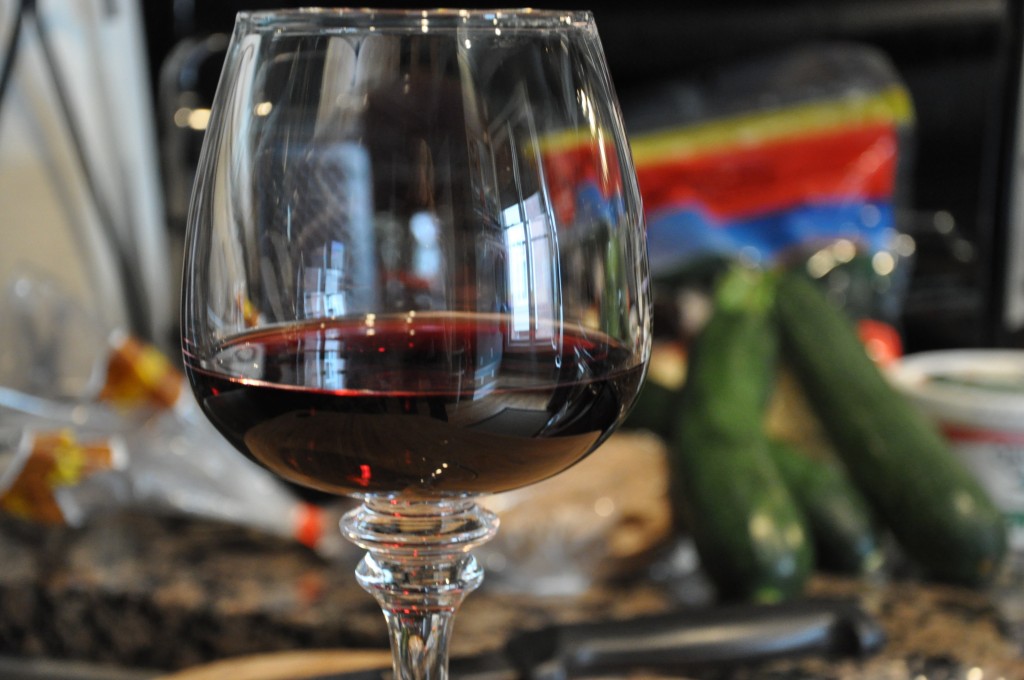
First step was to pour myself a glass of wine.  What? It’s in the recipe.  No, seriously.  It is. Click the link above to check it out for yourself.  Jenna specifically says “First, you must drink wine.”  Ok.  I’m in!

Tonight’s vintage of choice is the 2008 Estancia Pinot Noir.  Look for an Uncorked! on that later this week.

In addition to sipping a nice glass of Pinot Noir, the process includes grating the zucchini… (See.  Got the wine.)

mixing the “sauce” and toppings (with wine in tow)…

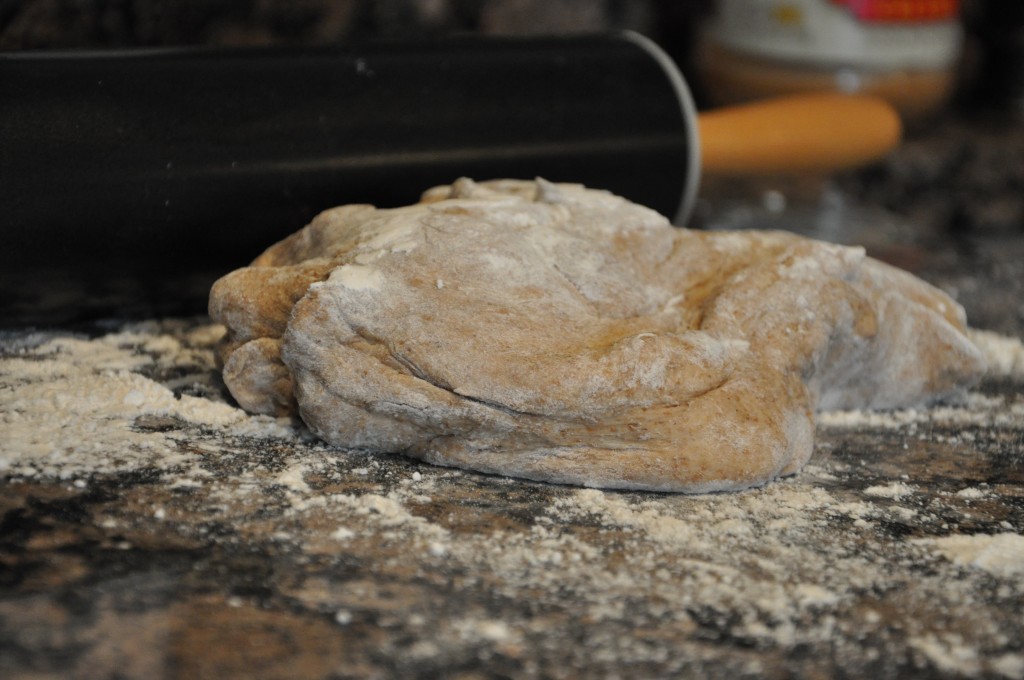
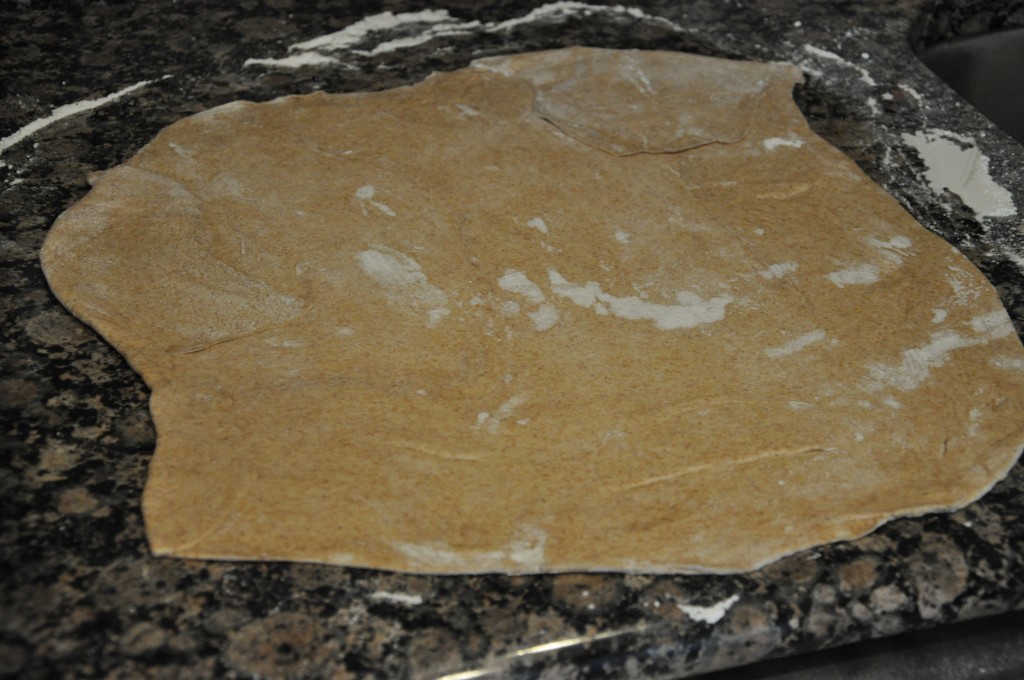
rolling out the pizza dough (not pictured, but the wine is present)…

putting it all together (wine still in the foreground)…

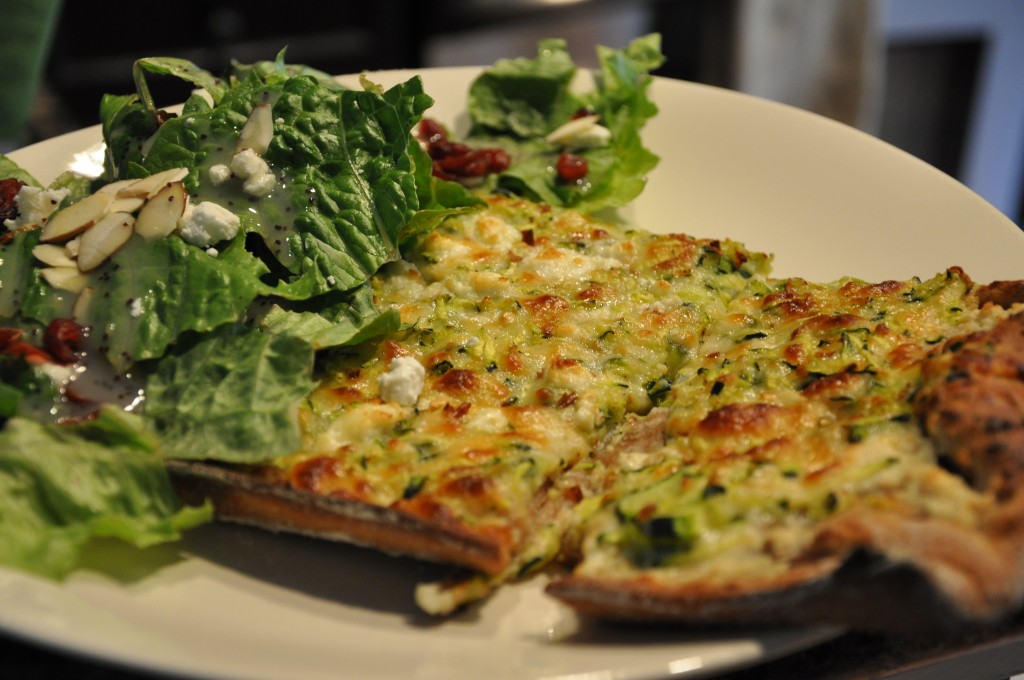
and baking it up.  Doesn’t that look SUPERB?

Jenna’s recipe did not call for it but since it’s National Goat Cheese Month, and goat cheese makes everything better, I sprinkled a little on top of mine. Mmmmm!!! Yum, yum, yum, yum, yum!!!

Regarding forming the crust, Jenna commented “I lack talent in the pizza dough throwing competition, so my crusts always end up looking a bit rustic, if you will.”  Well, tonight’s cheesy zucchini goodness is only my second attempt at making a homemade pizza, and in neither of these instances have I attempted to actually throw the dough.  I have a relatively new house with lovely (read CLEAN) painted ceilings and I prefer to keep it that way.  So, I used a rolling pin and my hands (I’m assuming that’s kosher in the pizza making world) and worked it into not really a circle, not really a square, not really a rectangle kind of shape.   It was sort of like a wonky parallelagram.

So  Jenna, if yours is “rustic” then mine is down right artisan! But like she said, “Ain’t no thang.”  It tasted good anyway!  In fact, it was FAB-U-LOUS!  I cut it into big ole “rustic” pieces and plated it up with a lovely little salad (topped with little clumps of goat cheese, of course).

The Beer Guy was even quite taken with it and, believe me, he is not a veggisaurus by any stretch of the imagination.  True to form, though, he did suggest that it would be “even better” with sausage!

Jenna promised that this was a “Cheesy Zucchini Pizza That Will Rock Your Face,” and I’m not going to lie to you, people.  It did.  It rocked my face! Check out Jenna’s blog for the full recipe and see for yourself.

Cheers, y’all!
Wine Girl

Permanent link to this article: https://kitchendoesnttravel.com/archives/243

Who Says Green Beans Can’t Be Awesome?

A couple of years ago I was at someone’s house for dinner and had some green beans tossed with some toasted almonds as part of the meal.  I just loved it, but somehow got away without asking her exactly how she prepared the green beans.  So when I got home, I decided to play around and see if I could recreate it myself.  It took a couple tries but I finally figured it out and, if I may be so bold, think that my version tops the original that initially inspired me.

Here’s what you’ll need:

1 lb of green beans (either pre-packaged or fresh from the Farmer’s Market) **I personally like the French Beans because they are thinner.

~ 1/4 c of sliced almonds

1-2 cloves of garlic, minced

~ 1 tsp of olive oil

Salt (preferably Kosher or sea salt) and pepper to taste

**I’ve never really measured any of this.  I just eye-ball it.  This is probably the only recipe you’ll ever find me saying that.  I’m generally a follow-the-directions-to-a-T kind of girl.

Here’s what you do:

You take these green beans

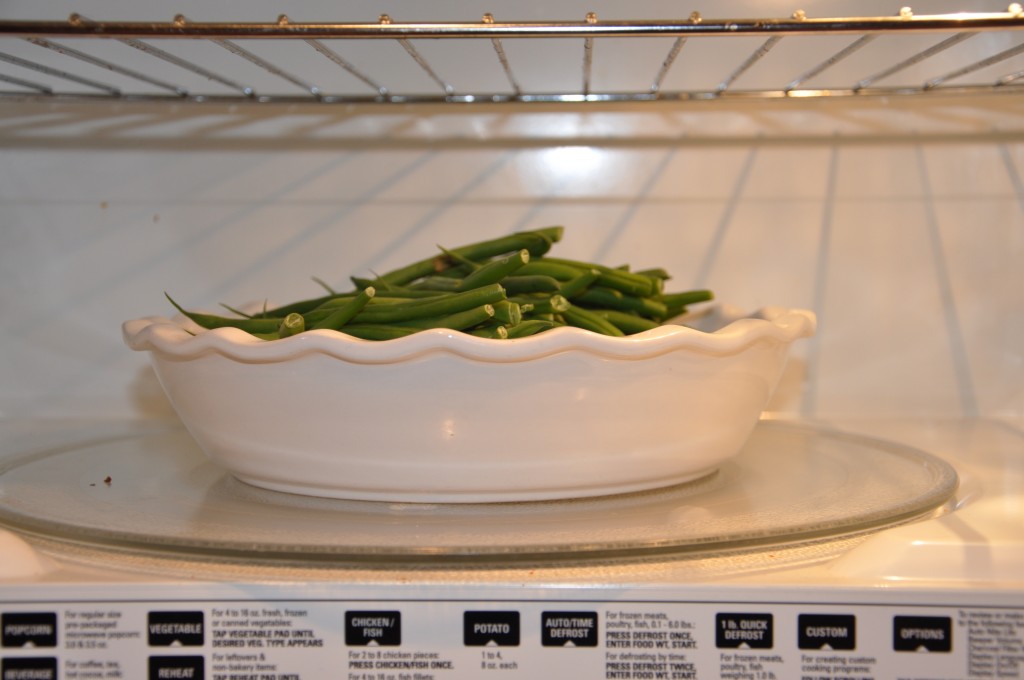
put just enough water in a microwave safe dish to cover the bottom, add the green beans, and pop them in the microwave for approximately 5 min to steam them like so:

Yes, that’s a pie plate.  It’s the perfect size for this dish and I don’t use it for anything else.  I like to cook, not bake.  So, I may as well use it for something!

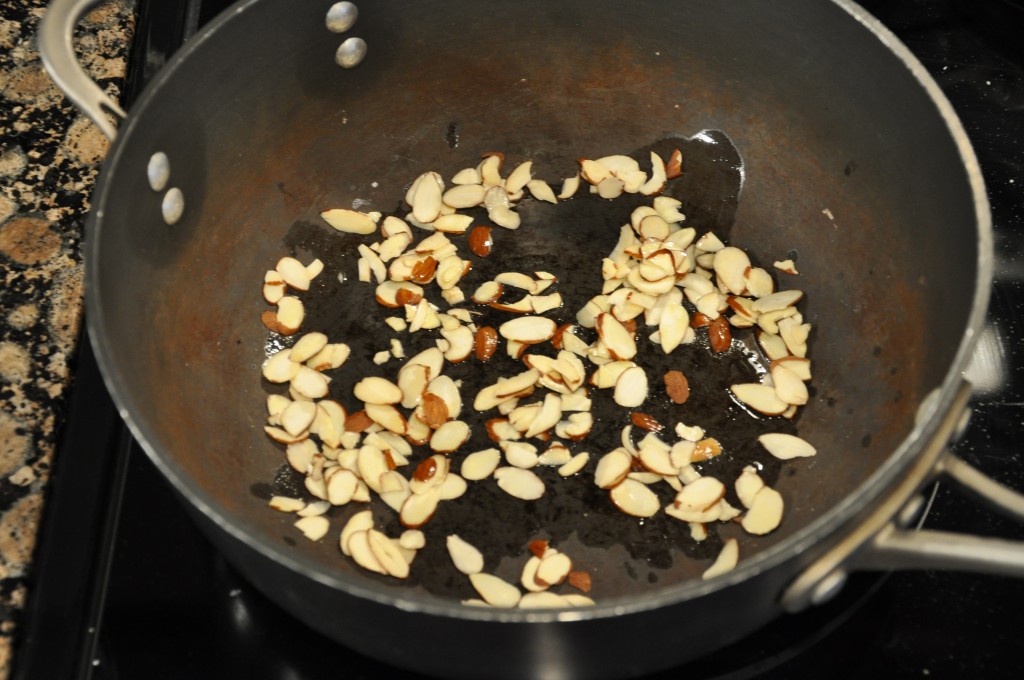
While the green beans are steaming heat the olive oil over medium heat in a skillet or saute pan.  Throw in the almonds to toast them.

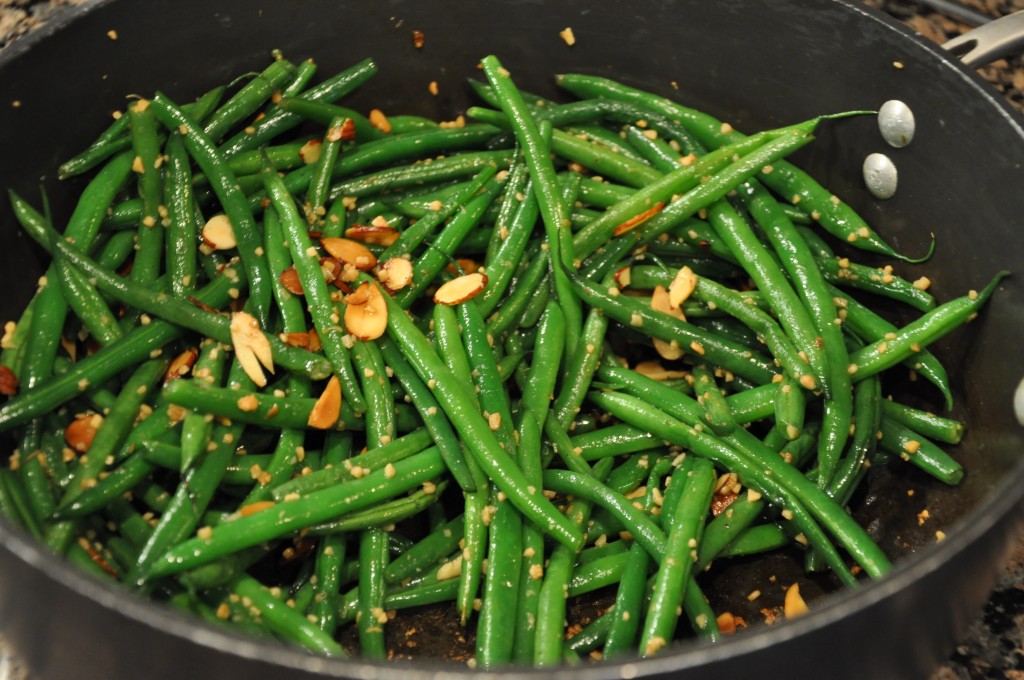
Once the green beans are done steaming, pour off the excess water, add them to the toasting almonds, and throw in garlic, salt, and pepper to taste.  (If you have a garlic press, by all means, use fresh garlic cloves.  If not, the pre-minced jarred garlic that you get in the produce section of the grocery store works just fine.)

I really like garlic.  Looking at that pic, I’m now thinking that my version may actually include 2-3 cloves.  Just use what you like according to your taste preference.

Toss to coat

and serve along side a main dish of your choice.  Tonight I had mine with Chicken Stuffed with Herbed Couscous.

The whole process takes 10 minutes tops.  See, I told you they were awesome!  Give them a try and let me know what you think!

Cheers, y’all!
Wine Girl

Permanent link to this article: https://kitchendoesnttravel.com/archives/194