Tag: Main Courses

Tour de Kitchens

Our friend Ashley

is renovating her kitchen.  When I say “renovating” I mean “gutting”… as in knocking walls down, rewiring, moving the appliance locations, new cabinets – the works!  That means she will not have a working kitchen of her own for a least 8 weeks.  She and her roommate, Lauren, devised a brilliant plan to ensure that they won’t have to live off Ramen noodles and take out for two months.  It’s called the Tour de Kitchens.  Here’s how it works:

  1. Ashley and Lauren threw a big cookout for all their friends before the big kitchen demolition.
  2. While at said cookout, all the friends signed up for a schedule of dates to have the two lovely ladies over for dinner – touring the kitchens of their friends and blogging about it along the way.
  3. Ashley and Lauren throw a big dinner party for all these friends once the kitchen is complete.

In a sense, they feed us twice and we feed them once.  Not a bad deal.  And a super fun idea!  I highly recommend it to any of you planning a major kitchen reno in the future.

Well, Sunday was our turn to host.  I love to entertain and always want to leave my guests wanting more.  So, I always try to make my dinner parties memorable.  However, for this particular dinner party the stakes were especially high. Let me explain…

First, Ashley is a foodie.  A serious foodie.  In fact, she’s been writing a blog called The Charlotte Food Snob since 2006.  It chronicles her adventures in eating out in our fair city.  Secondly, she’s in our church community group which takes turns bringing wine and snacks to various events.  Through our years in this group, I’ve developed a reputation for bringing awesome snacks like this and great bottles of wine such as this and this to our gatherings.  Not to toot my own horn, but people tend to get really excited when they know it’s our week to bring snacks.  I mean REALLY excited.

So, I’m hosting The Charlotte Food Snob herself AND I’ve got a reputation to uphold.  That means, I had to bring my A-Game.  Nothing less would do.

I find that there are three basic elements that will make or break your dinner party, not including the guests.  I call them The Three M’s of  a Successful Dinner party – Music, aMbience, and Menu.

First, the Music.  I keep a playlist on my iPod appropriately titled “Dinner Party.”  It’s a list of nearly 70 songs ranging in artists from Coldplay, to The Beatles, to Diana Krall, to Ben Harper, to Dave Matthews Band.  They are all groovy, but unobtrusive so they play nicely in the background without being “noisy” per se.   I hit shuffle so the songs play randomly and repeat so the whole thing starts over again, should we work all the way through the play list.  I usually start playing it over the speakers in the living/dining area about 30 min before my guests arrive to start setting the mood in my head.

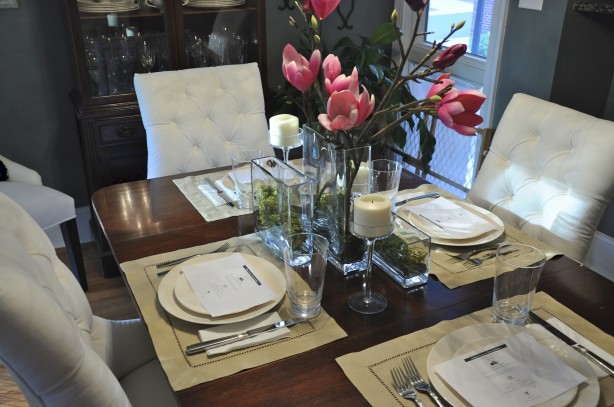
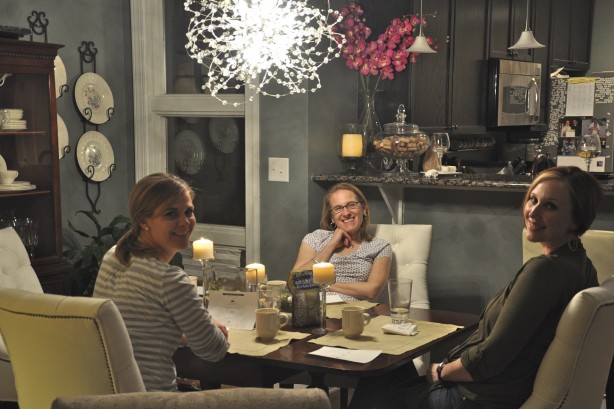
Secondly there’s aMbience…Well, you’ve got to set a lovely table

(dig my new chairs?) and lots of candles always help.

Finally, there’s the menu…Like I said, the stakes were high.  So this menu had to be FABULOUS.  It was pretty awesome, if I do say so myself.

The Menu
Appetizers – Goat Cheese Crostinis with Blackberry Ginger Balsamic Vinagrette
Salad – Baby Spinach with Goat Cheese, Raspberries, and Toasted Walnuts
in Warm Olive Oil and Blackberry Ginger Balsamic Vinegar

Entree – Salmon with Grits and Caper Cream Sauce and Asparagus a la Plancha
Wine – 2007 Stag’s Leap Cellars Sauvignon Blanc
Dessert – Coffee Caramel Creme Brulee

And, yes, the menu was so fabulous that I printed it up on card stock and placed it at each place setting. Like I said, I had to bring my A-Game.  And speaking of my A-Game, here’s my handiwork up close:

Well, most of it anyway.  I didn’t exactly get any pics of it, but I used an old faithful recipe, Goat Cheese Bruschetta, for the appetizer with a couple minor adjustments.  First, I used small crostini bread v. a large artisan loaf.  This gave them perfect bite-sized proportions.  Secondly, I used Blackberry-Ginger Balsamic Vinegar, rather than plain balsamic, for the vinaigrette.  Like I mentioned before…EPIC!

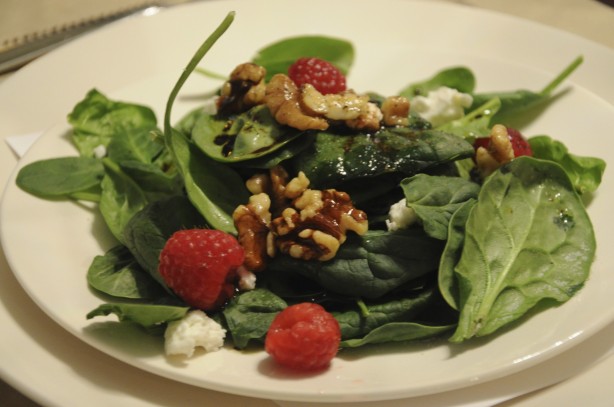
Next, there was a beautiful salad

The basis was a recipe for Baby Spinach with Warm Olive Oil and Toasted Walnuts that I saved from Martha Stewart Living months ago.  But, I wanted to add a little something extra to it.  Hence, the goat cheese and raspberries.  The recipe calls for white wine vinegar, but…I just happened to have this delicious Blackberry-Ginger Balsamic Vinegar from Mountain Town Olive Oil Co. in Park City.  So why go with white wine vinegar when I’ve got a bottle of that within reach?  Much more interesting!

I have to give a shout out to my colleague, Sam, who gave me a head’s up on the entree recipe from Epicurious.  Ladies and gentlemen, Salmon with Grits and Caper Cream Sauce

Sorry that the pic is kind of dark.  I was ready to dig in and did not have the patience for the subtleties of fine photography.   Nevertheless, it was as delicious and as it was easy to prepare, despite how fancy it sounds. However, in an effort to deliver the courses in a timely manner, I made the grits before our salad course and they weren’t quite as warm as I would have liked, despite keeping them in the “warming zone” of my range.  The grits cooked up very quickly.  Next time, I’ll just let the salad settle while I cook up both the grits AND the salmon.

Oh, I almost forgot about the asparagus.  It’s now one of my staples from my Spain cookbook.  So fresh!  So easy!  So YUMMY! (And it sounds super fancy if you are, I don’t know, say…printing it up on menu cards for your guests.  Just a thought…)  You basically drizzle a little olive oil and fresh lemon juice on some beautiful asparagus, salt & pepper them, then grill them up for 2-3 min on each side.  You can use an actual grill or a grill pan.  I, personally, like to use my Cuisinart Griddler.

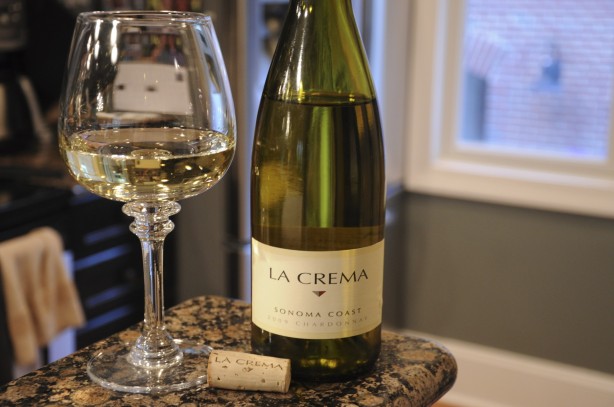
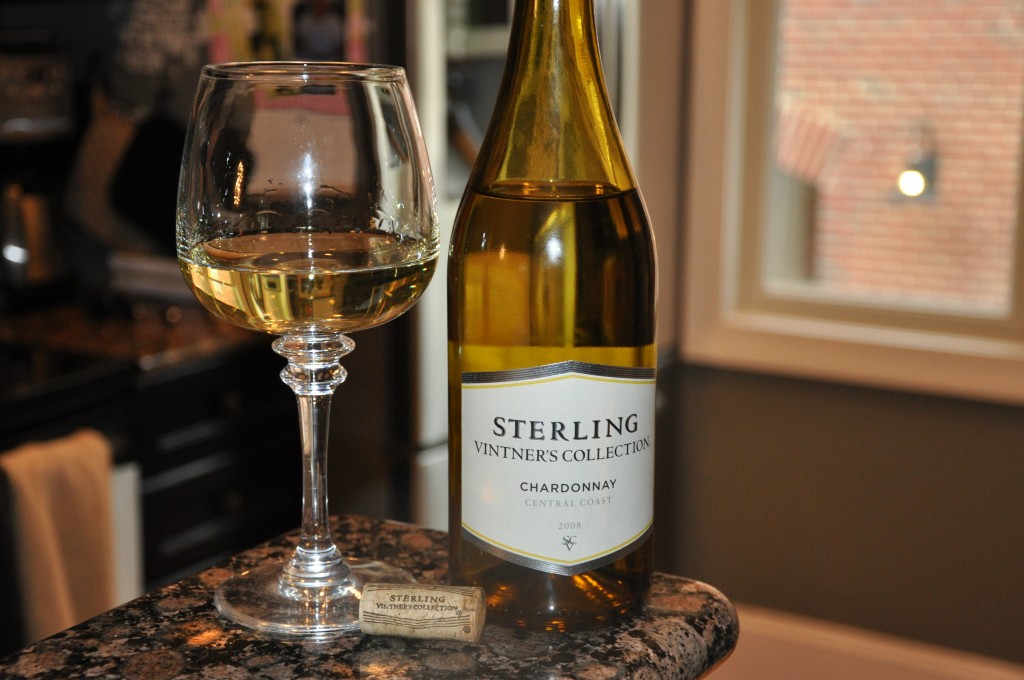
Of course, no dinner party is complete without The Wine.  Ashley and Lauren brought a bottle of 2009 La Crema Sonoma Coast Chardonnay.


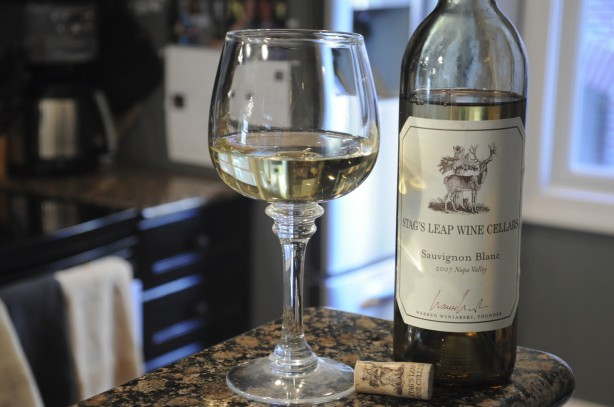
We sipped on that during apps and salads.  Epicurious especially recommended the 2007 Stag’s Leap Cellars Sauvignon Blanc to accompany my chosen entree.

Plus, there was a little bit of it in the Caper Cream Sauce.  It was a perfect pairing.  Needless to say, both bottles were empty before the evening was over.   And for the Piece de Resistance (drum roll please…)

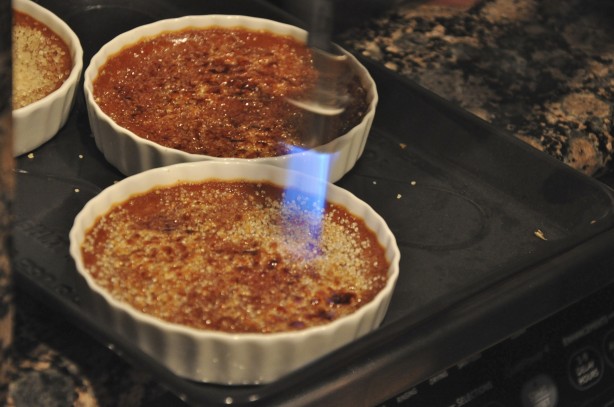
Homemade Caramel Coffee Creme Brulee!

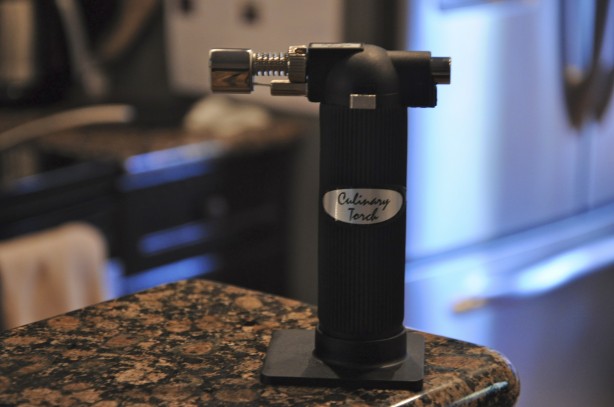
Yes, to make this dish at home did require the purchase of a small blow torch.

What?  There’s a rumor going around that this whole Tour de Kitchens thing is a competition.  So, a girl’s gotta do what a girl’s gotta do.  And if that means buying a blow torch…

then so be it! Seriously, though.  We had a blast hosting these ladies.

To hear their take on the evening, hop on over the The Charlotte Food Snob!  We’re looking forward to seeing how the rest of their Tour pans out.  And if this IS a competition, then I think we might just have this one in the bag! 😉

Cheers, y’all!

Wine Girl

Permanent link to this article: https://kitchendoesnttravel.com/archives/734

Brrrrr!

Well I don’t know about your neck of the woods, but it has been C-O-L-D in Charlotte.  The snow started falling in the wee hours of Monday morning and did not stop all day.  That is, of course, until the sleet and freezing rain started just in time for rush hour.

Luckily, this is the South…so there was no “rush hour” during the icy/snowy days. You Yankees readers will probably laugh, but at the slightest mention of a snow flurry, Southerners raid the grocery stores, stock up on bread, milk, and eggs like their life depends on it, and will cancel anything and everything for a mere inch of accumulation.  (Weirdly, when we lived in San Diego, I noticed that Southern Californians seemed to do the same thing with predictions of rain .) Oh, and BANANAS!  Bananas are apparently a necessity if you are going to be frozen into your house for 3 days.  I went to three grocery stores and I’m telling you – there’s not a banana in sight.

Today was the first day this week that the high’s here in the Queen City have risen above the 20’s.  As such, all that sleet and freezing rain left us with 1/4″ of ice on top of the snow.  If there is anything Southerners fear more than snow in the winter, it’s ICE!  So basically, I had all day Monday and half the day Tuesday off work.  And what’s a girl to do when she’s cooped up inside because because it looks like this outside…

Make SOUP! What else?

I recently came across the blog 101 Cookbooks.  I’m a REALLY late comer to Heidi’s blog, but I’m loving it so far. I loved it so much that I put her cookbook on my Christmas list this year…and got it!  I’m reading through it right now and hope to show off some recipes soon.  On New Year’s Day, though, Heidi posted this recipe for New Year’s Noodle Soup and I knew I had to try it…slightly modified to my taste, of course.  Being snowed in on Monday was the perfect opportunity.

Thankfully, I planned ahead and soaked my dried lentils and beans overnight so they were ready go when I was.    While heating olive oil in my big new Martha Stewart 7-quart Cast Iron casserole pot, I chopped a big yellow onion

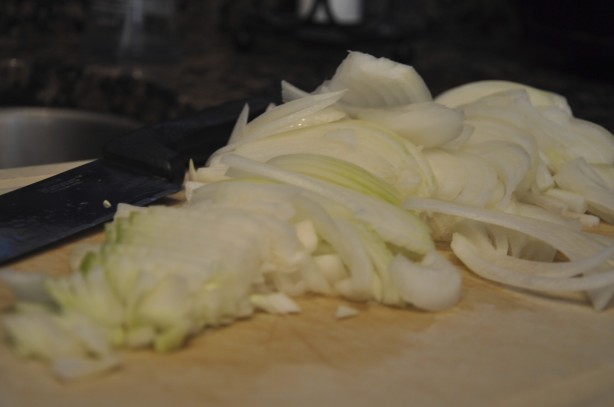
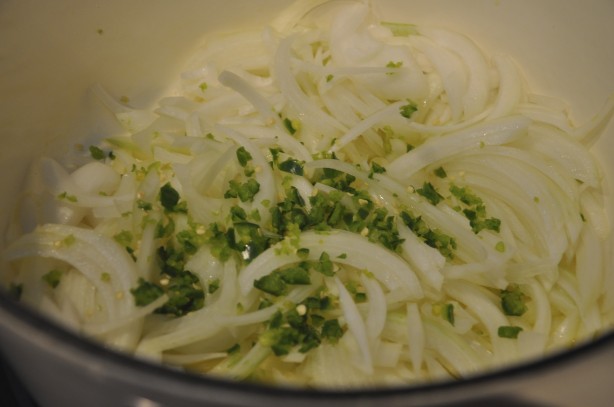
and minced a serrano pepper in my mini Cuisinart food processor then added them both to the pot.

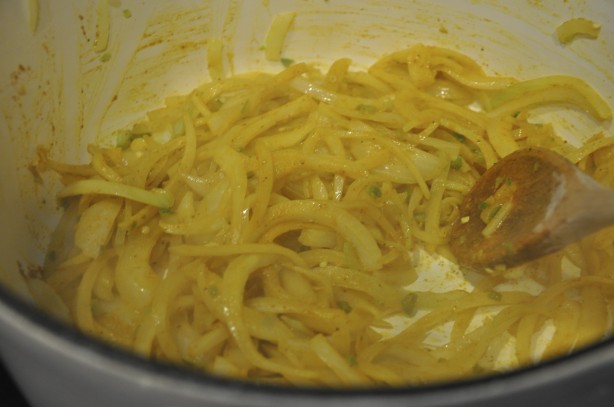
Next you throw in some tumeric, cumin, and freshly ground black pepper and mix it until the onions turn this gorgeous golden yellow color.

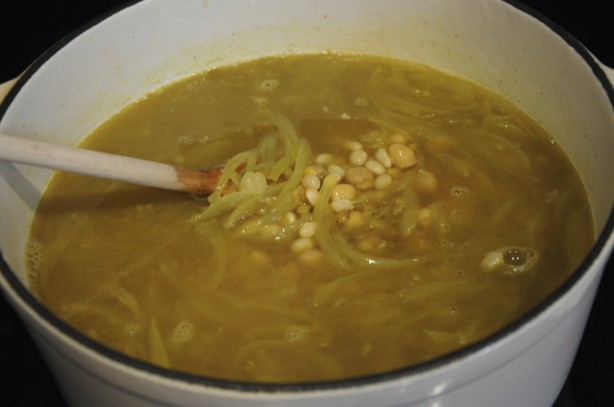
Then it’s time for the vegetable stock, lentils, chick peas, and beans.  Heidi’s recipe calls for borlotti beans, but I couldn’t find any to save my life – dried or canned.  So I substituted navy beans, and I think it turned out pretty well.

Let all that cook together for about 25-30 min, then add thin egg noodles.

**Side NoteThe recipe called for 120 g of noodles, which was about 1/2 of the bag I purchased.  With a little slip of the hand I accidentally emptied the entire bag of noodles into my pot.  All those extra noodles basically absorbed most of my soup liquid.  So, my “soup” actually turned out to be more like the consistency of Spaghetti-O’s…even after I added an extra quart of stock.  But it still tasted great and hit the spot during these last few icy cold days.

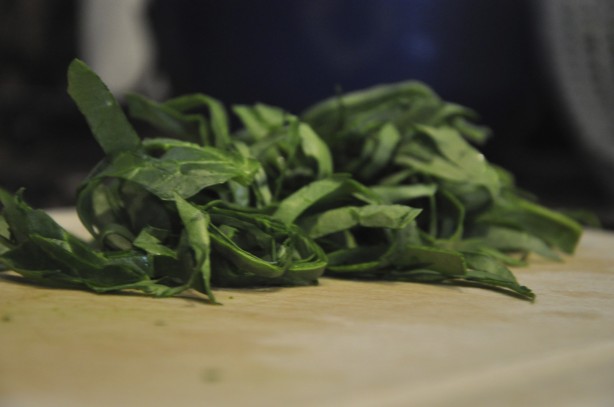
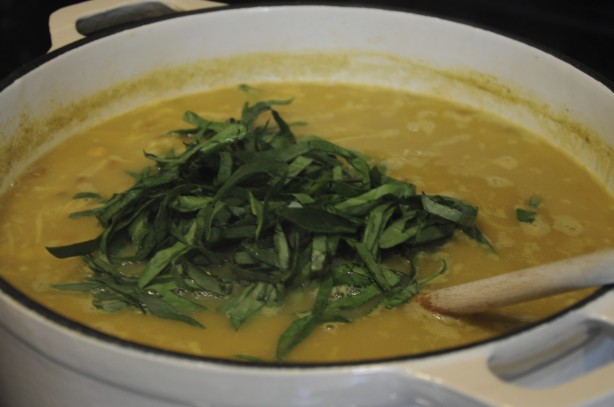
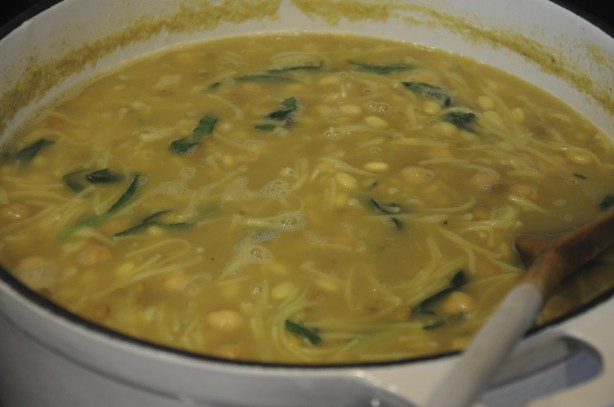
Just before serving, you add about 3 1/2 oz of spinach leaves.  I decided to chiffonade my spinach leaves because, frankly, the idea of encountering a huge wilty spinach leaf in a spoonful of my soup kinda freaked me out.

It’s not that I dislike spinach.  I’ll gladly eat it in a salad.  But I just can not bring myself to eat it cooked.  That pile of wilty spinach on my plate just grosses me out.  It grossed me out when Popeye squirted it out of the can, and it grosses me out now.

So I made sure than any wilty spinach I encountered in my soup would be as small and delicate a piece as possible, blending nicely the with noodles, legumes, and onions.  See…D-E-L-I-C-A-T-E…

You hardly notice it once you stir it in.  But doesn’t the green spinach look beautiful against lovely golden color of the soup!

Finally, the recipe calls for the addition of 1/2 cup of fresh cilantro and 2 tbsp of fresh dill.  These are both flavors that send a shiver up my spine and, for me at least, can ruin a meal.  I didn’t want to leave them out completely and leave the soup devoid of all flavor.  So I added them, but used dried in stead of fresh and cut WAY back on the amounts.  I think I may have added 3 tsp of each to the 7-qt pot o’ soup.  As such, I could discern a hint of each of those flavors in the finished product, but was not overwhelmed by them in the least.  For me, that was perfect.  If you enjoy these flavors, by all means, follow the original recipe and pile them in.

Lastly, Heidi suggests topping your bowl off with caramelized onions, creme fraiche, sour cream, or toasted and chopped walnuts.  I went for the walnuts and LOVED them.  I tasted the soup both with and without them.  While it was delicious either way, the walnuts added a completely new dimension of flavor.  And, because I’m a good Southern girl, I served it with a side of warm, buttery cornbread!  PERFECTION!

It was scrumptious and JUST wanted I wanted in this cold, cold weather…even if it was more like a pasta dish than an actual soup.  I will definitely be making this again.  Next time, though, I’ll go a little lighter on the noodles and I think I may add some shiitake mushrooms.

Cheers, y’all!
Wine Girl

Permanent link to this article: https://kitchendoesnttravel.com/archives/633

Grandaddy of All Ham & Cheese

So last week, after working at the hospital from 7a-3:30p all day Saturday, running around to do a little Christmas shopping, then spending 3 hours decorating the Christmas tree, I collapsed into a heap on the couch.  Firmly ensconced in my warm blanket with mulled apple cider in hand, I began to mindlessly flip through the channels and came across It’s Complicated on HBO.  Great movie.  I love Nancy Meyers movies.  If you haven’t seen it, you should.  But I digress…

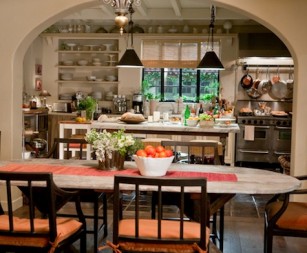
First, it must be said that Meryl Streep’s kitchen in that movie is A-MA-ZING!

Seriously, this is my DREAM kitchen.  But the kitchen is not the point of this post…it’s what is being eaten in this fabulous kitchen!  There is a scene where Meryl Streep and Steve Martin are eating a meal of what looked to be a large piece of cheesy bread, salad and some Chardonnay.  Now, the first time I saw this movie WHAT was being eaten didn’t catch my attention.  But this time, I went – “Huh, wonder what THAT is?”  Through the miracle that is the DVR, I was able to rewind and memorize the French name Meryl Streep called it…

Croque Monsieur!

When curious about making a French dish, there is but one “go to gal” – The Barefoot Contessa herself, Ina Garten.  A little search around the Food Network website informed me that this dish is basically a French Ham & Cheese sandwich.  Hmmm….and I just happen to have fresh homemade bread on my counter. What’s a girl to do?  Why whip some up, of course!

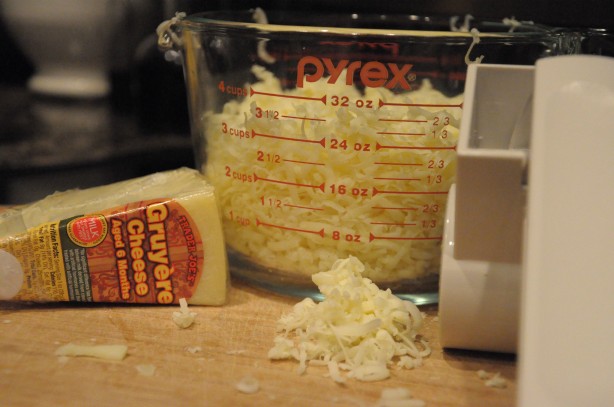
Check out the Barefoot Contessa’s full Croque Monsieur recipe here.  First you have to grate a lot of cheese – I mean a lot.  We’re talking 12 oz/5 cups of Gruyere

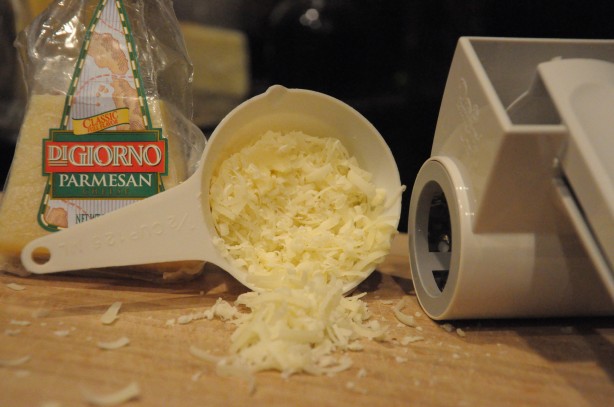
and a 1/2 cup of Parmesan.

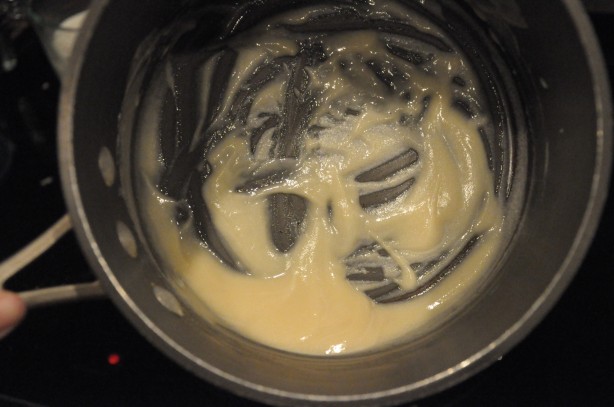
(Now, my Pampered Chef gadget definitely made this grating easier.) Then you melt some butter and stir in some flour until it looks like this.

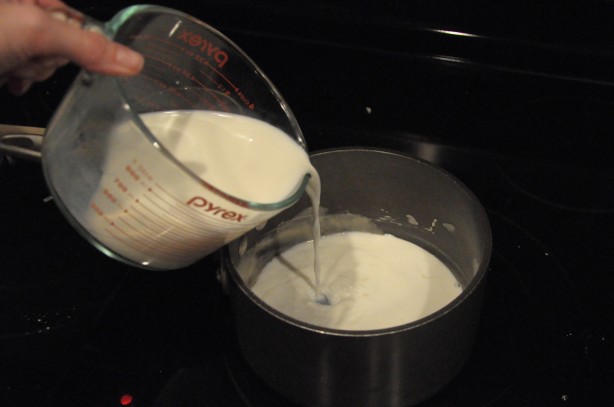
Did I just make a roux?  To finish off the sauce, stir in 2 cups of hot milk

followed by the Parmesan, a 1/2 cup of the Gruyere, salt, pepper, and nutmeg and stir it until it is a big ol’ saucepan of creamy, cheesy goodness.  And now, NOW is when we get to put that Beer Bread to good use…

First you slice it up, then toast it up, and cover it in Dijon mustard, sliced ham, and grated Gruyere

top if off with another slice of bread,

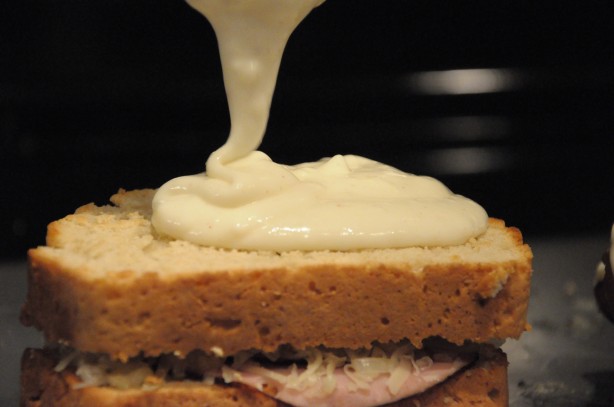
and cover it with the cheese sauce.

GET. A. LOAD. OF. THAT!!!!  Any recipe that allows me to ladle cheese sauce on to, well, quite frankly anything, is a winner in my book!

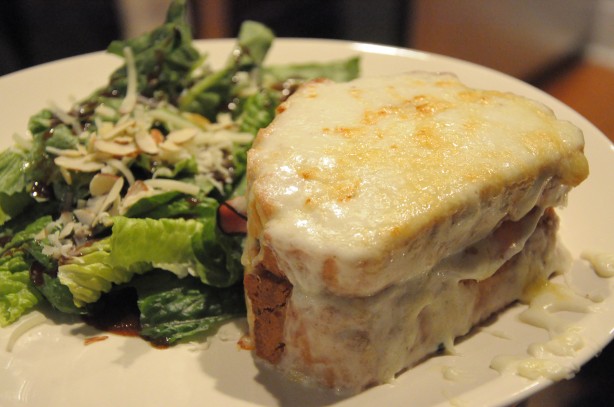
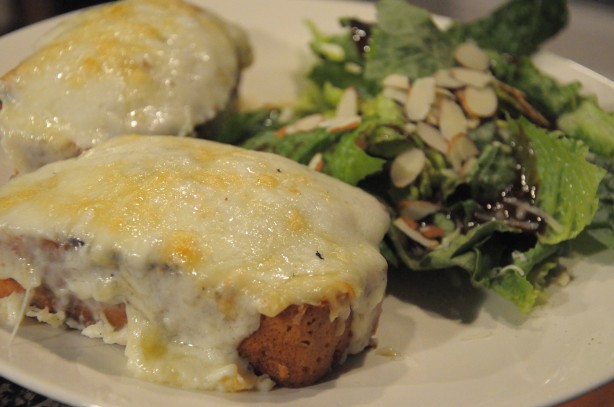
Believe it or not, you then sprinkle MORE Gruyere on top then bake and broil it until it looks like this

Now, BG was not about to let any of the cheesy goodness go to waste.

I mentioned that the fastest way to his heart was to combine his two favorite things – beer and bread.  Well, you add cheese to that and he is on Cloud Nine!

In all honesty I sliced the bread too thickly.  So, the next night I made it in an open faced version and much preferred that.  It’s much prettier that way, don’t you think?

BG declared that this was the “best damn ham and cheese ever” and I have to admit, I whole-heartedly agree with him!

Cheers, y’all!

Wine Girl

Permanent link to this article: https://kitchendoesnttravel.com/archives/545

It’s Chili Weather

It’s in the air.  You’ve no doubt felt it, as have I.  I’ve been waiting for it since it left last spring.  You know what I mean, right?  The CHILL in the air.  It was 37 degrees in the Queen City yesterday morning.  The leaves are turning.  Football is in full swing.  The jeans and light sweaters have been resurrected from the back of the closet.  It’s officially CHILLY outside.  That means…

It’s time for CHILI inside!

Here’s how to make My Momma’s Chili…which just happens to be the best EVER!

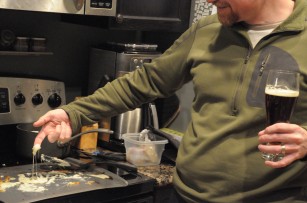
First you start browning the beef

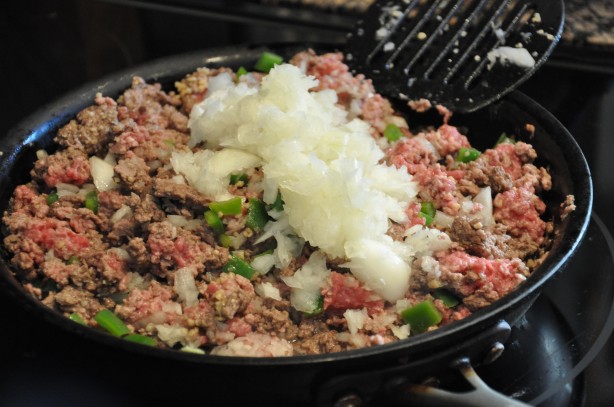
If that looks like a lot it’s because I double the recipe.  (It’s always better the next day because the flavors really mesh.  So I like to make sure we’ve got a few days worth prepared.) Meanwhile chop the bell pepper and the onion

(I hate chopping onions and I don’t like big chunks of onion in anything so I cheat and use the Cuisinart Food Processor)

When about half the beef is browned add peppers, onion, and minced garlic and continue to cook until all the beef is browned, then drain.

My mom always cooked this recipe in a soup pot on the stovetop.  In recent years I have found that a slow cooker works just as well…if not better.  So, next transfer the drained beef and veggie mixture to a slow cooker or soup pot, whichever you have or prefer.

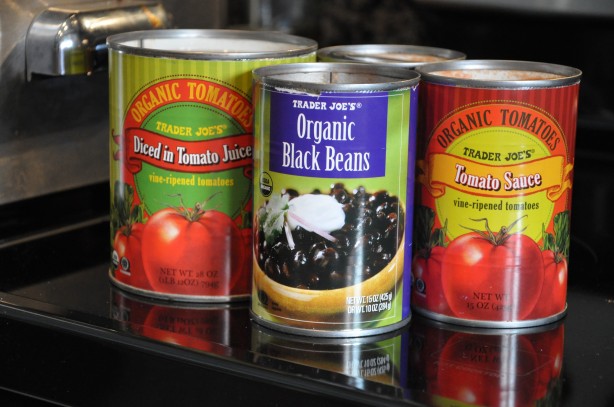
Next up are the canned ingredients

(I have dreams of going all Martha, starting a community garden and eventually using my own canned tomatoes for this, but for now TJ’s will do.) First the diced tomatoes

Then the tomato sauce

Then the beans

My mom’s recipe calls for kidney beans, but I am just not a fan of those.  I much prefer black beans so I substitute those.   (I also think that the contrast of the black against the red of the chili base looks prettier.  So it’s really a win-win.)

Next up are the spices

the water (remember, I’m doubling the recipe.)

and the tomato paste.

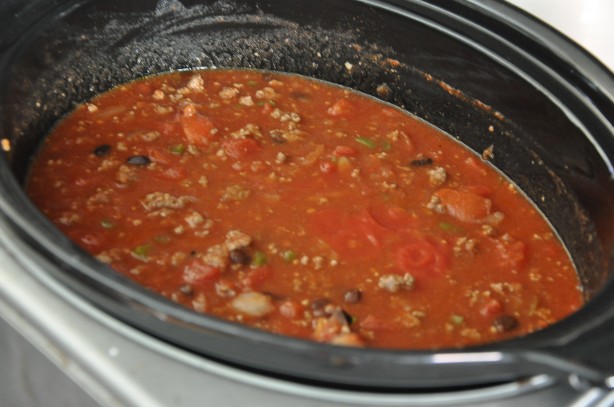
Then give it a good stir, cover it, and let it cook.  If you are using a slow cooker, put it on the low heat setting.  If you are cooking it on the stovetop, then simmer.  Either way it needs to cook for a couple hours, stirring occasionally, so that all the flavors meld together.  You’ll know it’s ready when it smells fantastic and all the ingredients look homogenized rather than separated in the pot…like this

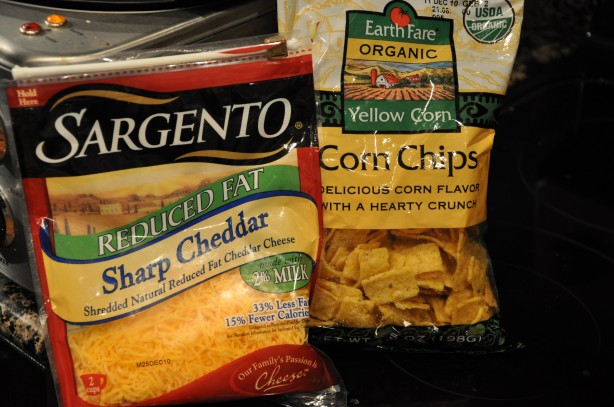
To serve it you’ll need corn chips and cheese.  I realize that the addition of corn chips is a little “low brow,” but, trust me, it’s worth it.

Cover the bottom of your bowl with the chips, top with a couple ladles of chili, then sprinkle with the shredded cheese.  Personally, I like a few corn chips on the side for added crunch.

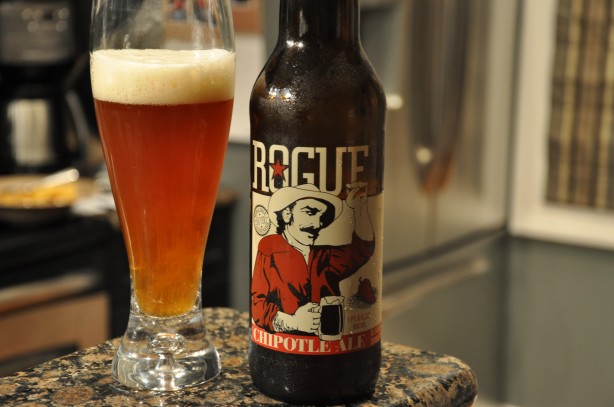
Of course you’ll also need a good brew to rinse it down.  I sent the Beer Guy on a beer run and he came back with this deliciousness – Rogue Chipotle Ale.

Many of our favorite beers are from the Rogue Brewing Company and this one has just been added to the list.  I must say, it’s smoky flavor, crisp mouth feel, and slightly heated finish were the perfect accompaniment to the Chili Dinner and the Chilly Weather.

Go ahead make this dinner for yourself and look for this great beer in your area.  Here’s the full recipe

My Momma’s Chili

  • 1lb ground beef
  • 1 can crushed or diced tomatoes
  • 1 can tomato sauce
  • 2 tsp chili powder
  • 1 tsp salt
  • 1/8 tsp cayenne red pepper (or more for spicier chili)
  • 1/8 tsp paprika
  • 1 medium onion (chopped)
  • 1 green bell pepper (chopped)
  • 1 clove garlic (minced)
  • 1 1/2 c water
  • 1 small can tomato paste

Brown meat, onion, pepper, and garlic in a skillet.  Drain.  Add all ingredients into a soup pot or slow cooker one at a time.  Mix well.  Bring to a medium boil. Stir often.  Turn down to low heat.  Simmer.  Cook until all tastes have blended together.  This can simmer all day, just make sure that it is not too fast or too high or it will scorch.  Add salt and pepper to taste.

Enjoy the warm chili in your tummy while the weather is chilly outside!

Cheers, y’all!
Wine Girl

Permanent link to this article: https://kitchendoesnttravel.com/archives/401

Dig This Zucchini Pizza

My new blog crush is Eat, Live, Run.  It’s author is Jenna, a food writer that’s been to culinary school, and is a relatively recent Southern transplant into Foodie-Wino Paradise (a.k.a. the San Francisco Bay area and adjacent Wine Country).  So since she writes about food and wine (two of my favorite things) and she lives in one of my favorite regions on the planet, I absolutely ADORE her blog.

A couple weeks ago she posted a recipe for “Cheesy Zucchini Pizza That Will Rock Your Face.”  It looked beautiful and super easy so I knew I had to give it a try.

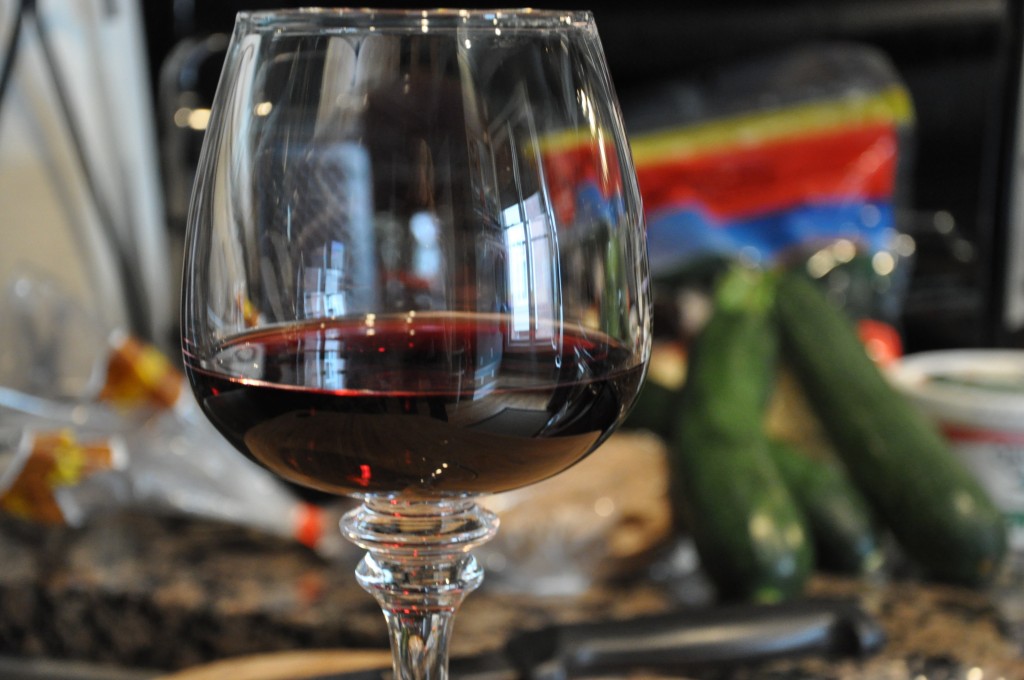
First step was to pour myself a glass of wine.  What? It’s in the recipe.  No, seriously.  It is. Click the link above to check it out for yourself.  Jenna specifically says “First, you must drink wine.”  Ok.  I’m in!

Tonight’s vintage of choice is the 2008 Estancia Pinot Noir.  Look for an Uncorked! on that later this week.

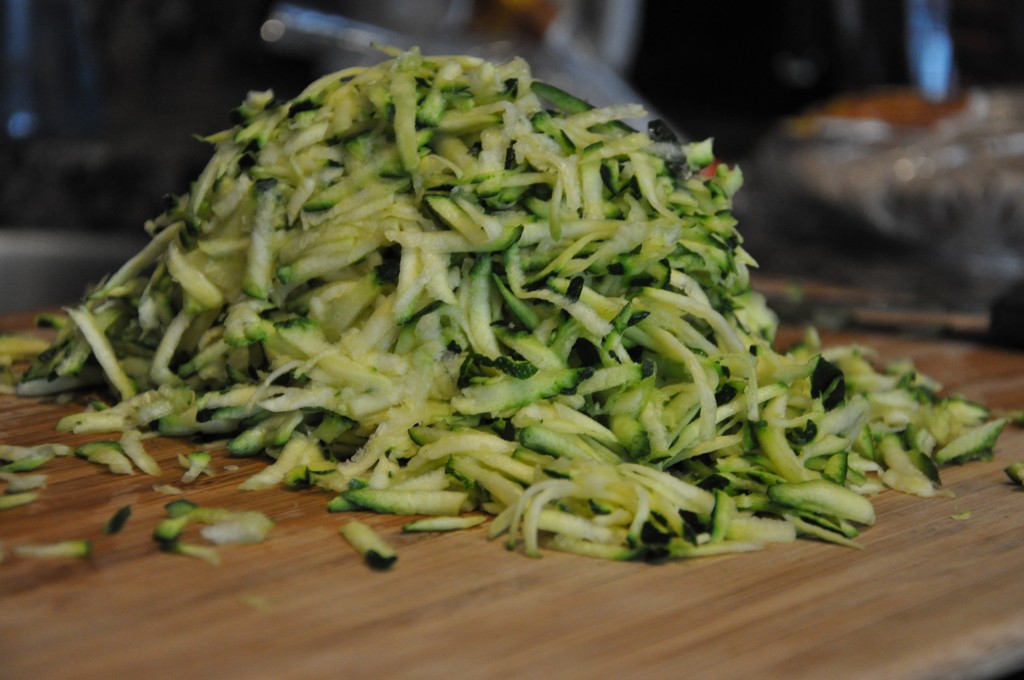
In addition to sipping a nice glass of Pinot Noir, the process includes grating the zucchini… (See.  Got the wine.)

mixing the “sauce” and toppings (with wine in tow)…

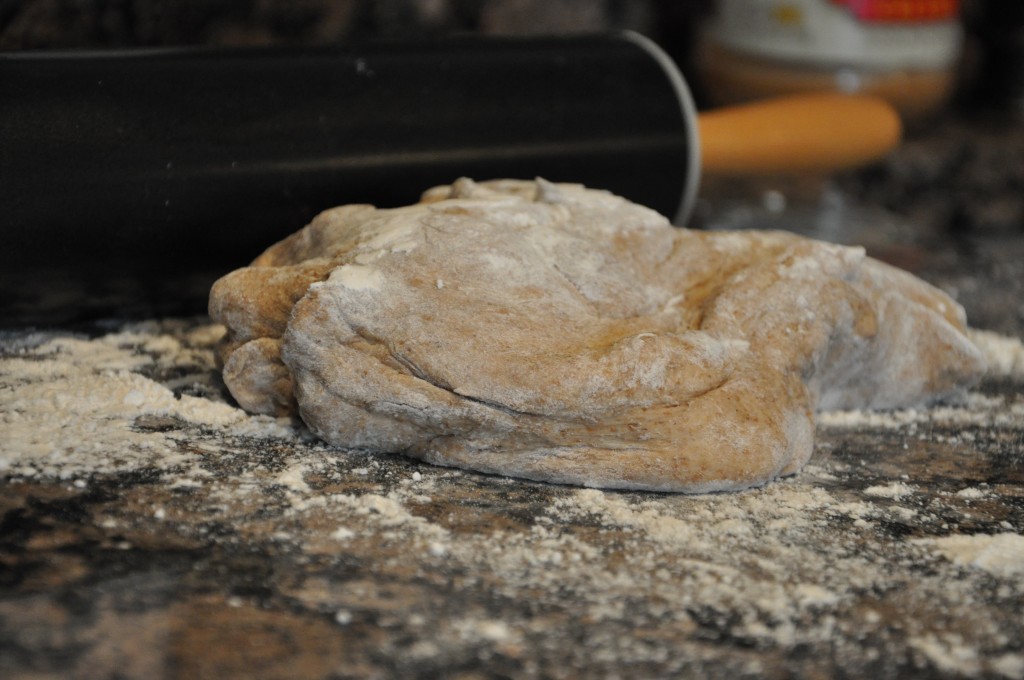
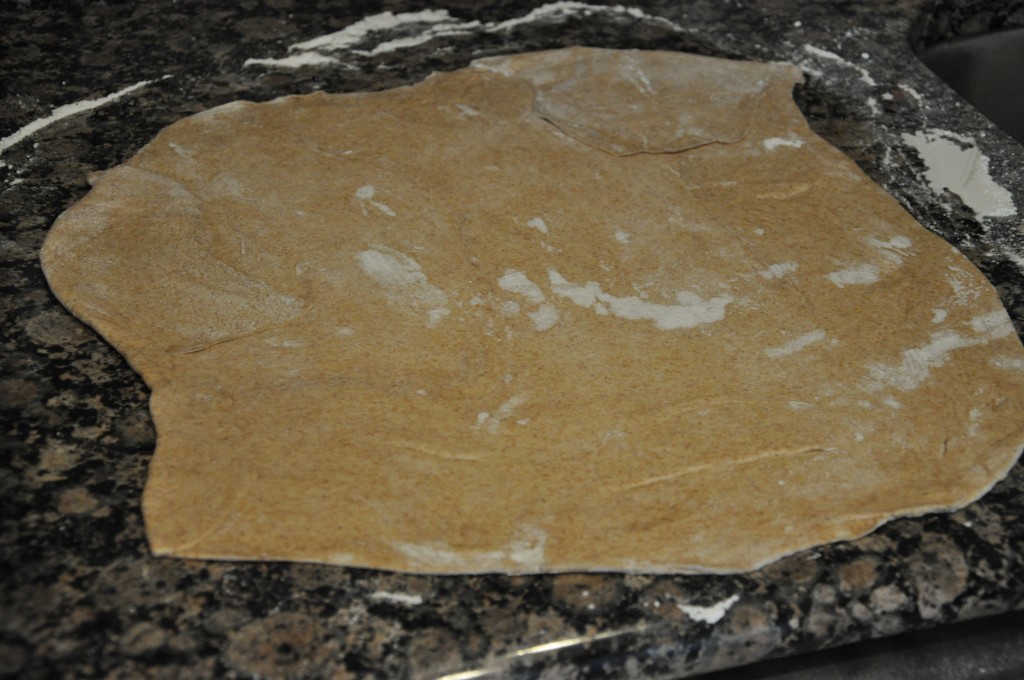
rolling out the pizza dough (not pictured, but the wine is present)…

putting it all together (wine still in the foreground)…

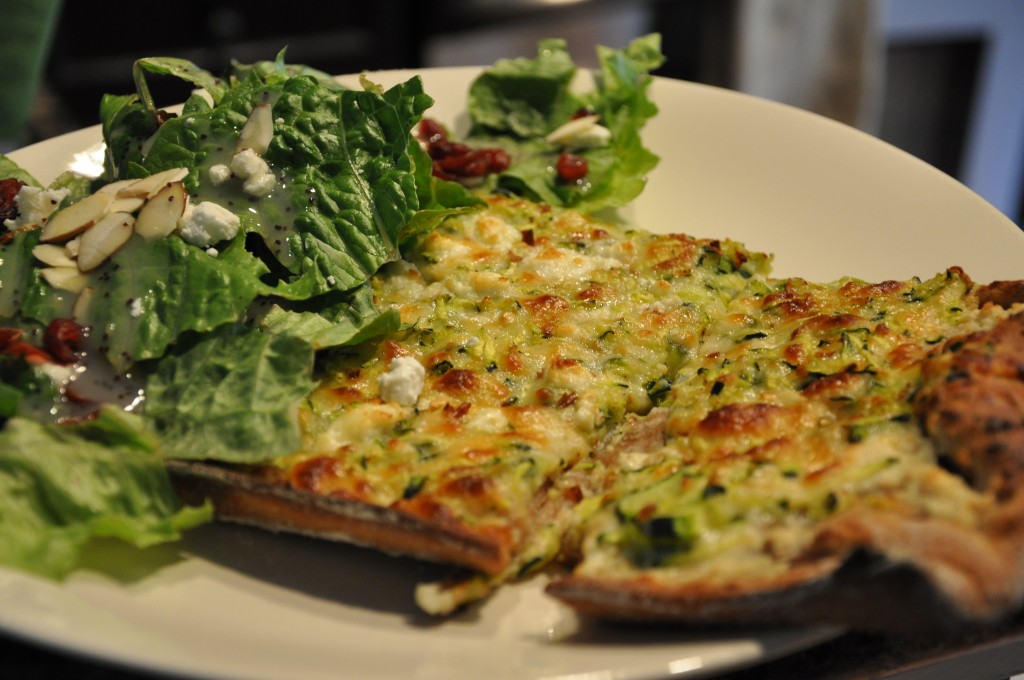
and baking it up.  Doesn’t that look SUPERB?

Jenna’s recipe did not call for it but since it’s National Goat Cheese Month, and goat cheese makes everything better, I sprinkled a little on top of mine. Mmmmm!!! Yum, yum, yum, yum, yum!!!

Regarding forming the crust, Jenna commented “I lack talent in the pizza dough throwing competition, so my crusts always end up looking a bit rustic, if you will.”  Well, tonight’s cheesy zucchini goodness is only my second attempt at making a homemade pizza, and in neither of these instances have I attempted to actually throw the dough.  I have a relatively new house with lovely (read CLEAN) painted ceilings and I prefer to keep it that way.  So, I used a rolling pin and my hands (I’m assuming that’s kosher in the pizza making world) and worked it into not really a circle, not really a square, not really a rectangle kind of shape.   It was sort of like a wonky parallelagram.

So  Jenna, if yours is “rustic” then mine is down right artisan! But like she said, “Ain’t no thang.”  It tasted good anyway!  In fact, it was FAB-U-LOUS!  I cut it into big ole “rustic” pieces and plated it up with a lovely little salad (topped with little clumps of goat cheese, of course).

The Beer Guy was even quite taken with it and, believe me, he is not a veggisaurus by any stretch of the imagination.  True to form, though, he did suggest that it would be “even better” with sausage!

Jenna promised that this was a “Cheesy Zucchini Pizza That Will Rock Your Face,” and I’m not going to lie to you, people.  It did.  It rocked my face! Check out Jenna’s blog for the full recipe and see for yourself.

Cheers, y’all!
Wine Girl

Permanent link to this article: https://kitchendoesnttravel.com/archives/243

Now THESE are Shrimp & Grits…

Y’all remember how I lamented the  Shrimp & Grits I had last week from Charlotte’s Bite Your Tongue, right?  I can’t help it, though.  You see, I’m spoiled…but let me back up.

I told y’all I went to Ole Miss, didn’t I?  Ole Miss is located in a town I love like no other – Oxford, Mississippi.  For a small Mississippi town, Oxford has a lot of culture and virtually nothing embodies local culture like food!  So it almost goes without saying that Oxford, the quintessential Southern town, is bursting with restaurants full of great Southern food.  During my tenure at Ole Miss and in the years I’ve returned to visit, I’ve seen many Oxford restaurants come and go, but there are a few that were there long before I got there and will probably still be there long after I’m gone.  One of these Oxford staples is City Grocery…and she makes some mean Shrimp & Grits!

Loving City Grocery’s Shrimp & Grits is actually how I learned to like grits period.  (Forgive me for I am about to speak, um write, Southern blasphemy!) I actually didn’t like grits until I got to college, fell in love with Shrimp & Grits, then decided I’d try them one day minus the shrimp.  Since I had never heard of or had Shrimp & Grits anywhere before City Grocery, I just assumed that this was a creation unique to this Oxford eatery.  It wasn’t until I moved to North Carolina that I discovered that Shrimp & Grits is actually cuisine straight from the South Carolina Low Country.

Nevertheless, I first came to love this dish at City Grocery and never eat it without thinking of my beloved Oxford.   So like any self-respecting Ole Miss girl, there will always be a soft spot in my heart (more like tummy) for City Grocery’s Shrimp & Grits.  It shouldn’t surprise me, then, that my Ole Miss friend and fellow blogger, Carmen from Keeping Up Klapper, left this comment on my Supper from N’Awlins post.

“It’s nearly impossible to find shrimp and grits as good as they make them at City Grocery in Oxford, right?! “

Little did she know…

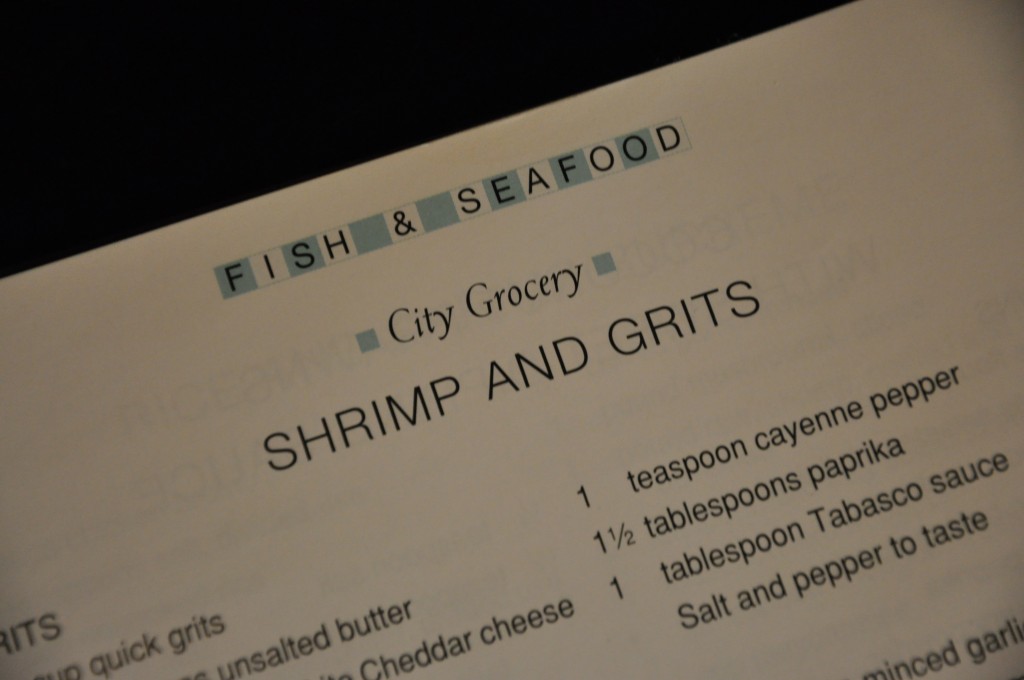
I HAVE CITY GROCERY’S RECIPE FOR SHRIMP & GRITS!!!!  And here’s the proof:

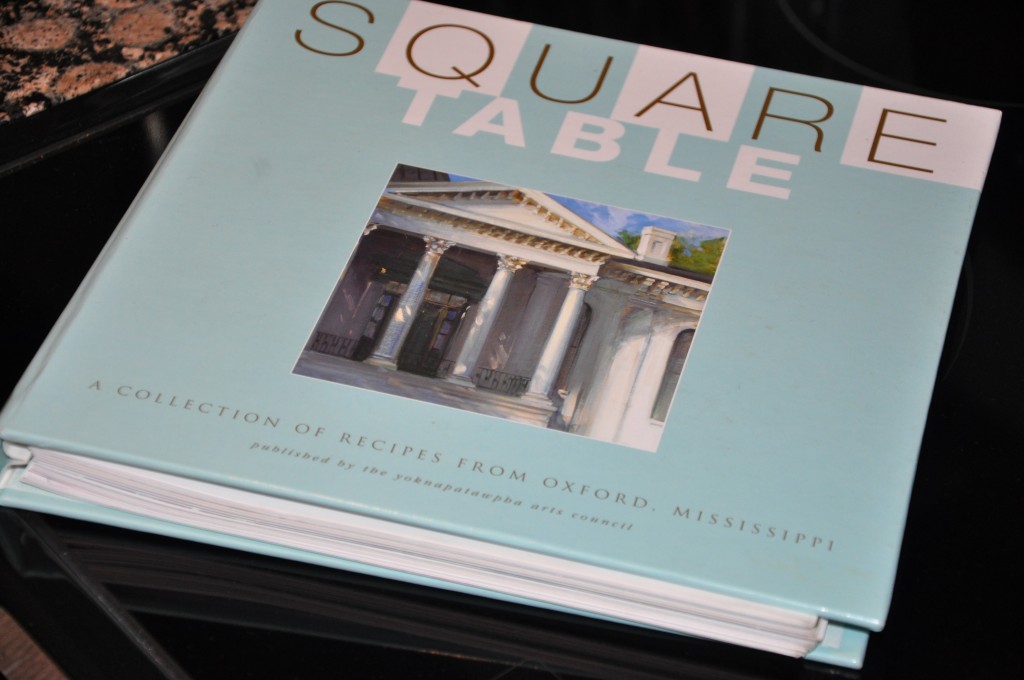
The recipe is included in this cookbook put out by the Yoknapatawpha Arts Council.

As you can see from the cover, it is “A Collection of Recipes from Oxford, Mississippi.”  For my fellow Rebels, not only does it have the recipe for City Grocery’s Shrimp & Grits, it includes several recipes from Yocona River Inn, Downtown Grill, Ajax Diner, and Bottletree Bakery, just to name a few.  It’s also peppered with Grovin’ Tips, recipes for Grove food, Mississippi art, and essays from famous Mississippians.  If you went to Ole Miss, you need this cookbook!

To get one for yourself, just stop by the Yoknapatawpha Arts Council website and get one for yourself here.

But enough about books…let’s cook!

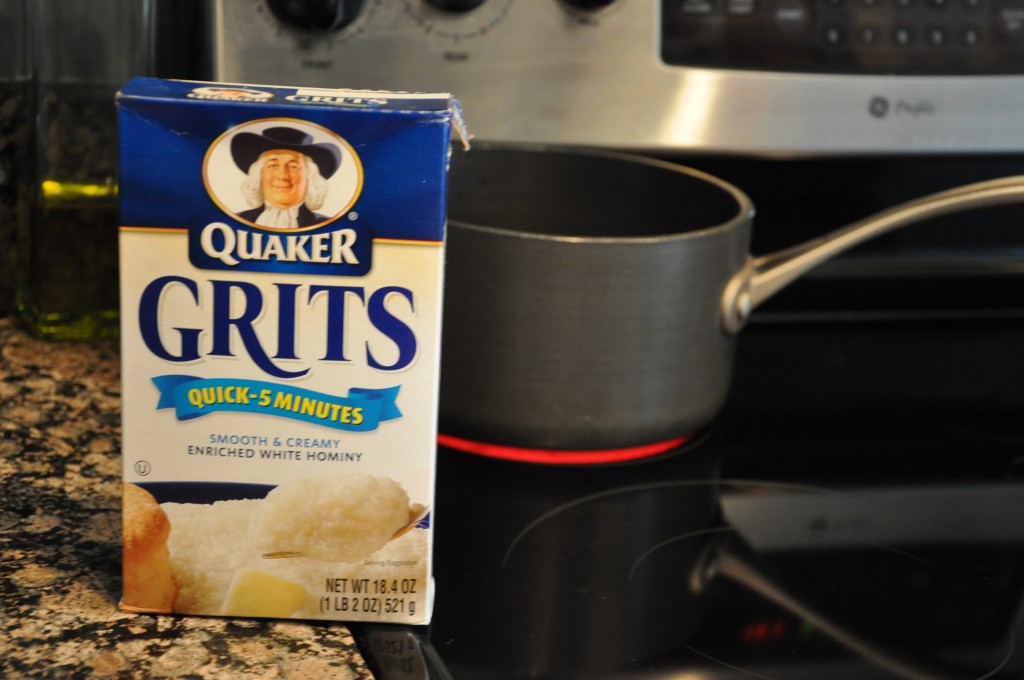
First you cook up some of these…

then mix in butter, sharp white Cheddar and Parmesan cheeses, cayenne pepper, paprika, and Tabasco sauce until they look like this:

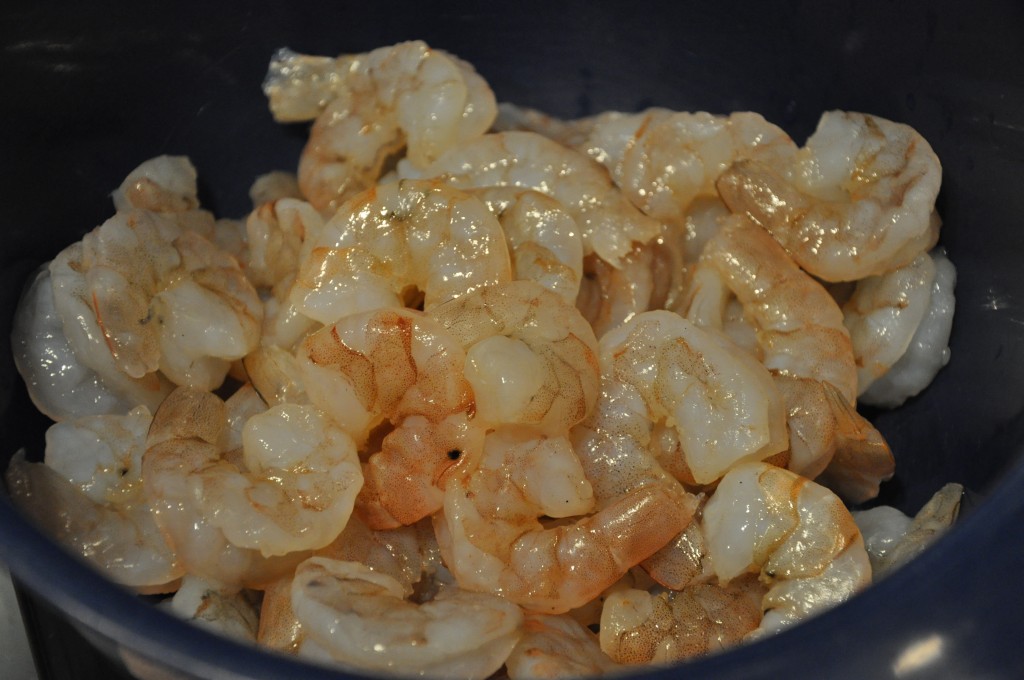
Then you take  1 1/2 lbs of these…

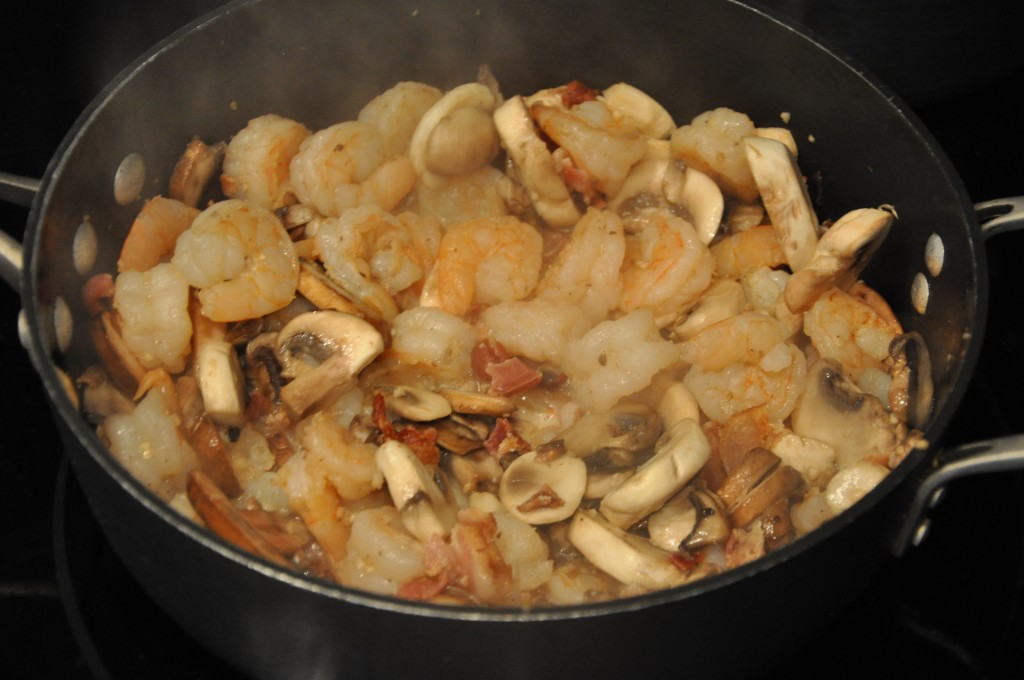
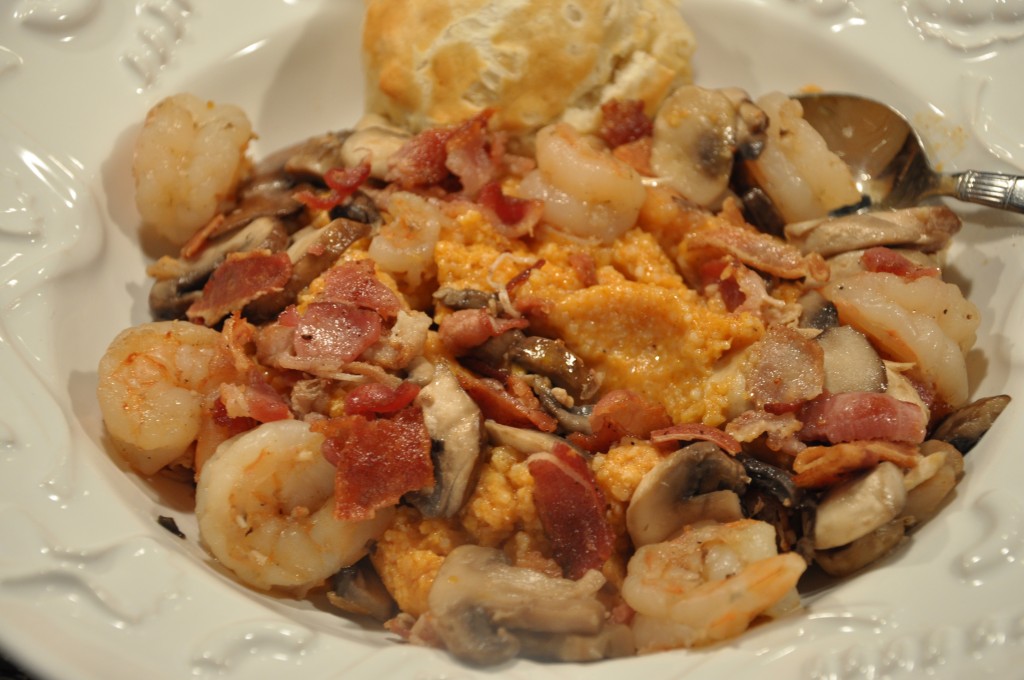
and cook them up in some olive oil with some bacon, mushrooms, garlic, lemon juice, and white wine like so:

I should tell you (as if you haven’t inferred it already) this is not a low-calorie dish.  Anything that has this much bacon in it should be eaten sparingly.

But when you do eat it…man, oh man, is it good!  (Side note- The recipe says to cook all that bacon in with the shrimp and mushrooms, but I find that makes the bacon get a little wilty again after it’s already been cooked.  So I reserve a couple crispy tablespoons to spinkle on the top of the finished product.)

I should also warn you that it’s got a kick!  I actually only put in half the Tabasco sauce the recipe calls for when I make it and I still need plenty of this to wash it down

along with plenty of water, of course. 🙂

Now THESE are Shrimp & Grits!

Cheers, y’all!
Wine Girl

Permanent link to this article: https://kitchendoesnttravel.com/archives/155

Paella’s Key Ingredient

Consider this post to be an addendum to my initial Spanish Cooking Saturday’s post on paella.  When I made it at home for me and the Beer Guy, I did it for two reasons: 1) I’d been wanting to make it for over a year and I finally had the pan to do it, and 2) I needed a trial run before I made it for my family while we were at the beach.

Since we were on the coast and I had access to more beautiful, fresh, local seafood,  I decided to add a few ingredients that I didn’t have in my first batch.  In doing so, I realized there is one ingredient that you should never make paella without.

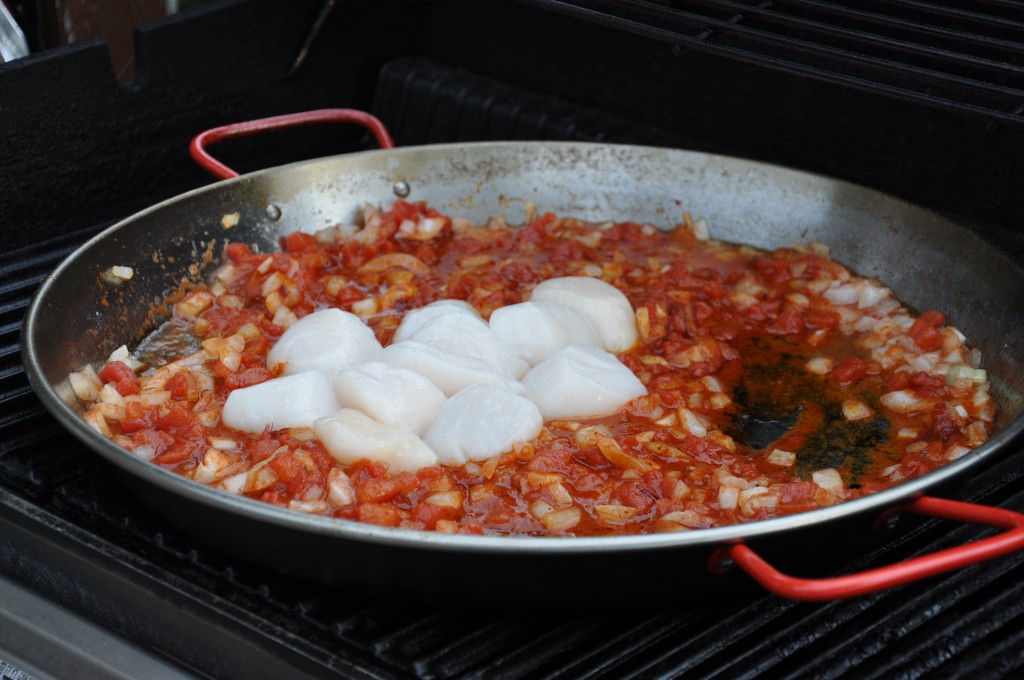
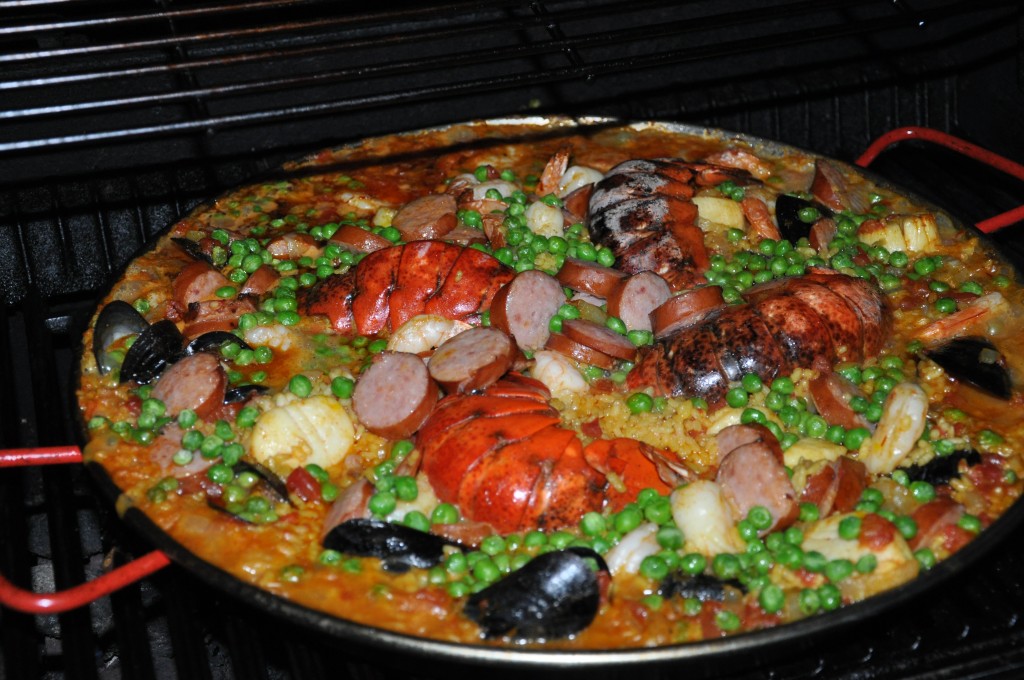
Was it these beautiful scallops…

or these meaty little mussels…

or the smoked sausage (the shrimp, lobster, and peas were in my first batch)….

or the moonlight under which it was cooked?

Nope.  While all this ingredients definitely added more depth and ambience to my seafood paella, none of them are essential as paella can be made with any kind of meat/game, chicken, duck, or seafood.

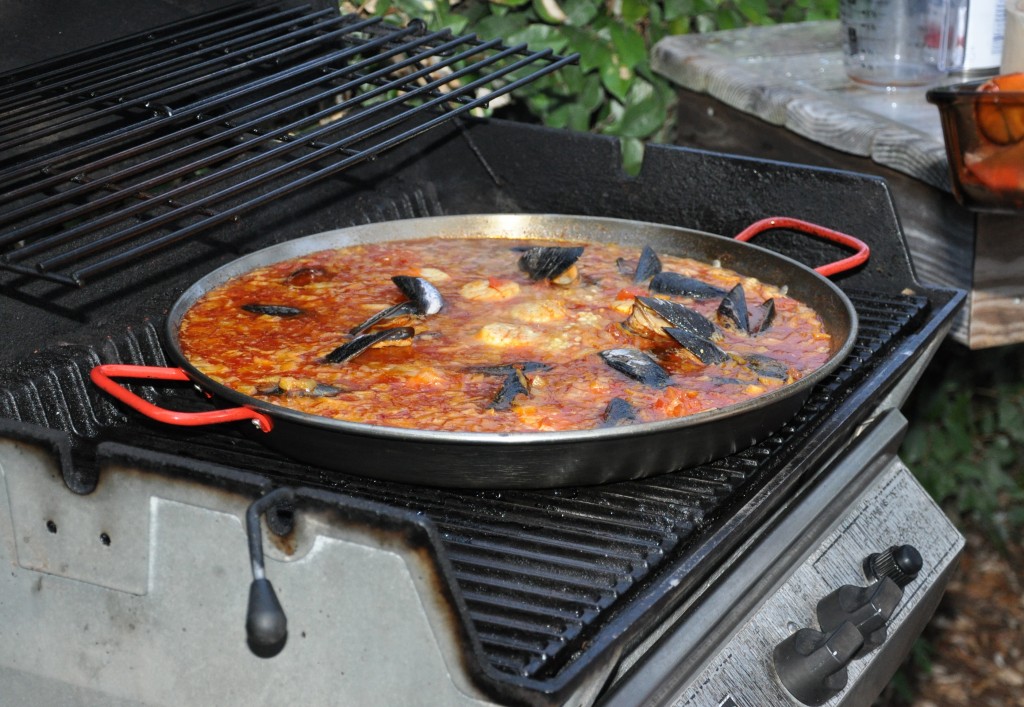
The key ingredient to paella is COMMUNITY!  I mentioned in my inaugural paella post that real Spaniards eat the paella right out of the pan.  While BG and I had a blast doing that very thing the first time around, my pan holds 8-10 servings.  So the first night we had it, we got to eat it out of the pan  but the subsequent nights we had to dish it out in to bowls and reheat it.  That, of course, dried it out a little.

But to sit it in the middle of a table, encircled by my family, was priceless!  We had a little pan con tomate on the side too.  (I was too busy eating to get a pic of that.)  The fact that we were doing this seaside, poolside, and under the stars wasn’t too shabby either!

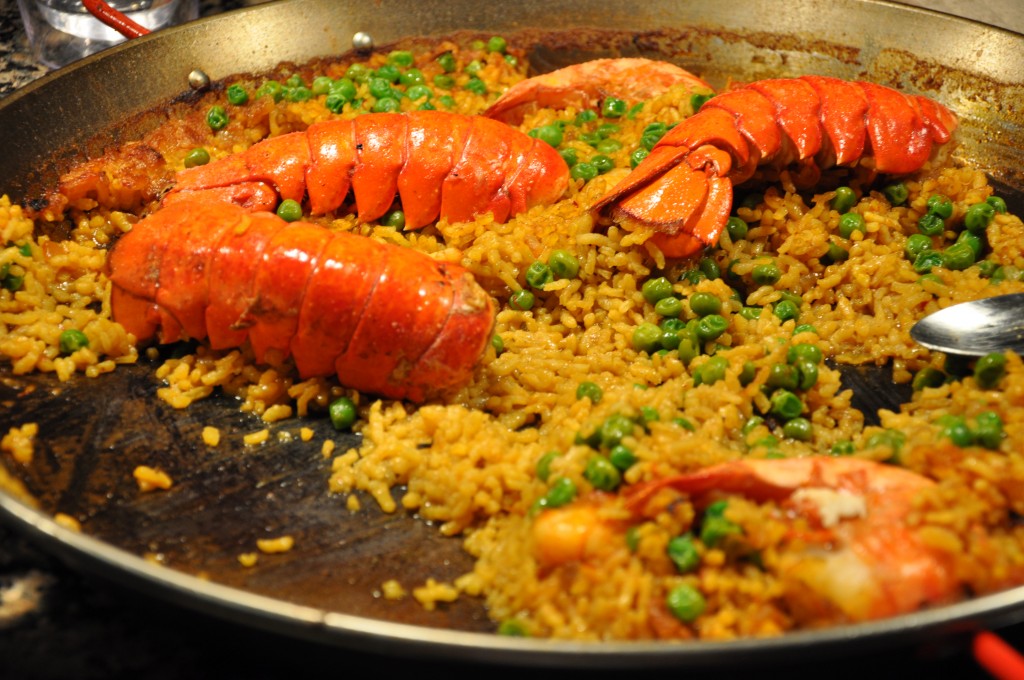
We neatly avoided the whole reheating-and-drying-out issue by eating it until there was nothing but empty lobster and mussel shells in the pan.  🙂

This is how this dish was meant to be served – IN COMMUNITY.  Lesson learned – Never make paella without loved ones around you!

Cheers, y’all!
Wine Girl

Permanent link to this article: https://kitchendoesnttravel.com/archives/165

Spanish Cooking Saturdays – Paella

Today, I introduce what I intend to be a regular spot on this blog – Spanish Cooking Saturdays.  I do not promise that it will be a weekly spot, but it will be at least a monthly spot, possibly a little more frequently than that. I’ve got a big cookbook full of Spanish recipes, courtesy of Mario Batali, which will serve as fodder for many future blog entries.

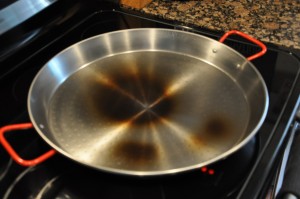
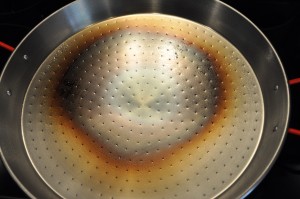
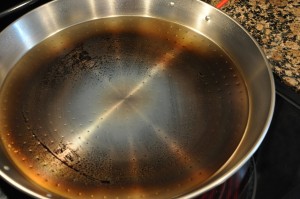
Since I have this handy dandy new paella pan, I shall start this adventure by trying my hand at paella.  Apparently, before actually using the paella pan, it must be properly seasoned.  I don’t remember all the rationale as to why this needs to be done, but I think it’s got something to do with keeping the pan from rusting.  Anyway, seasoning the pan involves wiping it down with canola oil and placing it on my stove burners until it changes from the pretty, shiny, silvery steel color to a golden brown throughout the surface of the pan, like so:

Being generally persnickety and liking for things to always be clean and new looking, this sort of distresses me.  However, I choose to look at the seasoning of my pan as evidence that it is being put to good use, not just getting “messed up.”

And speaking of good use…

Now, Mario and Gwyneth made this on a open fire in Valencia with a well “seasoned” chef.  Not having access to a space for an open fire in the heart of Charlotte, I asked the Beer Guy to fire up the grill for me.  I’m not exactly sure how to go about doing that myself.  We made a”rule” when we got married – I’m in charge of indoor cooking, he’s in charge of outdoor cooking…and he who does not cook it is in charge of cleaning it up! (That’s works out pretty well for moi as most of our meals are made indoors. 🙂 )
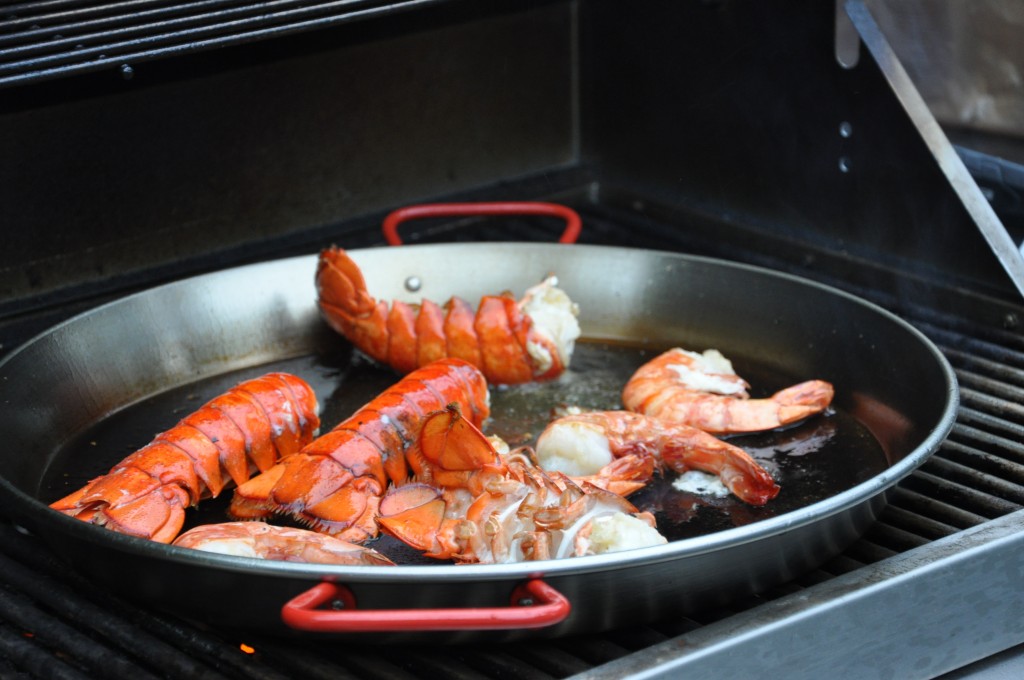
Making paella isn’t difficult, it just has several steps.  The whole process took about 1 1/2 hrs, but it was well worth it in the end.  I chose to make a seafood paella since I will likely be making this for my family at the beach next week.  I grabbed some lobster tails, shrimp, tiger prawns and the like from the seafood department at my local Harris Teeter.  First you throw those in the pan to brown them and establish the seafood flavored base for the dish.

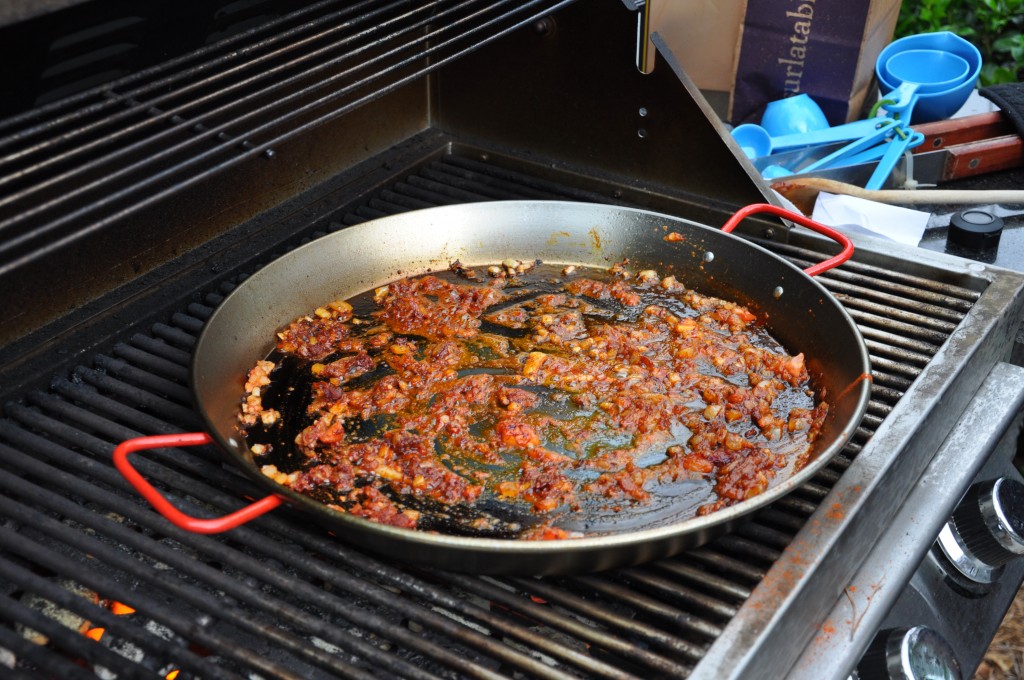
Looks good enough to eat by itself, right?  But we must press on…Remove the shellfish, add the onions, and cook until soft.

Next add pureed tomato, sweet Spanish pimentón, and saffron.

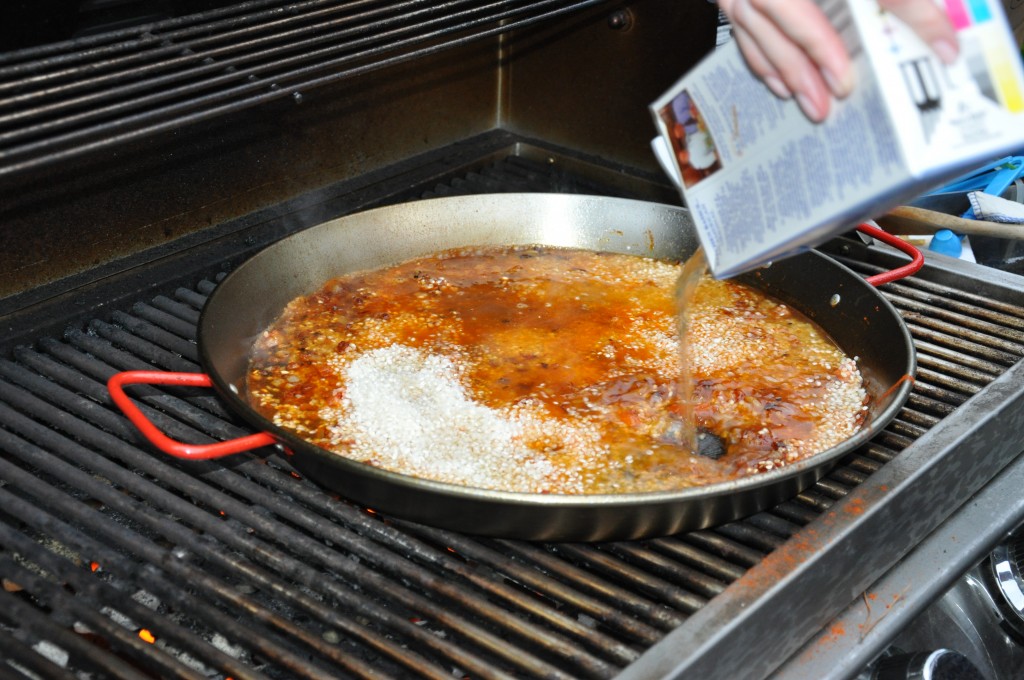
Add the Bomba rice and the stock.  If I was super cool I would have made my own stock.  But when there’s no time for that, store bought stock works just fine.

Cook until the rice has absorbed nearly all the liquid

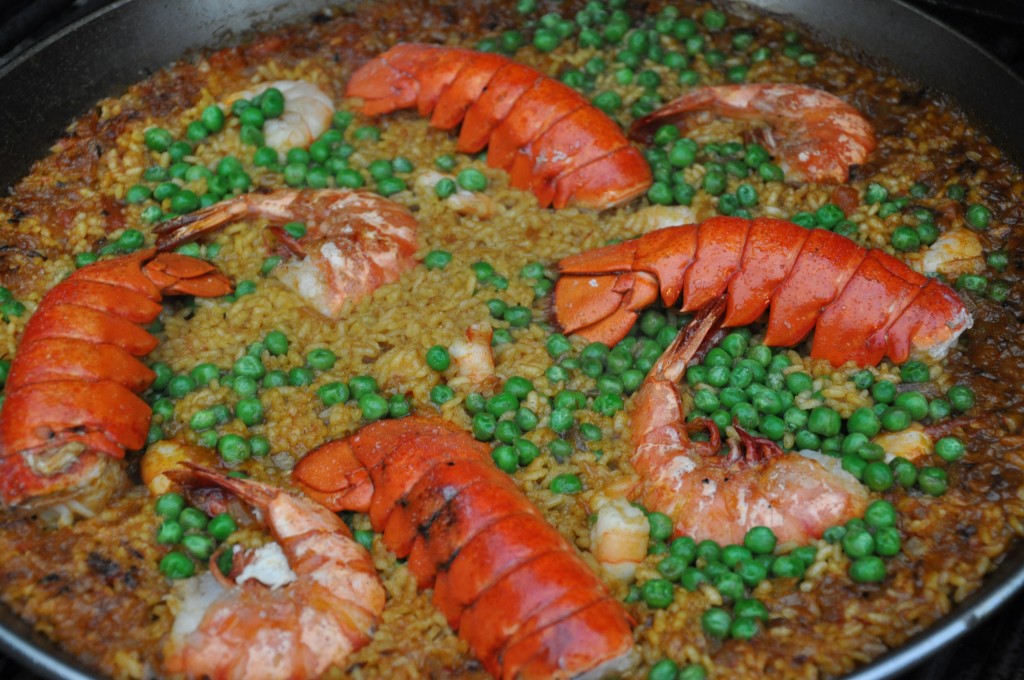
Add the shellfish, any other uncooked seafood, and some peas into the mix and cook until the remainder of the liquid is absorbed and the rice is all brown and crunchy around the edges of the pan.  Mario says to cook it until the pan starts to make a funny “crackling noise” and you are starting to worry that it’s burning.

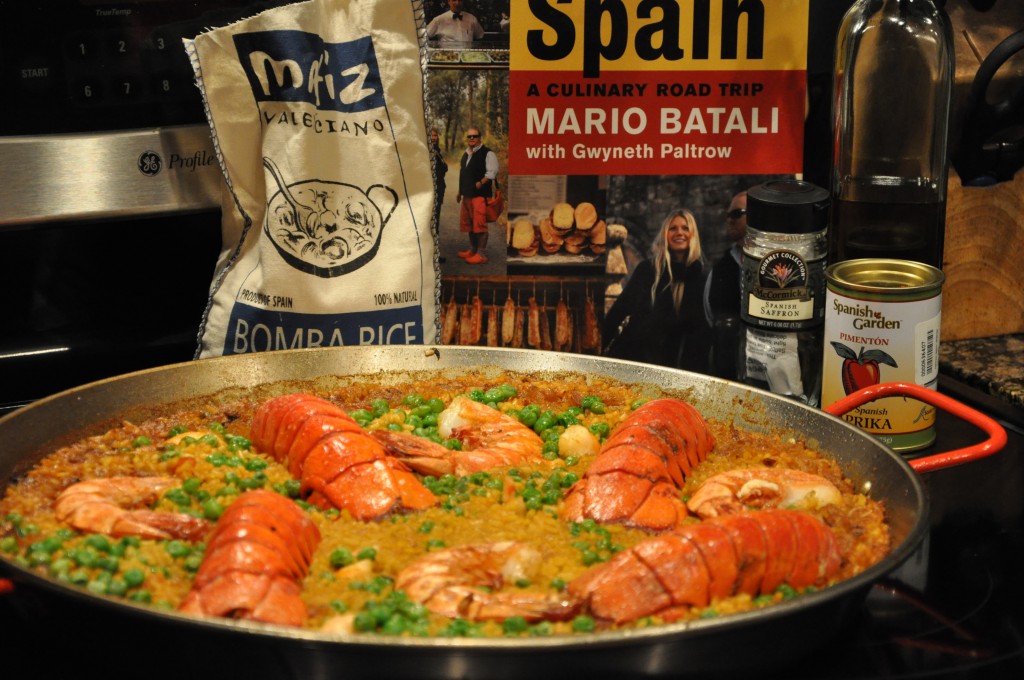
Voila-The finished product!

(And yes, I’m aware that I used a French term to punctuate the completion of my Spanish dish, but I am unaware of the Spanish equivalent.)  Since the paella needed to “rest” for 10 min or so before serving, there was ample time to snap some “finished product” shots.

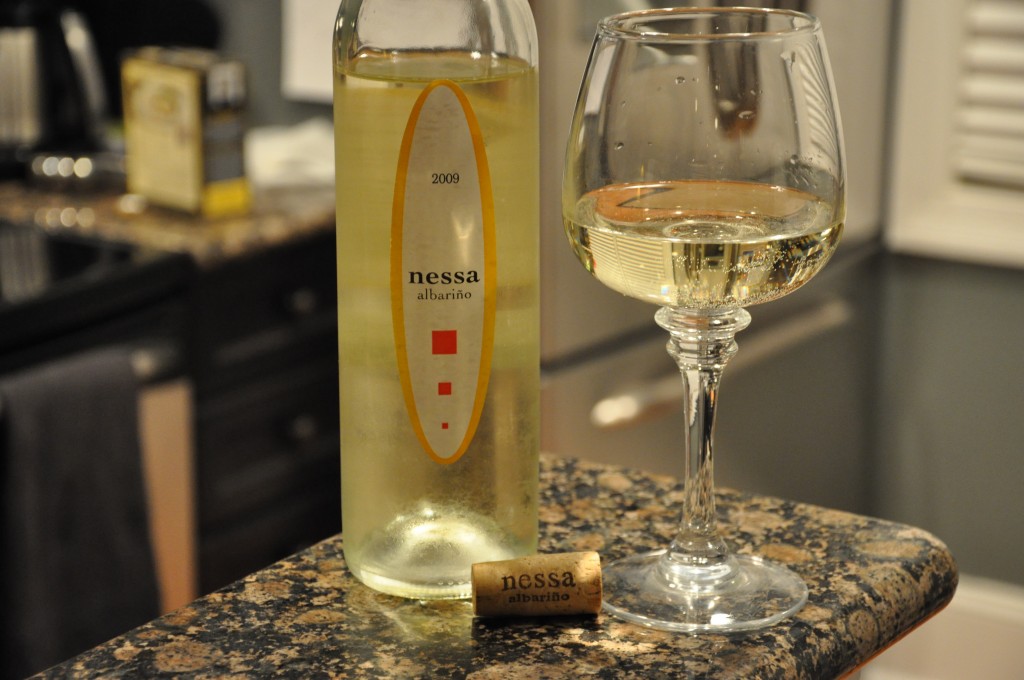
Next up, crack open a great Spanish wine

eat it right out of the pan (‘cuz that’s what real Spaniards do)…

and enjoy your Saturday evening!

I can think of no better way to eat in on a Saturday night, can you?

Cheers!

Wine Girl

Permanent link to this article: https://kitchendoesnttravel.com/archives/54

Belated Dinner & A Bruschetta Faux Pas

We have had a very SOCIAL weekend this Memorial Day Weekend! Friday night we finally got around to doing dinner with our friends Suz and Matthew. They had their first baby in January. I intended to take them dinner when they were recently home from the hospital with a brand new baby…exhausted…not knowing which end was up. However, it had been so long since we had gotten to hang out, that Suz wanted us to stay and eat with them. I explained to her that this was supposed to be a gesture, not us inviting ourselves over for dinner. But she persisted. So we set a date and, wouldn’t you know it, it iced and snowed in the Queen City for that entire weekend. Our dinner date was cancelled as we couldn’t get out of our driveway. That was mid-January. We JUST got this thing rescheduled for last Friday! Seriously…are we THAT busy? That’s pathetic.

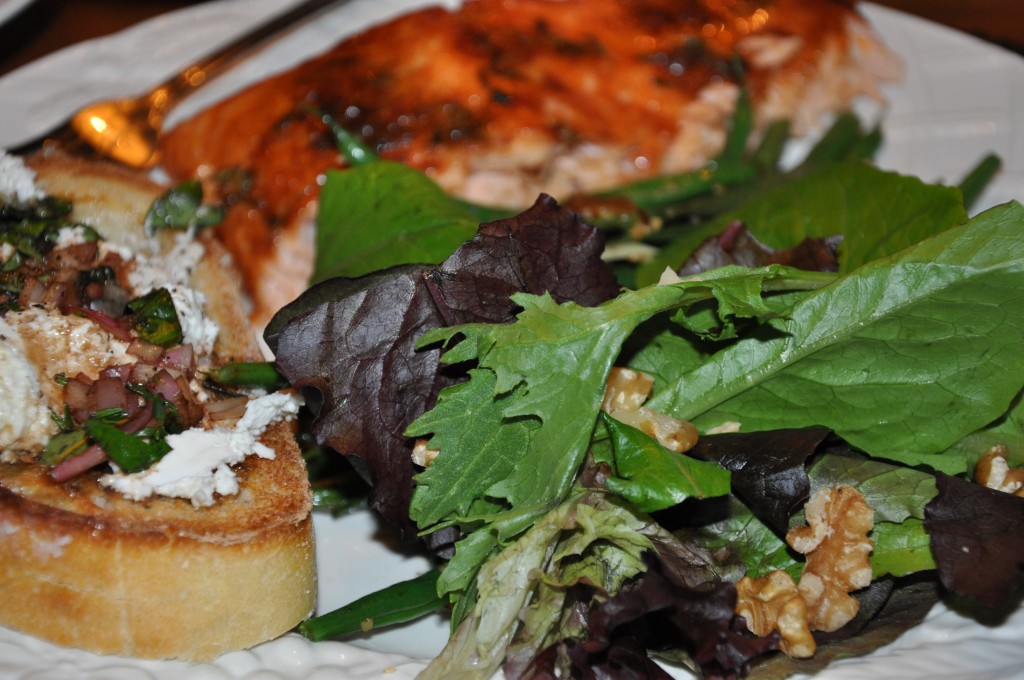
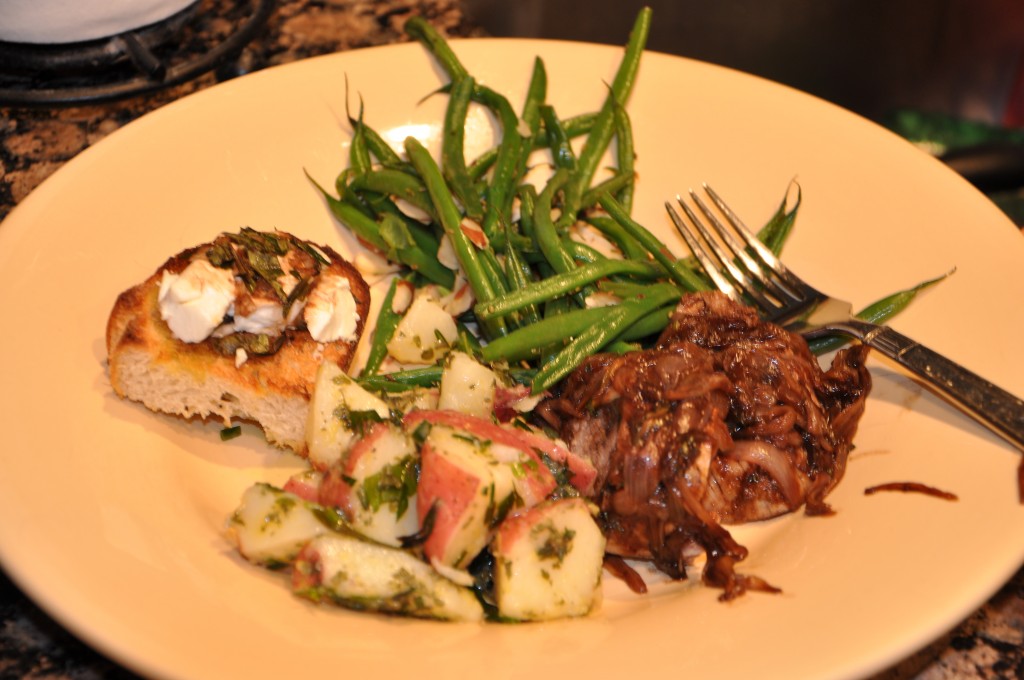
Oh, well. Better late than never, I guess. Suz supplied the vino, the salad, and the grill. We brought the salmon, our new cedar planks, and this awesome Goat Cheese Bruschetta for an appetizer.

For the main course we prepared this Cedar Plank Grilled Salmon and my special green bean recipe.

It was all a big hit! The bruschetta was so yummy delicious that I took it to two other events on Sunday: First to “drinks and hors d’oevres” with our friends Heather and Chris in their gorgeous new backyard and then to a cookout at our friend Aimee’s house. I should have coordinated with Heather, because she had prepared three other types of bruschetta for our get together.  For “foodies” like us that’s sort of like showing up to the Oscars in the same dress.

Judging by the empty serving trays at the end of our two hour visit, no one seemed to mind the bruschetta faux pas!

Today is Memorial Day and it’s gray and rainy here in CLT. So, the Beer Guy and I have decided to stay at home and made good use of the leftover veggies from the weekend while polishing off the remains of a Pork Tenderloin with Shallots.

Mmmm!

Cheers!
Wine Girl

Permanent link to this article: https://kitchendoesnttravel.com/archives/5