Tag: Cookbooks

gwyneth to the rescue

So we are 15 days into our 30 day real food challenge.  Half-way there!  On the downhill slope!  Other than a couple little snaffoos things have been going pretty well.

After more carefully studying the ingredients in some of our typical foods, I had to rethink some of my breakfast and lunch menus.  For breakfast, I’ve been on an instant oatmeal kick of late.  I know making the oatmeal myself is better for me, but it just takes too long for me to do before work.  (I have a slight problem getting up in the mornings…)

Lisa raved about her homemade granola cereal so frequently on her blog that I decided to give it a try.  But,  along side my oatmeal, I’ve been having two small Jimmy Dean turkey sausage links and an orange.  Well, after giving a hard look to the contents of my fridge, the Jimmy Dean had to go, leaving me in search of a real food alternative as I had serious doubts that a simple bowl of granola would tide me over until lunch time.

Enter Gwyneth Paltrow…

I know what you are thinking.  “Seriously?  Gwyneth Paltrow solved your real food problem?”  And the answer is – yes, she did!  Well, she helped at least. But let me back up…2 yrs ago to be exact.

In April 2011, I entered a giveaway on my friend, Beth’s, blog and won.  The prize was Gwyneth Paltrow’s recently released cookbook, My Father’s Daughter.
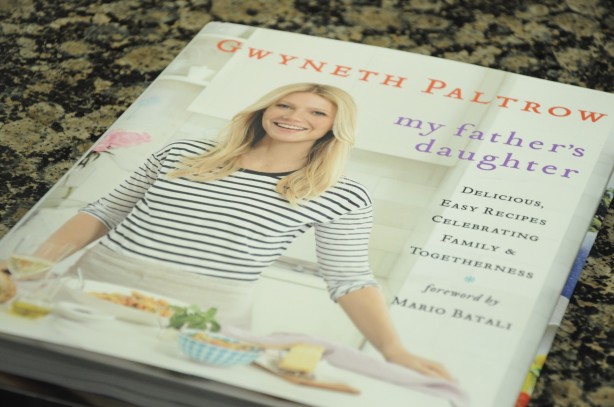
DSC_0311

I won!  I was super excited because I’d never one a blog giveaway before.   I started a post about winning the cookbook, but because I was a bad, bad blogger for a while I never finished and published it.  I made a couple items out of the cookbook then put it on the shelf amongst the gazillions of other cookbooks I have and kind of forgot about it…until recently.

I remembered that her cookbook contained several options for vegetarian meals as well as some recipes for homemade pantry staples.    So, I grabbed it off the bookshelf, knocked the dust off of it, and started perusing.  Guess what I found…

A RECIPE FOR HOMEMADE TURKEY SAUSAGE PATTIES!  Hazzah!  I don’t have to forego my morning boost of protein after all! The recipe is super simple and tastes the same as much better than those prepackaged Jimmy Dean things I was buying.

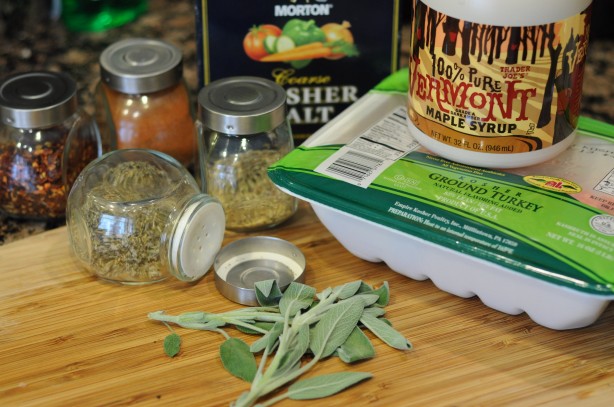
Here’s all you will need:
DSC_0211

(cayenne pepper, red pepper flakes, fennel seed, herbs de provence, salt, sage, ground turkey, Vermont maple syrup)

AAAAAND it’s as easy as 1-2-3.  See…

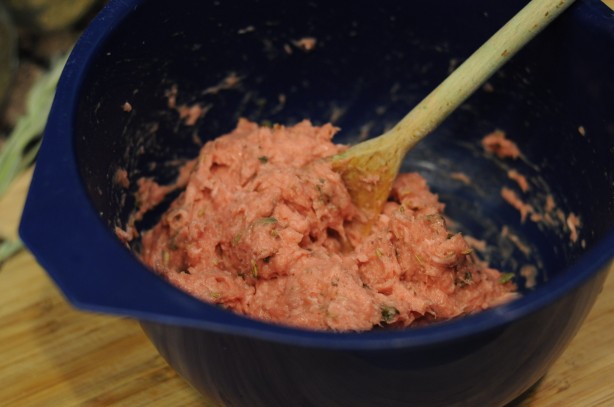
1. Combine the spices and ground turkey
DSC_0212

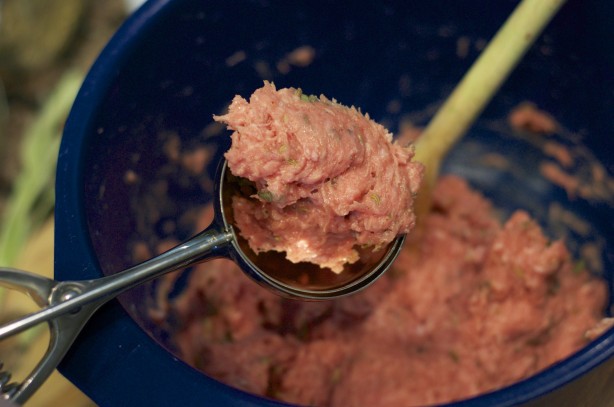
2.  Form into small meatballs and flatten into patties.  (When forming meatballs, I use a little trick I learned from Martha Stewart.  I use a small spring loaded ice cream scoop so that they are more uniform in size than if I just grabbed a hunk of meat out of the bowl.)
DSC_0214

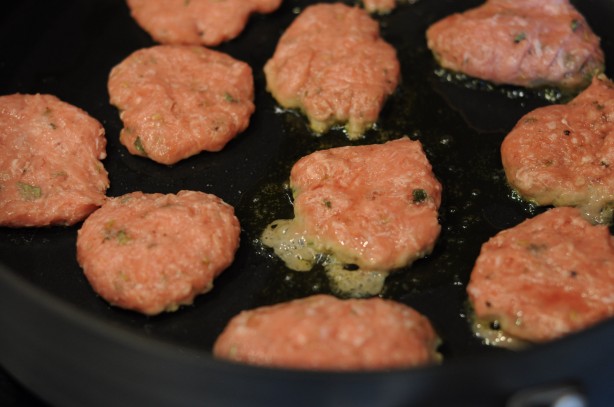
3.  Cook in a skillet

DSC_0215

In re-reading this recipe for this post, I realized that Gwyneth’s instructions actually call for you to use a mortar and pestle or mini food processor to “bash” the spices together.  Somehow I missed that bit, as I’ve just been dumping them all in a bowl and stirring them up.  Mine have still turned out tasty, though it would be nice not to bite into a big ole fennel seed every now and then…

The whole process takes maybe 15-20 min.  Gwynnie says that her recipe makes 12 patties…but I’ve only been able to get  8-10 per 1lb of ground turkey and that’s using a ????? ice cream scoop.  Since it’s such a quick and easy process, what I’ve started doing is doubling or tripling the recipe, putting a week’s worth in the fridge, and freezing the rest.  That way I make these once a month and I’m set.

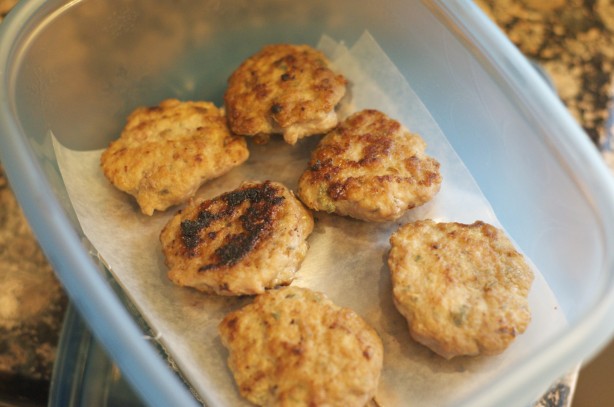
First I let them cool on paper towels to absorb any excess oil from the skillet.

DSC_0216

Then I layer them in a freezer appropriate container, placing wax paper between the layers.
DSC_0220

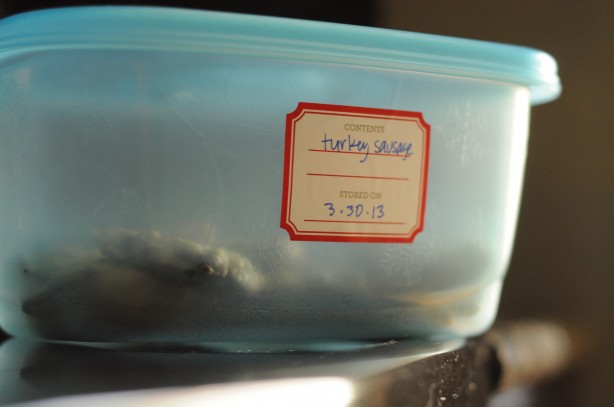
Then I label them and pop then in the freezer.
DSC_0278

You’ve just gotta love these Martha Stewart food container labels from Staples.

A bowl of Lisa’s homemade granola with local milk, one of these turkey sausage patties, and a piece of fruit is now my favorite breakfast.  And, I’m telling you, it absolutely keeps me satiated!  I usually eat breakfast around 6:30a.  With my previous breakfast, I would always notice the first twinges of hunger around 11:00-11:15a.  With this breakfast I’m good to go until 12:30p.  For me, going 6 HOURS without feeling hungry is a freakin’ miracle!

Prior to publishing this recipe in her cookbook, Gwyneth published it on her website, goop.com.  You can find this recipe here.  One of the things that I love about My Father’s Daughter is that Gwyneth has coded each recipe to indicate whether it is a recipe that can be prepared ahead of time, it’s quick, it’s vegetarian or vegan or can be adapted as such, whether it is a one-pot meal, or a “dress-up” meal.  Over the last couple weeks, it has proved to be excellent resource for vegetarian meal recipes as well as recipes for homemade pantry staples.  More posts to come on those later!

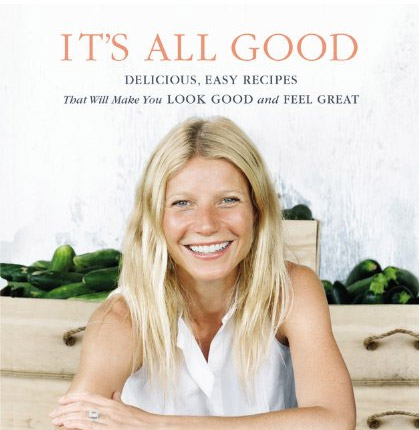
With my renewed appreciation for this cookbook gem, imagine how excited I was when I spotted this in Target last week.
Its-All-Good

Gwyneth’s got a NEW cookbook!  You can pick it up at Target or Amazon for around $20.  Or if you so desire, you can order a personalized signed copy for $55 from goop.com.  I think Gwynnie’s cool and all…but I don’t think I’ll pay an extra $35 for her signature. I’ll get all the fun and 5% off for picking it up at Target with my Target Red Card.  I can’t wait to see what goodies it has in store.

newmrssig

Permanent link to this article: https://kitchendoesnttravel.com/archives/1143

Adventures in Sconing

Happy belated Easter to you all! I hope you were all blessed with as beautiful an Easter Day in your home towns as we were in Charlotte. Simply gorgeous!

To celebrate this joyous day we joined some friends for an after church outdoor brunch. It was potluck. After last week’s potluck fiasco resulting in me showing up to a cookout with store-bought potato salad (gasp!), I knew I had to redeem myself. My foodie/cook reputation could be hanging in the balance…

So, I thought long and hard about what my contribution to this brunch would be and the answer was clear – SCONES!!  I ask you, what is more “spring brunchy” than SCONES?!?

Once again, I turned to The Foster’s Market Cookbook for inspiration.  More specifically, I chose to make Sara Foster’s Chocolate Chip Espresso Scones.

I got up early before church to whip these babies up.  Did I mention that I’ve never made scones before?  So they didn’t exactly “whip up”.  They were a little labor intensive.  Maybe that wasn’t a good idea when I’m trying to redeem myself from a major foodie faux pas!  I was nervous and in a rush after waking up 30 min later than intended.  So I don’t have a lot of pics because 1) I hadn’t had my requisite two cups of coffee (which is dangerous in and of itself) yet while I was making these and 2) these scones were stressing me out.

The recipe called for cutting the butter into the dry ingredients mix with a food processor.  I only have a mini-Cuisinart, not a full sized one.  So it took me several attempts to figure out how I was going to make this work in shifts.  Ultimately I cut little cubes of butter into the large bowl of dry ingredients then transfered it into the mini-Cuisinart for some pulsing in 3/4 cup shifts.  We got through it, but ultimately my kitchen looked like a flour bomb exploded in it.

Once cut and mixed, it was now time for me to add in the wet ingredients…buttermilk with espresso dissolved into it.  The Foster’s Market Cookbook maintains that it is the use of buttermilk, versus the typical heavy cream or half-and-half, yields a “lighter and flakier” scone.

The recipe called for this to be mixed in a large bowl, so I whipped out the largest bowl I have.  It apparently wasn’t large enough as I could really couldn’t stir the ingredients without sloshing it all over my already flour dusted countertop.  So…I dove in with my hands, trying my best to distribute the ingredients evenly.

So as I’m attempting to mix with my hands, thinking “This isn’t going well” to myself, and becoming increasingly aware that I’m running really late, I read the words “Do not overwork the dough” in the recipe. But that’s it.  No further indication of what action would result overworked dough.  Clearly, Sara’s target audience has prior biscuit making experience. I’ve said it before – I cook.  I don’t really bake.  Which, again, makes me think this wasn’t the best idea for today.  Don’t overwork the dough?!?  What does THAT look like?  How would I know?

I finally get frustrated trying to finish mixing the dough by hand in the bowl and just dump it out on the kitchen counter,

wash the espresso-buttermilk goo off my hands, and head back to the recipe.  Well, what do you know.  I was SUPPOSED to dump it out on the counter.  Maybe I have more “baker instincts” than I thought…

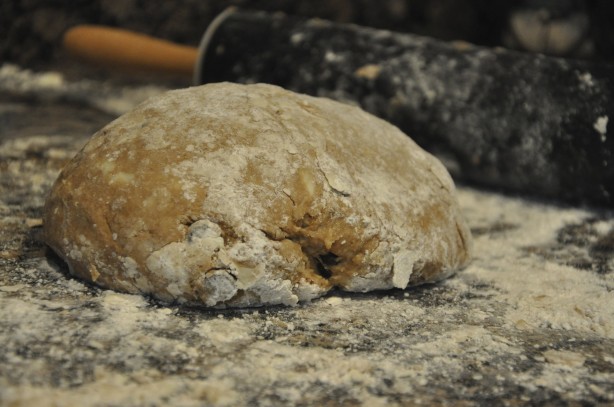
Confident in my new baker skills, I commenced rolling.  Gigantor chocolate chip cookie anyone?

Incidentally, the recipe makes two of those so that you end up with 12 total scones.  From here, it’s pretty easy.  You just cut it into six equal triangles, brush them in an egg wash, and bake them up.

The only problem now is, it’s 9:50 a.m. and I have to serve them at 12:30 p.m. – piping hot!  Will they be okay if I put them in the fridge for 3 hours before baking them?  Surely they will right?  That won’t mess up the baking chemistry will it?  AAAAHHHH….now I’m nervous again.  I should have asked somebody about this first.   I really don’t want to mess up my contribution to a friend’s potluck gathering for the second week in a row!

At this point I have no choice.  I’m pretty sure that it’s more “dangerous” to leave the raw sliced dough on greased  baking sheets sitting on my countertop.  So into the fridge they went.  And I rushed home from church an popped them into the oven before heading over to brunch…holding my breath along the way.

Well, they look like proper scones to me…

Okay, so we were 20 min late, but we showed up with fresh-from-the-oven, piping hot scones as everyone was sitting down on the lawn to eat.  Half of them were gone before I could get them to the buffet.

Rave reviews all around!  Comments from the peanut gallery went something like “Those are awesome!”  “These are fantastic!”  “Did you make these from scratch?”  I am redeemed…which has more than one meaning for me on this lovely Easter Sunday.

So, I think I can safely say that my foodie reputation in firmly in tact!

Cheers y’all!

Wine Girl

Permanent link to this article: https://kitchendoesnttravel.com/archives/782

poTAYto/poTAHto

Last Sunday BG and I attended an appreciation cookout as supporters of a friend’s ministry.  She was providing the main course and the rest of us were to bring sides.  I’ve mentioned that I have a reputation a foodie and cook amongst my Charlotte friends, so I wanted to make sure my side was especially scrumptious.  I settled on Sara Foster’s Potato Gratin with Tomatoes, Chevre, and Thyme from The Foster’s Market Cookbook.

I first made this about 5 yrs ago when taking a meal to my dear friend who was just home from the hospital with her first baby.  I mentioned to her then that it was all I could do to avoid sticking my face directly in the pan while I was making it.  You see, I’ve never met a potato I didn’t like.  Baked, scalloped, stuffed, mashed, whipped,  roasted, au gratin, or twice baked – you name it, I like it devour it.   But back to my original story…

The last three weeks in the Beer Guy/Wine Girl household have been ridiculously busy.  And, in keeping with that, I had another event I had to attend prior the aforementioned appreciation cookout.  This potato dish is quite rich and I don’t even want to know the calorie count, so this is not a dish I make on a regular basis…despite its orgasmic deliciousness.  This is a special occasion dish and, as such, I haven’t made it in a couple years.  Meaning…I totally forgot how long it takes to build and cook it!

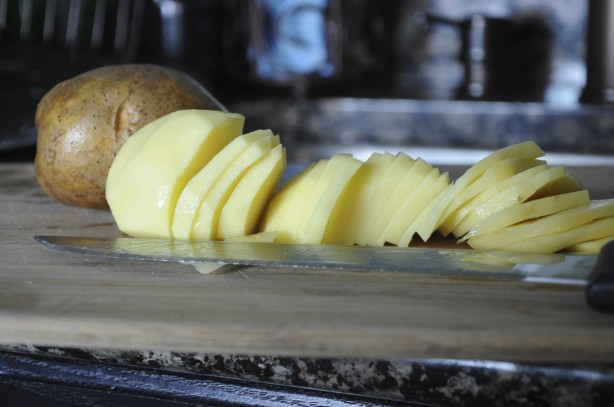
Our cookout started at 5p.  I got home from my first event at 2:30p and meandered towards the kitchen at about 2:45p to start prepping my dish.  I set to work slicing my potatoes

and melting my butter.

The recipe recommends that you slice the potatoes (~1/8 inch thick) as needed while you build the layers. Something about the starch in the potatoes holding it together.  The butter is to brush along the surface of the baking dish as well as on top of each layer of sliced potatoes.

So I’m slicing, layering, buttering while throwing in some goat cheese, parmigiano reggiano, and thyme in the mix…

then layering in the tomatoes…

(Note to self – Buy a mandoline before making this again.) all the while, merely glancing at the portion of the recipe that said to “bake 30-40 minutes.”  Well, at 4:40p, I moved out of the slicing and layering zone, and looked at the recipe to refresh my memory on the final steps.  At this point I knew we were going to be late but, as I was thinking it only had to bake for 30-40 minutes, I thought it would be a fashionable 15-20 min late.  That’s when I saw it… the instructions to “bake, covered, 45-50 minutes” then “uncover and bake 30-40 min MORE!”

In a panic, I let a few choice words fly, slammed the layered concoction into the fridge, and yelled to BG upstairs that we had to go NOW!  We ended up taking a sad little store-bought side to the cookout, which was a total let down.  Luckily the good food (provided by other people) and even better company at the cookout lifted my spirits.  Then we came home and that’s when I really started to grin…

You see, I had already spent the money to purchase the necessary ingredients for this side as well as a lot of time putting it together.  I couldn’t just throw it out because I hadn’t finished it or taken it to the party.  I had to press on and see it through to the end.  It’s a dirty job, but somebody’s gotta do it.  Really at this point all I had to do was add the toppings and bake (albeit for nearly an hour and a half).  The recipe calls for pouring half-and-half over the ensemble, but I just happened to have some whipping cream left over from my recent creme brulee adventure.  So…
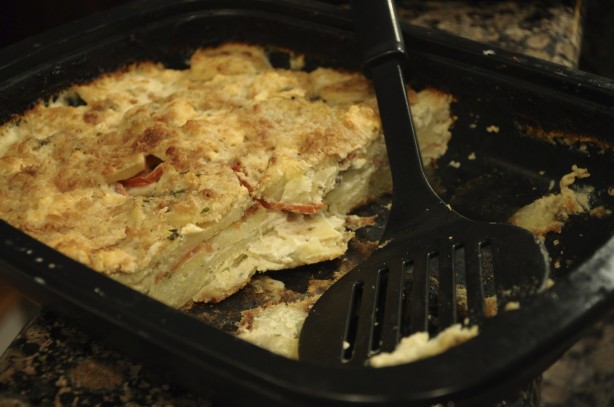
I went with that, then topped it off with some homemade bread crumbs, and baked it until it looked like this.

BG just so happened to be flying out on (yet another) business trip the next morning…and I would be at home…alone…all week…with my creamy, goat cheesy, potato gratin!  Hmmm…

Don’t mind if I do!

Like I said, I never met a potato I didn’t like.  It will be a miracle if this dish survives the next three days!
So was this an honest mistake or an evil brilliant plan?  You decide!

Cheers y’all!

Wine Girl

Permanent link to this article: https://kitchendoesnttravel.com/archives/754

The Loot

I must have been a very good girl this year because Santa was very good to me.
He brought me lots of stuff for The Kitchen

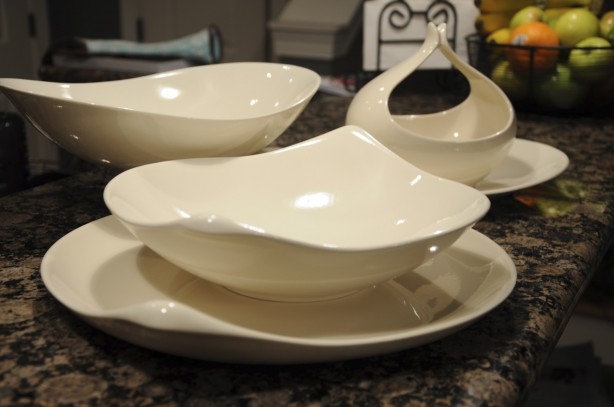
(for serving)

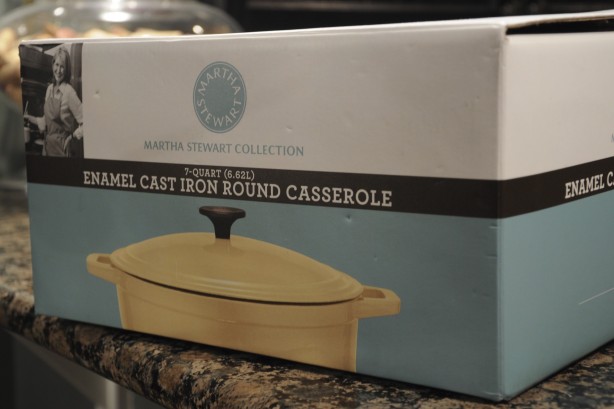
(for cooking)

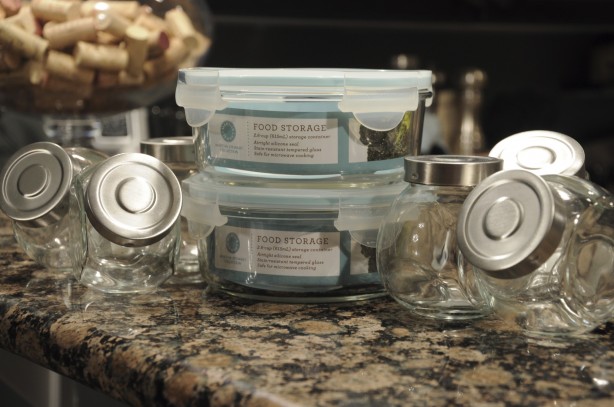
(for storage)

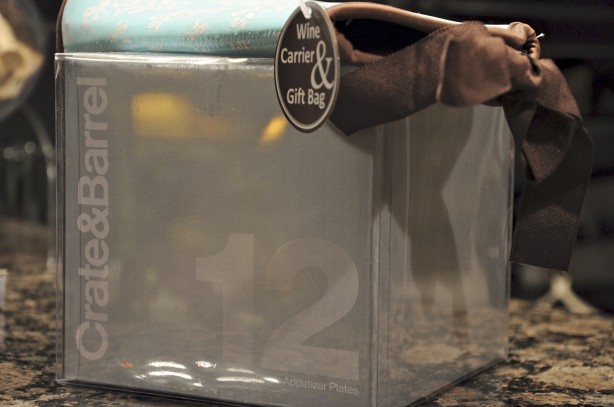
(for entertaining)

And THIS…

is for The Travel!

I was bitten by the biking bug while we were in Hilton Head this summer.  Apparently, since then, the BG has been plotting to get me one of my own!  Isn’t she pretty!  She’s black, white, and lavender…and my helmet and gloves match!  Oh, and there’s a bunch of good bike stuff about her that I haven’t quite memorized yet.

There’s mud on her tires because I had just taken her on her maiden voyage prior to taking this shot.  Is it weird that I’m stoked she’s named (i.e. read “model name”) after my favorite Disney Princess?

You’ll have to forgive me.  After 10 straight days of 3 and 4 yo nieces, I’m on Disney Princess overload!

Hope you all had as merry a Christmas and happy a New Year as we did!

Cheers y’all!

Wine Girl

Permanent link to this article: https://kitchendoesnttravel.com/archives/619

Spanish Cooking Saturdays – Torrijas & Mosto

Ever wondered how to get a little red wine into your breakfast?

(crickets…crickets…)

No? Is that just me?

Well, in case you HAVE ever wondered that and just don’t want to admit it, never fear. I have found the way!

All you have to do is make Spanish Torrijas and a little Mosto to drizzle on them and that’ll get you about a bottle and a half…of red wine…for breakfast!  It goes a little something like this:

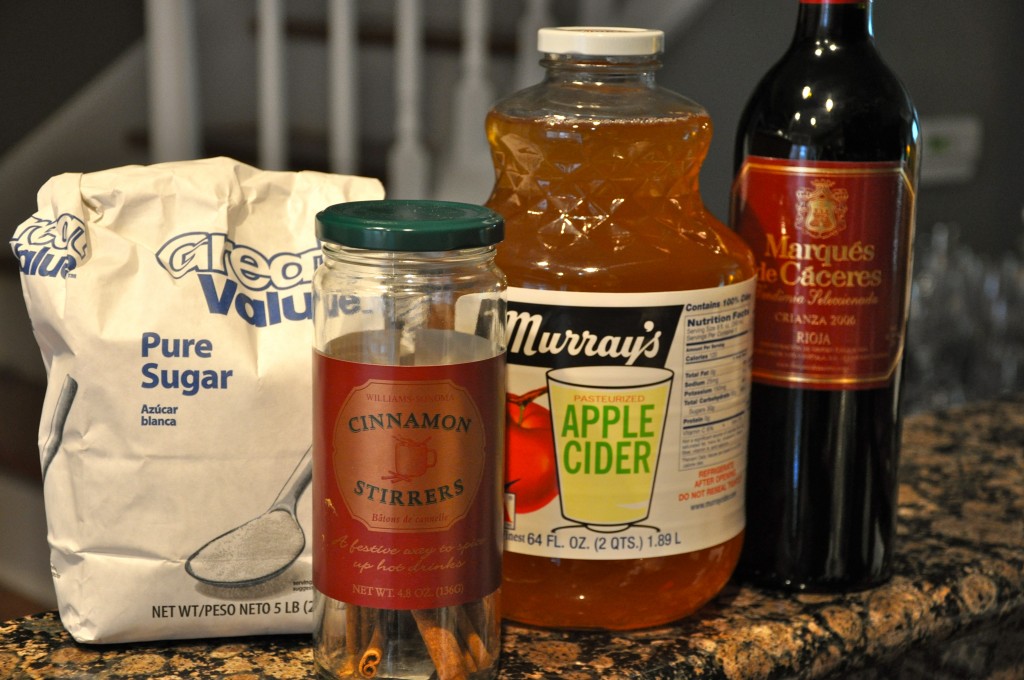
The night before you plan to eat this wine soaked breakfast go ahead and make the Mosto.  What is mosto, you ask?  According to Mario in my Spain…On the Road Again cookbook, it is a “term that refers to unfermented grape juice” (p. 28).  You basically take the following ingredients:

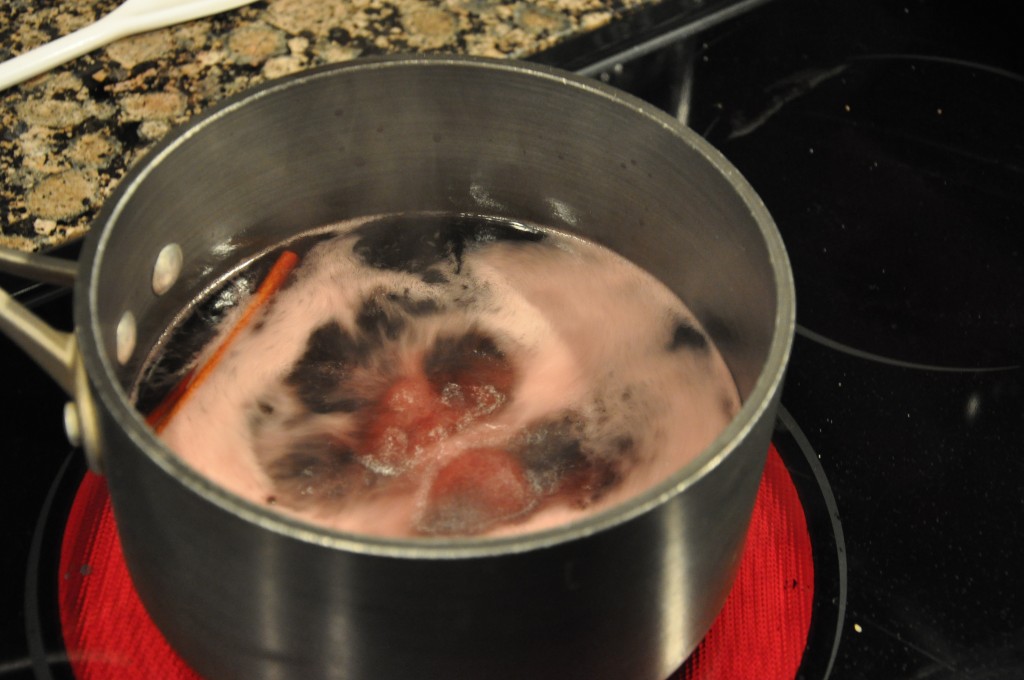
put them in a sauce pan and boil them down for about 15-20 min like so

until it reduces by 3/4.  According to Mario, it should get “thick and syrupy” by the time it has cooked down sufficiently.  My experience was not that it got to the consistency of say maple syrup, more like the consistency of cough syrup.  I recommend making it the night before so that will have plenty of time to cool down and get thicker and more syrupy before serving.  To say that it smells divine while cooking down is the understatement of the century.  (Would it be too much of a pun to say that with 3 cups of Spanish red wine, sugar, apple cider, and cinnamon the smell was intoxicating?) The only danger in making it the night before is that the Mosto will not survive the night…and by that I mean, it was all I could do not to pour it in a bowl and eat it with a spoon!

You’ll be pleased to know that I was somehow able to restrain myself and it was appropriately bottled and ready to be served the next morning when we made Torrijas for our friends H & C.

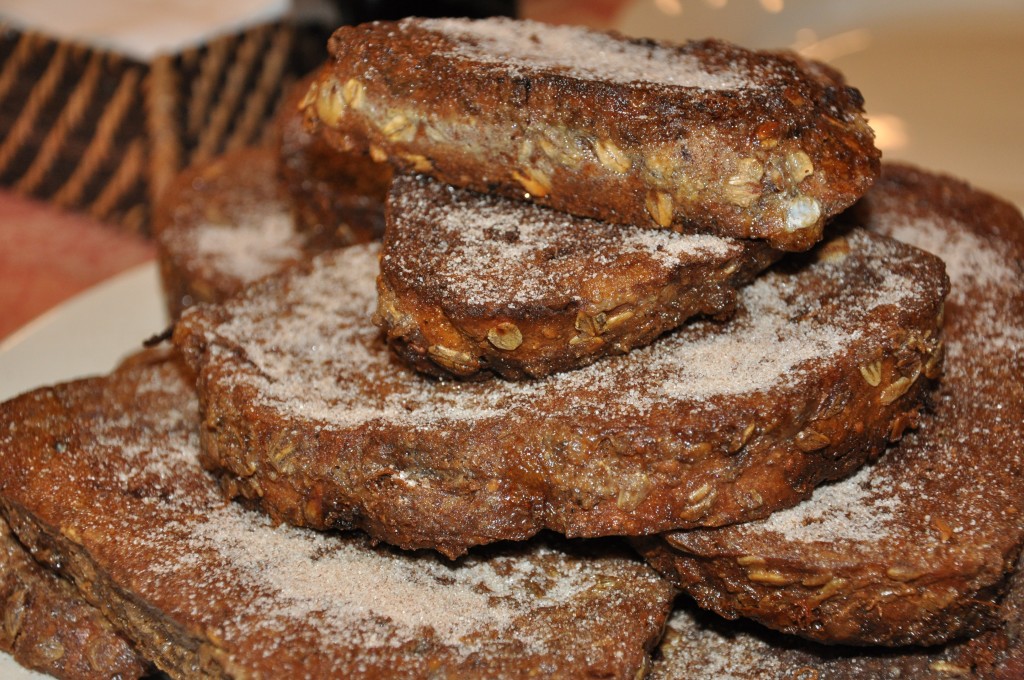
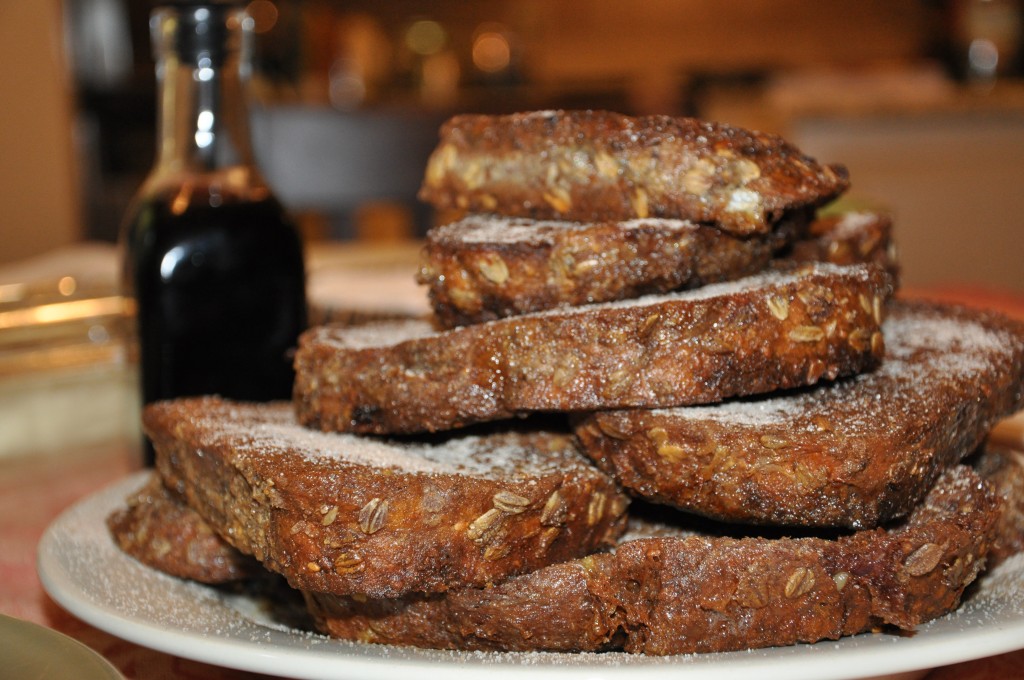
If you are not familiar with Torrijas, it’s basically the Spanish version of French toast.  Mario described it as “fried bread soaked in wine.”

Enough said.  Fried.  Bread.  Wine.  Sign me up.  I need no further convincing.

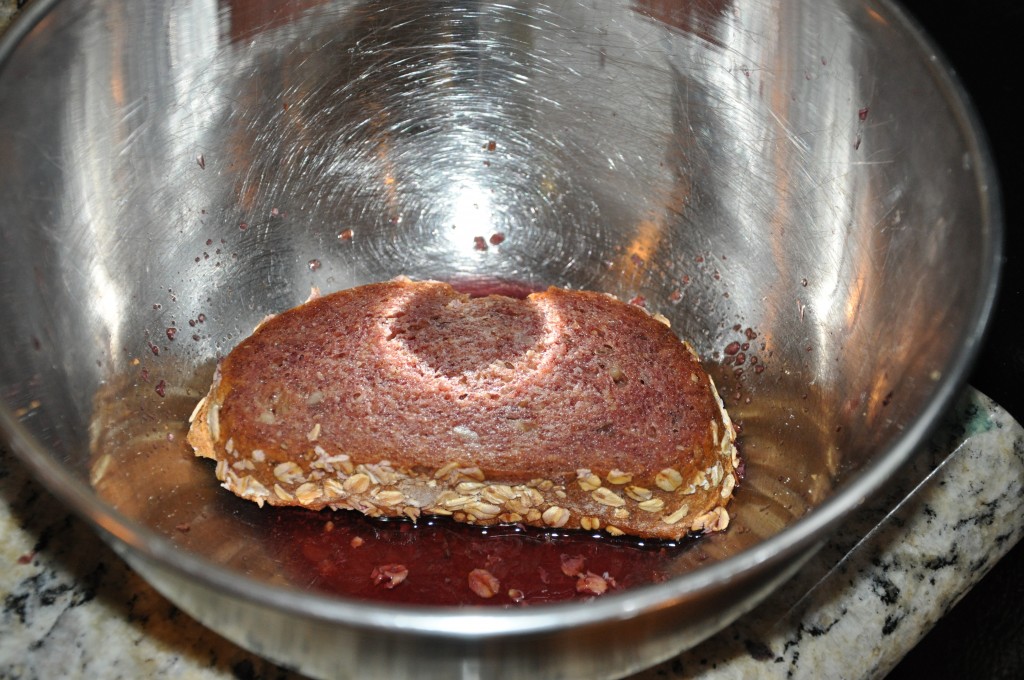
In the manner of French toast, you basically take some artisan bread and drench in the dry Spanish wine of your choice

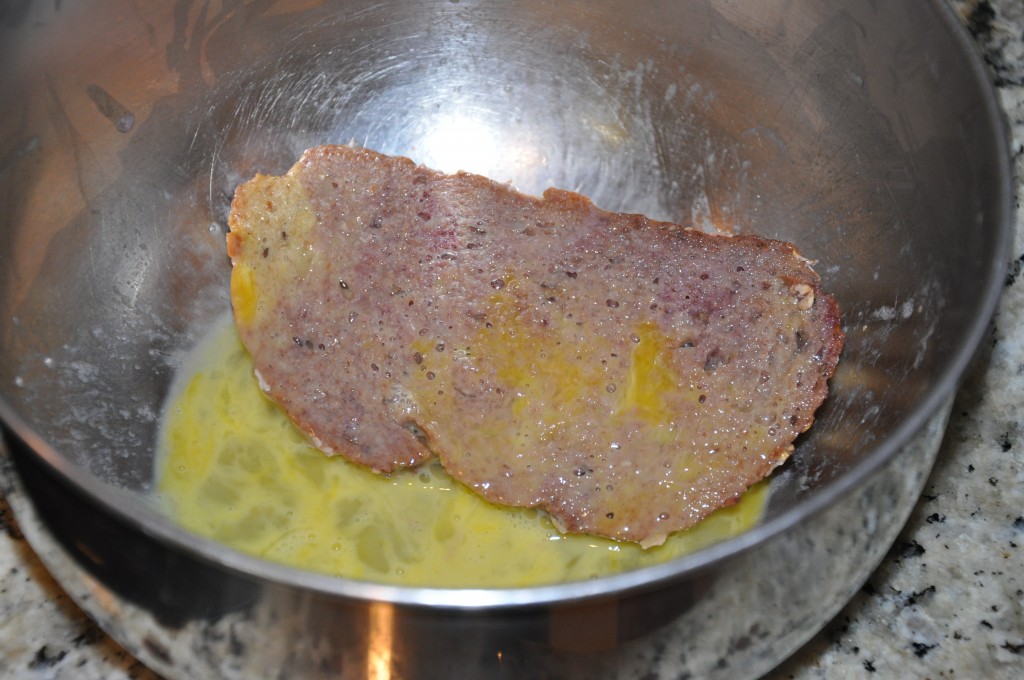
then egg it

cook it in olive oil

drain it

sprinkle it with cinnamon sugar

pinch yourself to make sure you haven’t died and gone to heaven

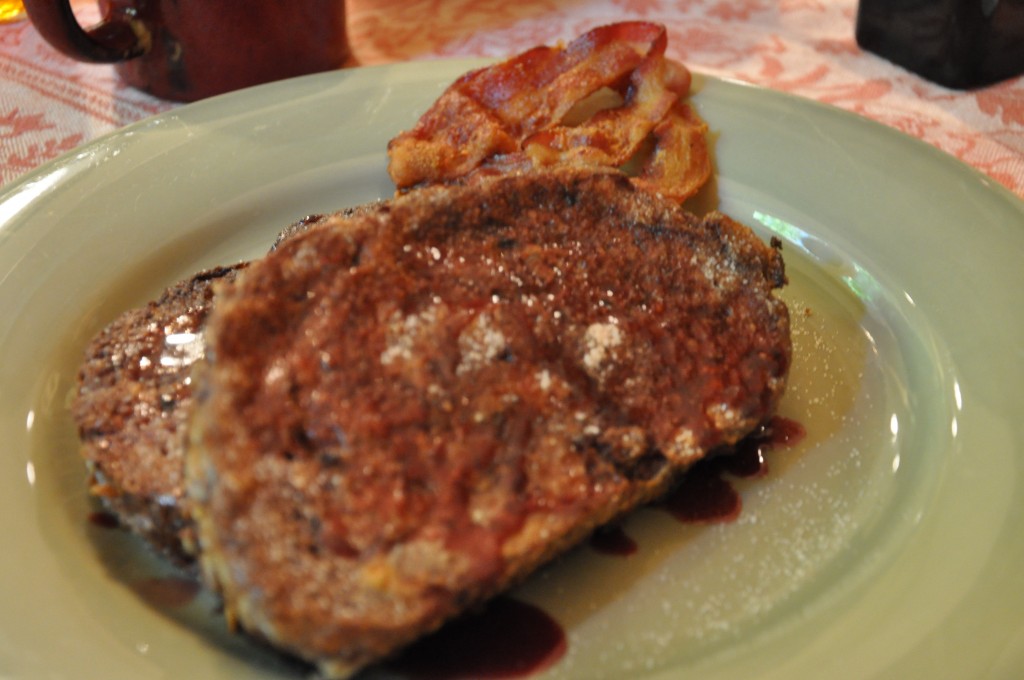
drizzle it in your Mosto

and enjoy! (Sorry that’s not a great pic.  I was too preoccupied with wanting to eat it to bother with details like focusing when I took the shot!)

From our experience, it’s best served with a side of good friends and good conversation on a lovely Sunday morning!

And THAT, my friends, is how you get red wine in your breakfast!

Cheers, y’all!
Wine Girl

Permanent link to this article: https://kitchendoesnttravel.com/archives/192

Now THESE are Shrimp & Grits…

Y’all remember how I lamented the  Shrimp & Grits I had last week from Charlotte’s Bite Your Tongue, right?  I can’t help it, though.  You see, I’m spoiled…but let me back up.

I told y’all I went to Ole Miss, didn’t I?  Ole Miss is located in a town I love like no other – Oxford, Mississippi.  For a small Mississippi town, Oxford has a lot of culture and virtually nothing embodies local culture like food!  So it almost goes without saying that Oxford, the quintessential Southern town, is bursting with restaurants full of great Southern food.  During my tenure at Ole Miss and in the years I’ve returned to visit, I’ve seen many Oxford restaurants come and go, but there are a few that were there long before I got there and will probably still be there long after I’m gone.  One of these Oxford staples is City Grocery…and she makes some mean Shrimp & Grits!

Loving City Grocery’s Shrimp & Grits is actually how I learned to like grits period.  (Forgive me for I am about to speak, um write, Southern blasphemy!) I actually didn’t like grits until I got to college, fell in love with Shrimp & Grits, then decided I’d try them one day minus the shrimp.  Since I had never heard of or had Shrimp & Grits anywhere before City Grocery, I just assumed that this was a creation unique to this Oxford eatery.  It wasn’t until I moved to North Carolina that I discovered that Shrimp & Grits is actually cuisine straight from the South Carolina Low Country.

Nevertheless, I first came to love this dish at City Grocery and never eat it without thinking of my beloved Oxford.   So like any self-respecting Ole Miss girl, there will always be a soft spot in my heart (more like tummy) for City Grocery’s Shrimp & Grits.  It shouldn’t surprise me, then, that my Ole Miss friend and fellow blogger, Carmen from Keeping Up Klapper, left this comment on my Supper from N’Awlins post.

“It’s nearly impossible to find shrimp and grits as good as they make them at City Grocery in Oxford, right?! “

Little did she know…

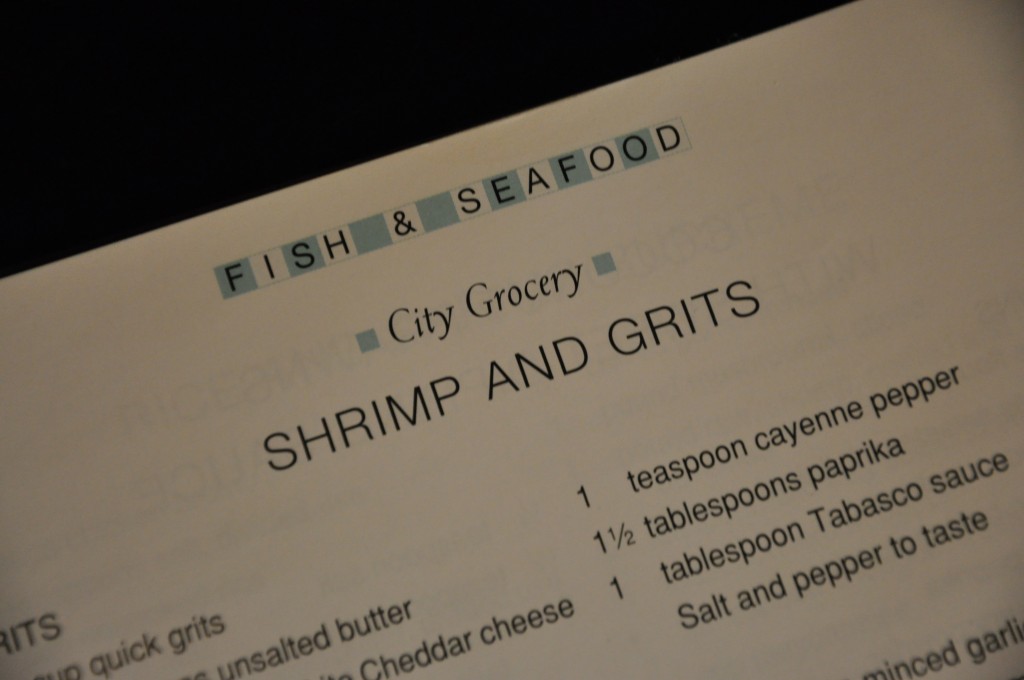
I HAVE CITY GROCERY’S RECIPE FOR SHRIMP & GRITS!!!!  And here’s the proof:

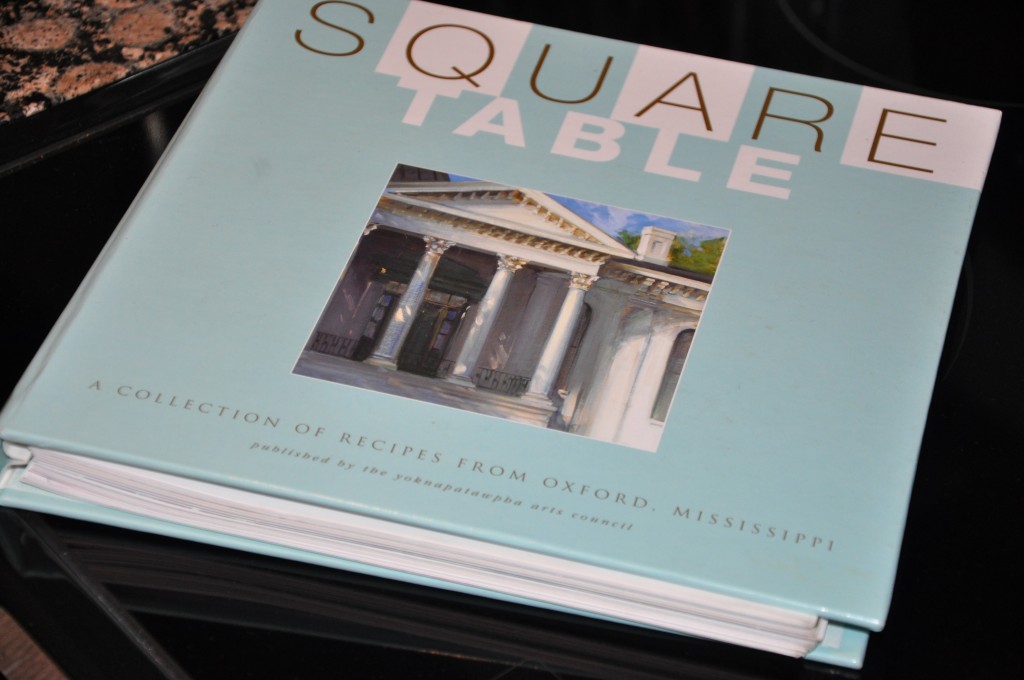
The recipe is included in this cookbook put out by the Yoknapatawpha Arts Council.

As you can see from the cover, it is “A Collection of Recipes from Oxford, Mississippi.”  For my fellow Rebels, not only does it have the recipe for City Grocery’s Shrimp & Grits, it includes several recipes from Yocona River Inn, Downtown Grill, Ajax Diner, and Bottletree Bakery, just to name a few.  It’s also peppered with Grovin’ Tips, recipes for Grove food, Mississippi art, and essays from famous Mississippians.  If you went to Ole Miss, you need this cookbook!

To get one for yourself, just stop by the Yoknapatawpha Arts Council website and get one for yourself here.

But enough about books…let’s cook!

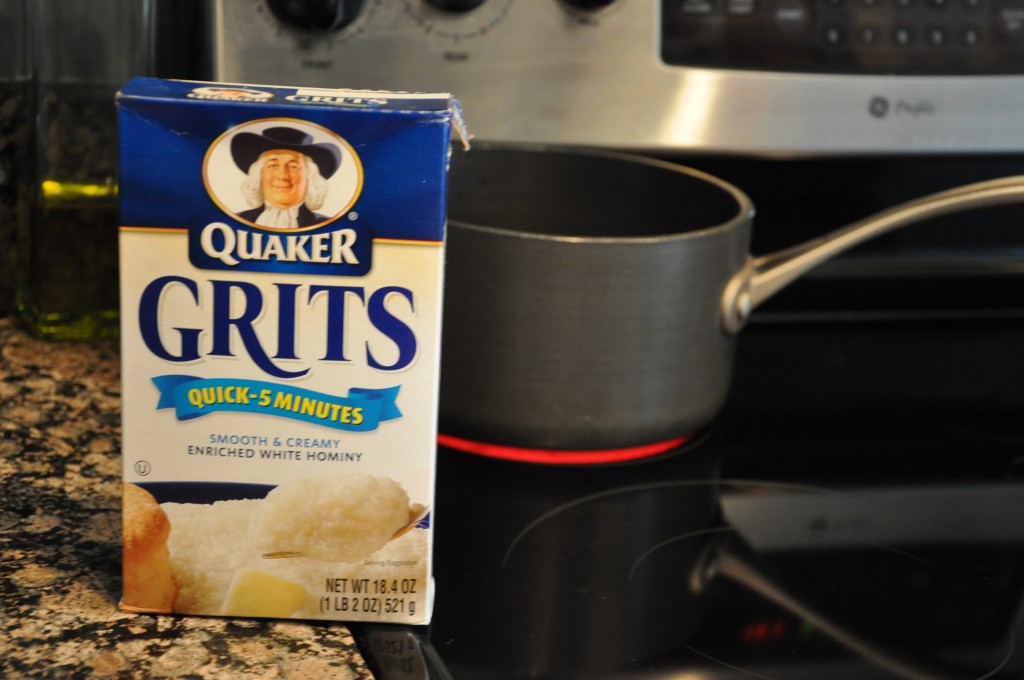
First you cook up some of these…

then mix in butter, sharp white Cheddar and Parmesan cheeses, cayenne pepper, paprika, and Tabasco sauce until they look like this:

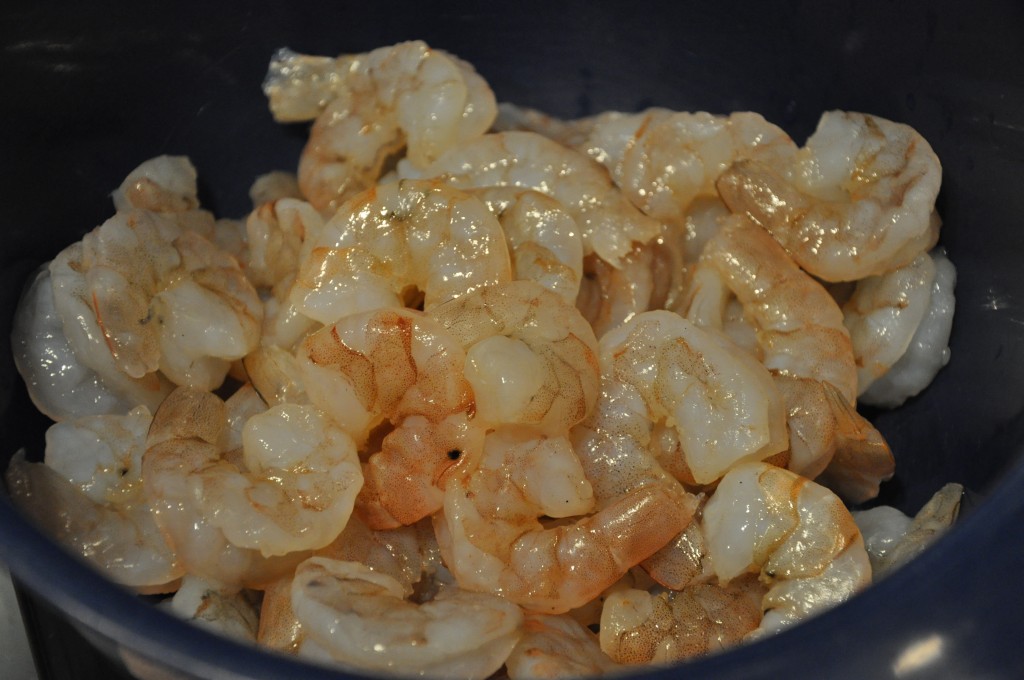
Then you take  1 1/2 lbs of these…

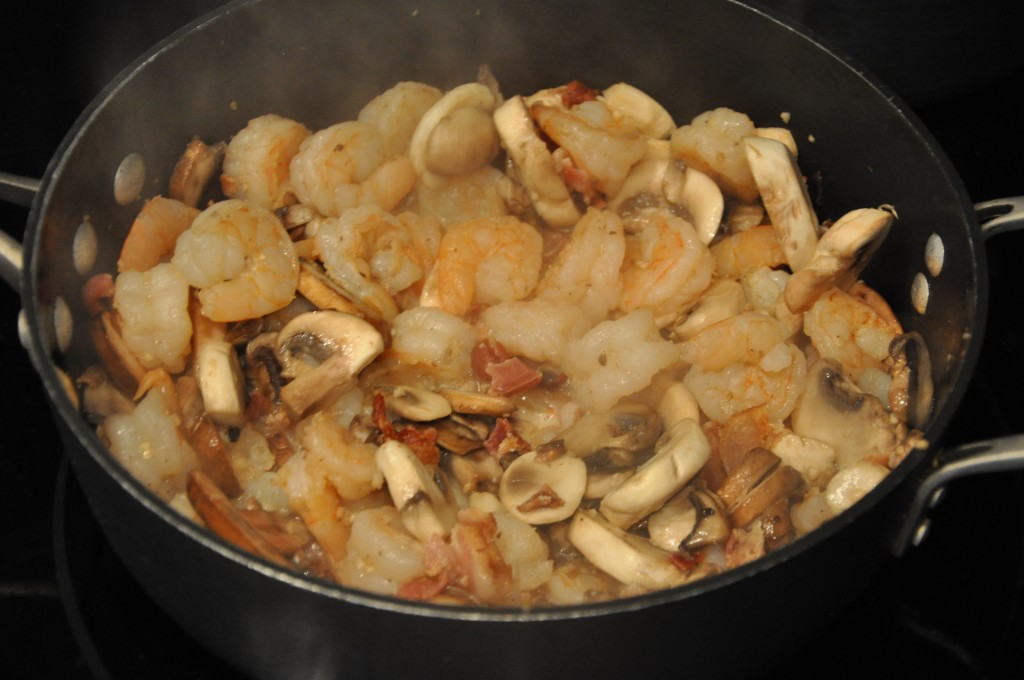
and cook them up in some olive oil with some bacon, mushrooms, garlic, lemon juice, and white wine like so:

I should tell you (as if you haven’t inferred it already) this is not a low-calorie dish.  Anything that has this much bacon in it should be eaten sparingly.

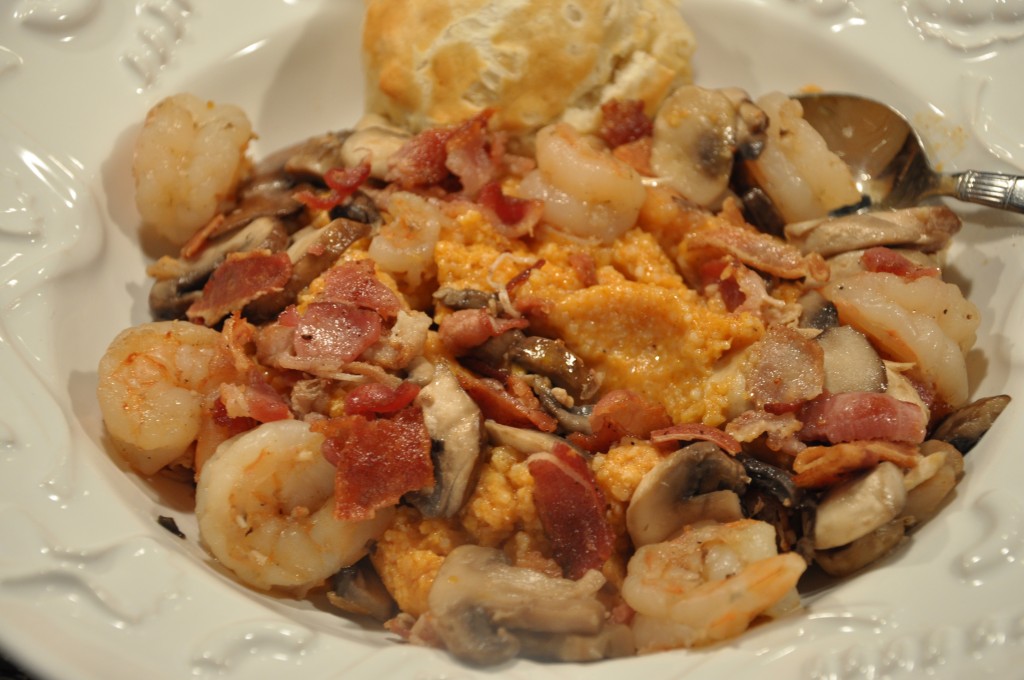
But when you do eat it…man, oh man, is it good!  (Side note- The recipe says to cook all that bacon in with the shrimp and mushrooms, but I find that makes the bacon get a little wilty again after it’s already been cooked.  So I reserve a couple crispy tablespoons to spinkle on the top of the finished product.)

I should also warn you that it’s got a kick!  I actually only put in half the Tabasco sauce the recipe calls for when I make it and I still need plenty of this to wash it down

along with plenty of water, of course. 🙂

Now THESE are Shrimp & Grits!

Cheers, y’all!
Wine Girl

Permanent link to this article: https://kitchendoesnttravel.com/archives/155

Spanish Cooking Saturdays – Paella

Today, I introduce what I intend to be a regular spot on this blog – Spanish Cooking Saturdays.  I do not promise that it will be a weekly spot, but it will be at least a monthly spot, possibly a little more frequently than that. I’ve got a big cookbook full of Spanish recipes, courtesy of Mario Batali, which will serve as fodder for many future blog entries.

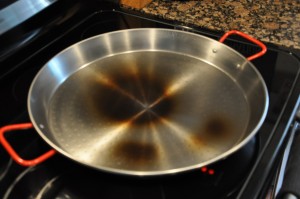
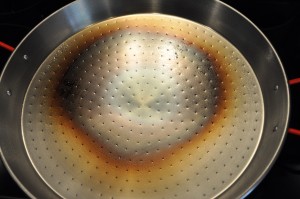
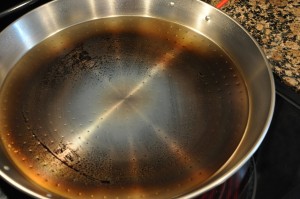
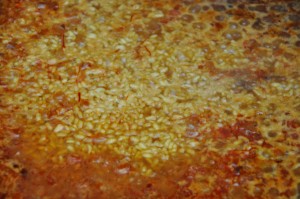
Since I have this handy dandy new paella pan, I shall start this adventure by trying my hand at paella.  Apparently, before actually using the paella pan, it must be properly seasoned.  I don’t remember all the rationale as to why this needs to be done, but I think it’s got something to do with keeping the pan from rusting.  Anyway, seasoning the pan involves wiping it down with canola oil and placing it on my stove burners until it changes from the pretty, shiny, silvery steel color to a golden brown throughout the surface of the pan, like so:

Being generally persnickety and liking for things to always be clean and new looking, this sort of distresses me.  However, I choose to look at the seasoning of my pan as evidence that it is being put to good use, not just getting “messed up.”

And speaking of good use…

Now, Mario and Gwyneth made this on a open fire in Valencia with a well “seasoned” chef.  Not having access to a space for an open fire in the heart of Charlotte, I asked the Beer Guy to fire up the grill for me.  I’m not exactly sure how to go about doing that myself.  We made a”rule” when we got married – I’m in charge of indoor cooking, he’s in charge of outdoor cooking…and he who does not cook it is in charge of cleaning it up! (That’s works out pretty well for moi as most of our meals are made indoors. 🙂 )

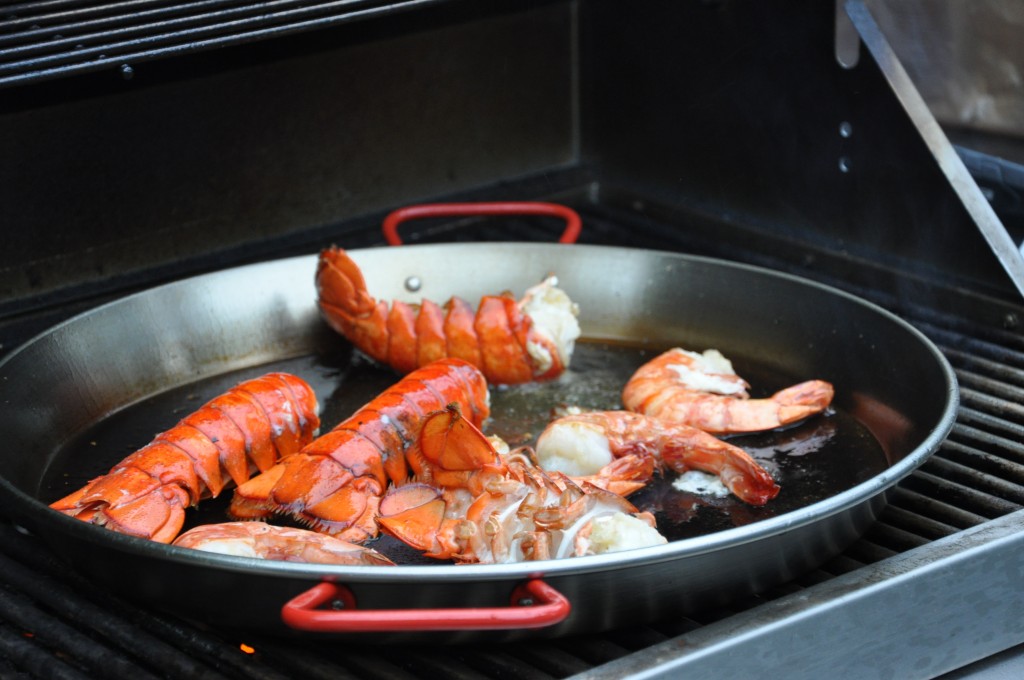
Making paella isn’t difficult, it just has several steps.  The whole process took about 1 1/2 hrs, but it was well worth it in the end.  I chose to make a seafood paella since I will likely be making this for my family at the beach next week.  I grabbed some lobster tails, shrimp, tiger prawns and the like from the seafood department at my local Harris Teeter.  First you throw those in the pan to brown them and establish the seafood flavored base for the dish.

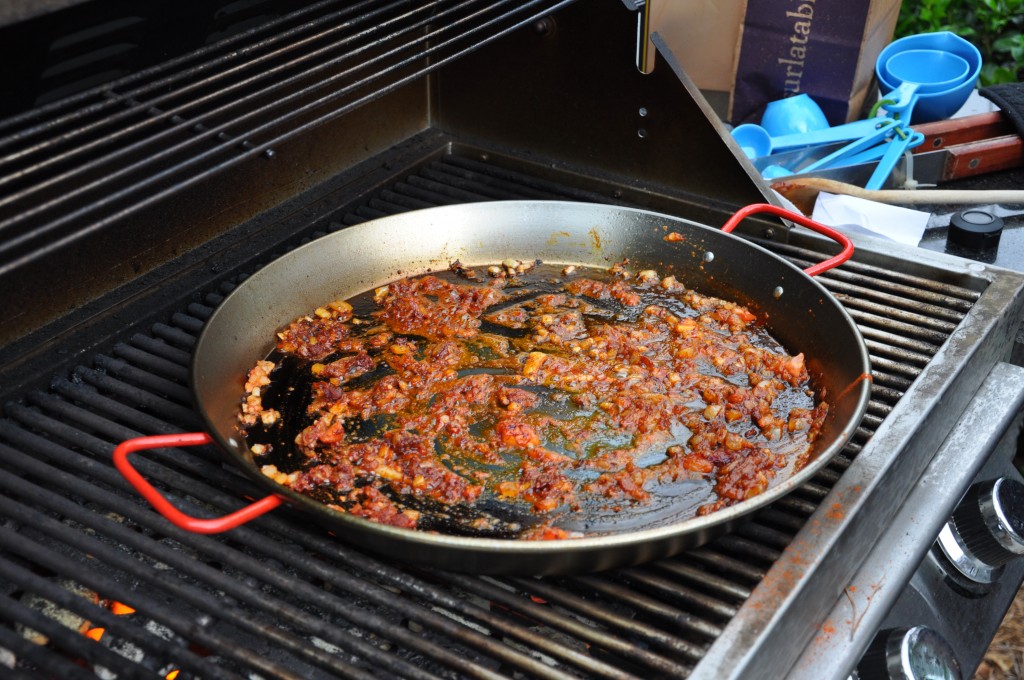
Looks good enough to eat by itself, right?  But we must press on…Remove the shellfish, add the onions, and cook until soft.

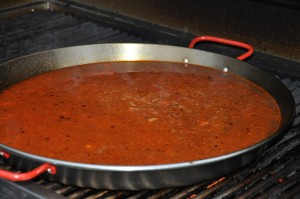
Next add pureed tomato, sweet Spanish pimentón, and saffron.

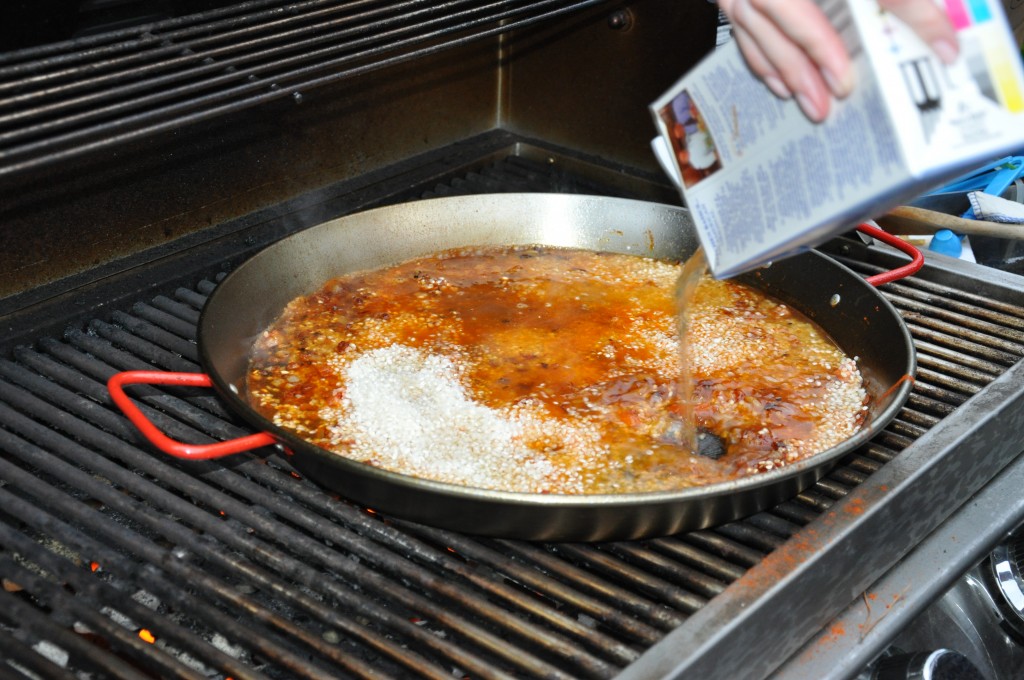
Add the Bomba rice and the stock.  If I was super cool I would have made my own stock.  But when there’s no time for that, store bought stock works just fine.

Cook until the rice has absorbed nearly all the liquid

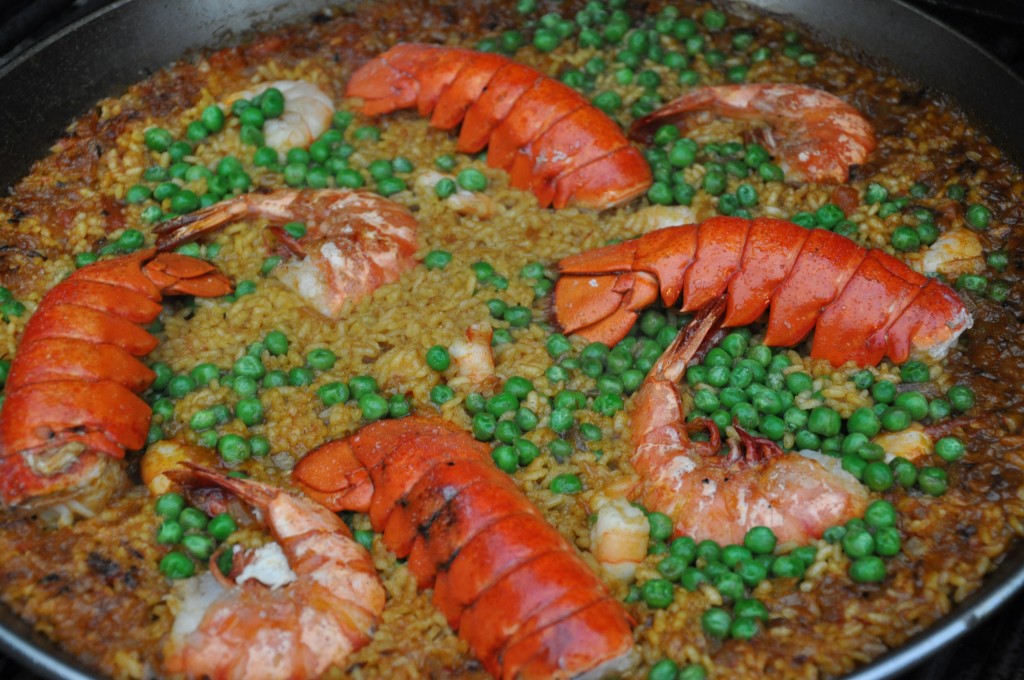
Add the shellfish, any other uncooked seafood, and some peas into the mix and cook until the remainder of the liquid is absorbed and the rice is all brown and crunchy around the edges of the pan.  Mario says to cook it until the pan starts to make a funny “crackling noise” and you are starting to worry that it’s burning.

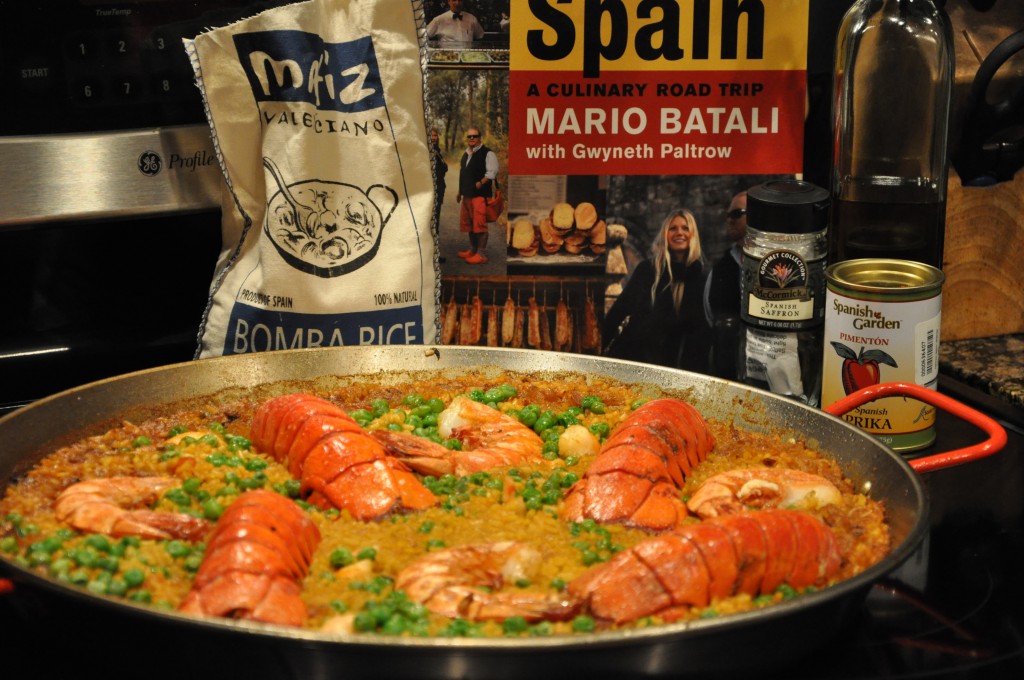
Voila-The finished product!

(And yes, I’m aware that I used a French term to punctuate the completion of my Spanish dish, but I am unaware of the Spanish equivalent.)  Since the paella needed to “rest” for 10 min or so before serving, there was ample time to snap some “finished product” shots.

Next up, crack open a great Spanish wine

eat it right out of the pan (‘cuz that’s what real Spaniards do)…

and enjoy your Saturday evening!

I can think of no better way to eat in on a Saturday night, can you?

Cheers!

Wine Girl

Permanent link to this article: https://kitchendoesnttravel.com/archives/54